Photoshop is a great tool for figuring out how to fix a painting.
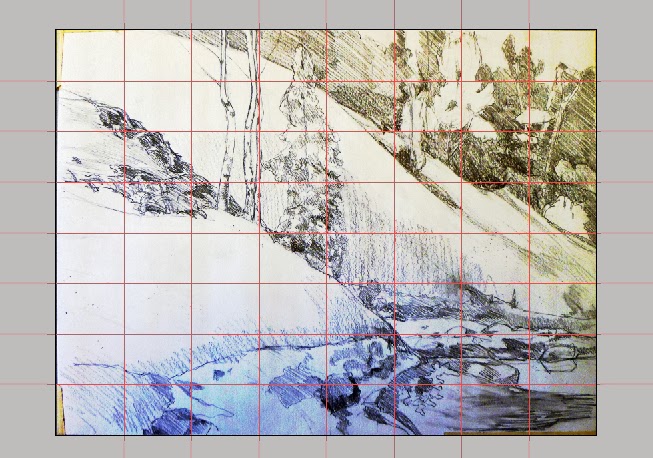
 |
| Surf at Marshall Point, by Carol L. Douglas |
Yesterday I painted at Marshall Point. I was with Barbara Carr, who comes to Camden just once a year. My intention wasn’t to create a masterpiece, but to spend a few hours painting with a friend.
Marshall Point has a beautiful lighthouse, which made a cameo appearance in the movie Forrest Gump. As lovely as it is, I never paint it. I’m always mesmerized by the surf and the light on the sea.
 |
| My sketch for the above. |
Barbara is an experienced painter, with a BFA from Massachusetts College of Art and a lot of years of practice under her belt. Still, I must be very tired. I’m usually a fast painter, but she finished two fine paintings in the time I painted one.
Our tides may not be Bay of Fundy class, but we still have high and strong tides here in mid-coast Maine. That means the rocks are uncovered fast in an ebb tide and covered equally quickly in a flood tide. The only answer to this is to draw fast and then use other rocks to fill in the details. In general, this strategy allows a lot of latitude for design, providing the artist is fully awake.
 |
| Lightening the foreground rocks did not help. |
I liked what I did well enough when we were on site, but was ambivalent when I got it home. Comparing it to my sketch, I noticed two things. I had centered the large rock slightly compared to my original composition. The foreground in my sketch was darker than I’d originally proposed.
Adobe Photoshop or a similar graphics editor can be a useful tool for pondering possible revisions. I lightened the foreground rocks to see if that would help. That left a dark rock sitting in a sea of blue—factually true, but hardly interesting.
 |
| Cropping helped a little, but not enough to redeem the painting. |
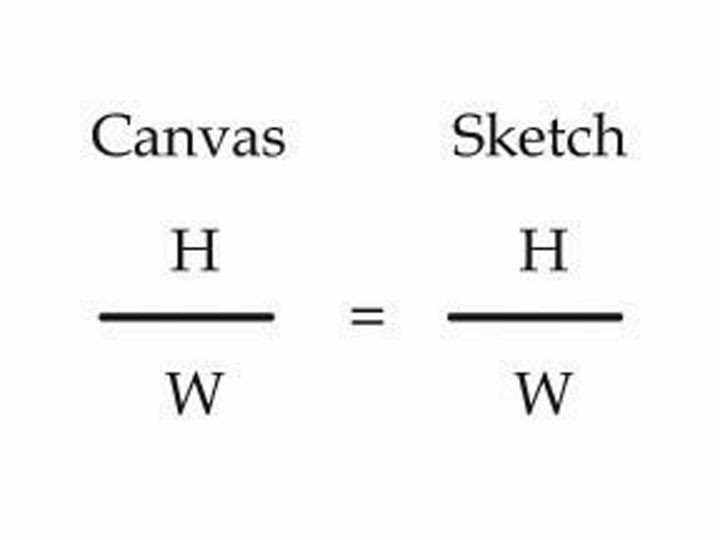
Generally, plein airpainters use prepared boards in standard sizes. That means we’re at the mercy of canvas and frame makers in determining our aspect ratio. (The alternative, customizing both frames and boards, is just too much work.) “Aspect ratio” just means the proportional relationship between the canvas’ width and height. A 9X12 canvas, for example, has an aspect ratio of 3:4, making it exactly the same shape as a 12X16 canvas.
Of course, the sketch in my sketchbook is often a very different aspect ratio. If I’m not careful—and I wasn’t—I can relocate things to where they don’t belong when I transfer my idea to a larger board.
 |
| Common canvas shapes. |
I cropped my image to see if moving the rock more to the right would help. Again, I don’t think it made much difference.
The real issues are more fundamental: the rocks and the waves are resolutely parallel to the picture frame, and all the action is below the mid-line. Another rock, middle-right, will do this painting a world of good. So will tightening up the edges of the waves. Those are easy fixes. I can do them in my sleep, and possibly will.