Some painting rules are meant to be broken. But they all exist to make painting faster and easier.
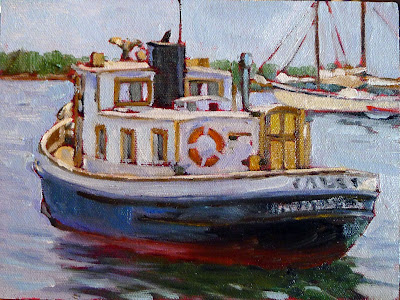 |
| Cadet, by Carol L. Douglas. That’s American Eagle in the background. That’s the boat my June workshop will be on. |
It’s closing in on plein air season again. Here are some basic rules to speed up your field painting.
Buy the best materials and equipment you can afford: I was reminded of that this weekend as I struggled to get my low-end sewing machine to handle layers of tulle. If you invest in decent paints and decent brushes at the onset, you’ll make better progress in the long run. You’re better off with a decent limited palette and two decent brushes than more stuff of lower quality. Then you can add to, instead of replace, over time.
 |
| Skinny layers in the beginning, please! |
Fat over lean (oil painting only): This means applying paint with more oil-to-pigment over paint with less oil-to-pigment; in other words, use turpentine or odorless mineral spirits (OMS) judiciously in the bottom layers and painting medium in the top layer.
The more oil, the longer the binder takes to oxidize. This keeps paints brighter and more flexible. However, oil also retards drying. Using too much in underpainting, will result in a cracked and crazed surface over time.
The makers of
Galkyd and
Liquin say their products are designed to circumvent this rule. However, we have no track record for these alkyd-based synthetic mediums, whereas we have centuries of experience layering the traditional way.
Even if we could change it, why would we want to? Underpainting with soft, sloppy medium gives soft, sloppy results. The coverage is spotty and thin. The traditional method is tremendously variable and gives great control. It just takes a little while to learn it properly.
 |
| Can’t tell what that’s going to be? No matter; it’s the shapes that drive a painting, not the other way around. |
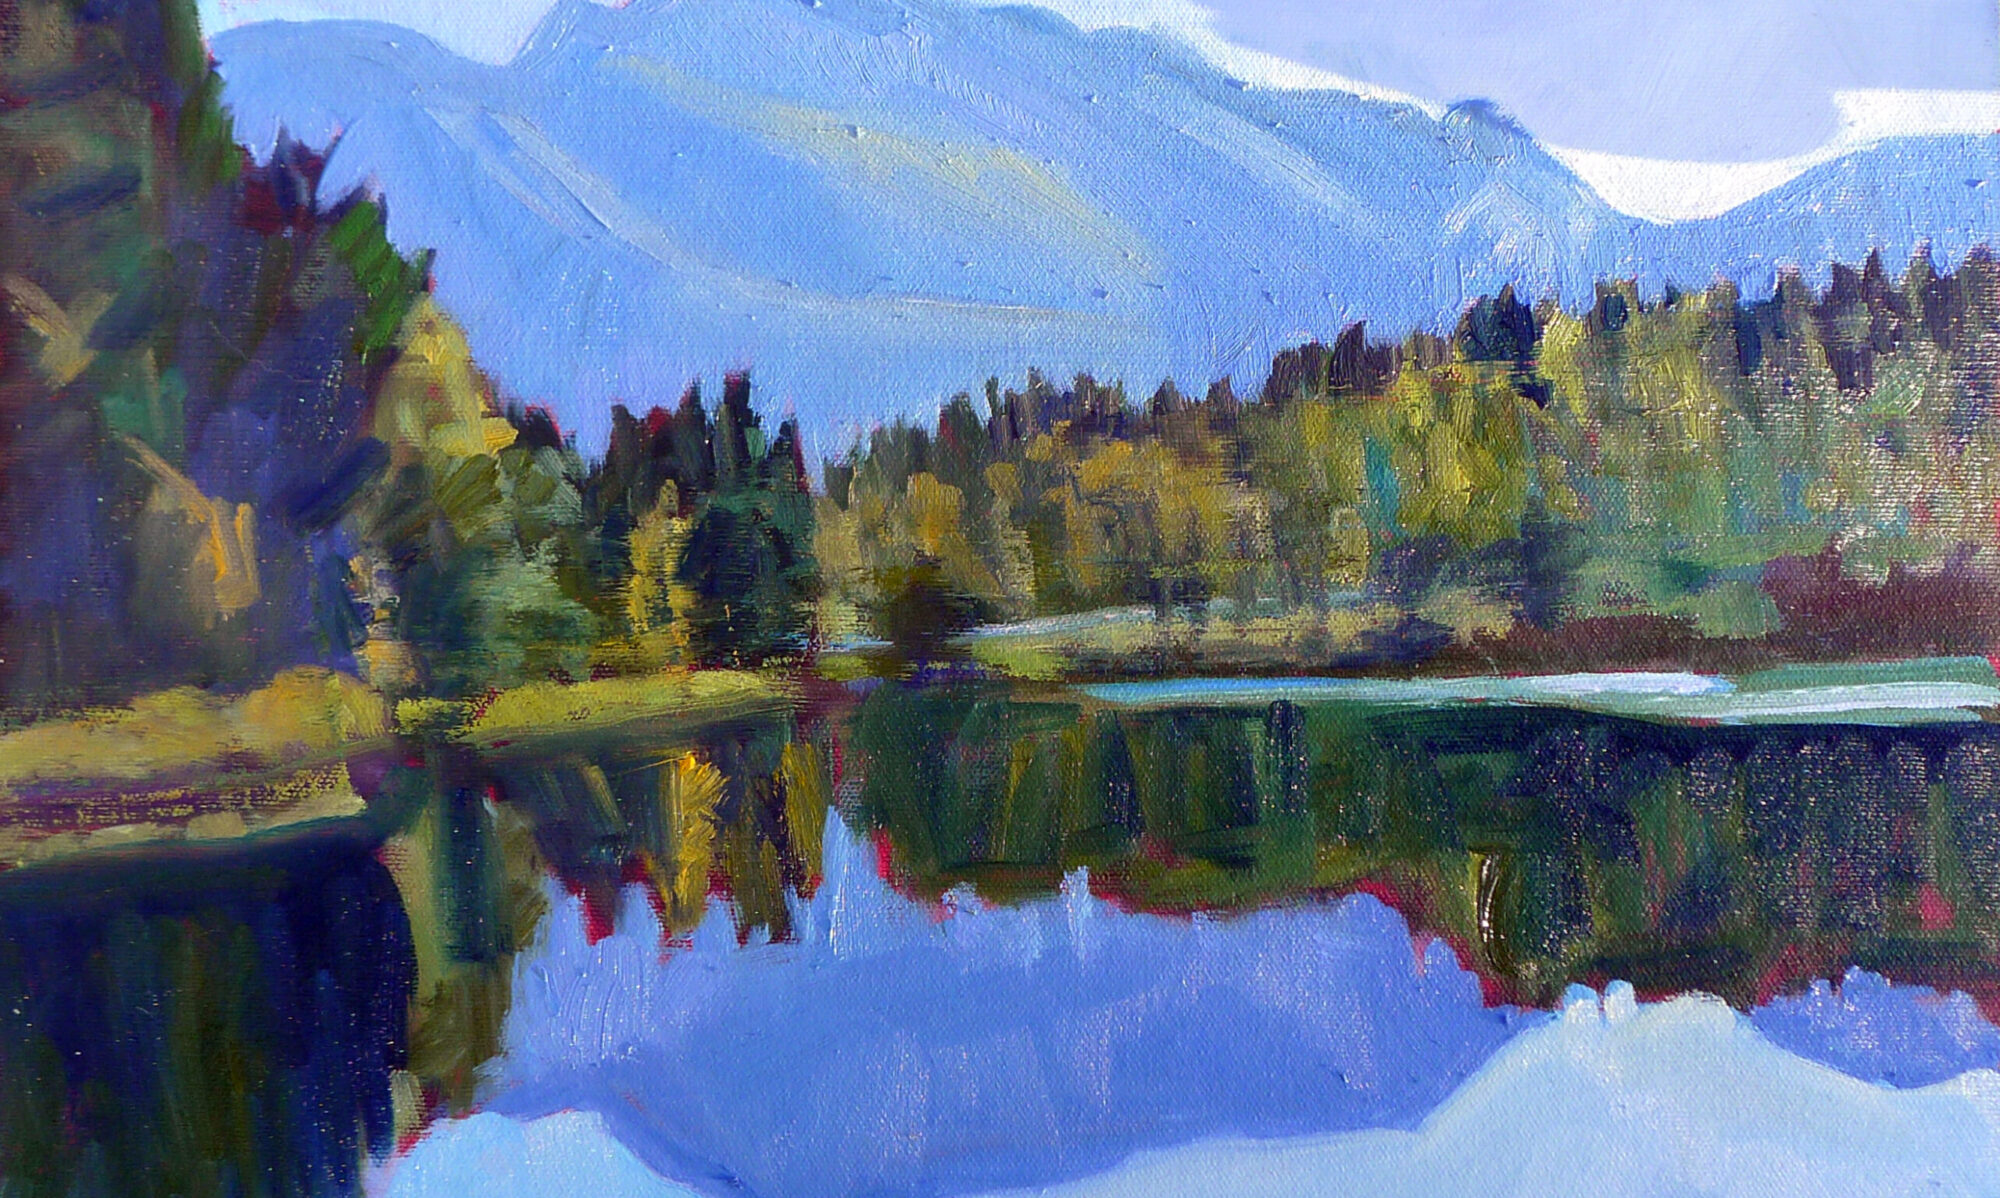
Big shapes to little shapes: Work on the abstract pattern before you start focusing on the details.
The untrained eye looks at a scene and thinks about it piecemeal and in terms of objects: there’s a flower, there’s a path, there’s a tree. The trained eye sees patterns and considers the objects afterward.
Is there an interesting, coherent pattern of darks and lights? Are there color temperature shifts you can use? In the early phases of a painting, you must relentlessly sacrifice detail to the good of the whole. This is true whether the results you want are hyper-realistic or impressionistic. Composition is the key to good painting, and the pattern of lights and darks is the primary issue in composition.
Following the fat-over-lean rule, above, allows you to think about broad shapes first. In the field an underpainting done with turpentine or OMS will be mostly dry when you start the next layer. Stop frequently to make sure you haven’t lost your darks. If you have, restate them.
Follow the natural working characteristics of your medium: For oil painters, that’s dark to light. For watercolorists, that’s light to dark, because dark is impossible to eradicate. Acrylic painters can proceed any way they want, as long as they’re using opaque paint.
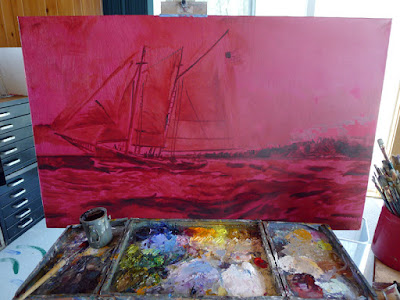 |
| Doing the drawing in a dark neutral follows the natural working characteristics of oil paints. By Carol L. Douglas. |
In oils, it’s easy to paint into dark passages with a lighter color; the reverse isn’t true. This doesn’t mean oil painters don’t jump around after we set the darks; we can and do. In watercolor, it’s almost impossible to erase a dark passage, so it’s best to know where it belongs before you commit to it.
Don’t choose slow-drying or high-stain pigment to make your darks. The umbers are great because the manganese in them speeds drying. However, I don’t want to carry an extra tube just for this. I use a combination of burnt sienna and ultramarine.
By the way, this is a common rule of painting to break. Just be sure you have the process down before you start experimenting.
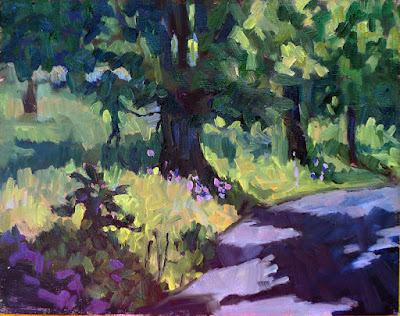 |
| Drawn slow and painted fast by Carol L. Douglas. |
Draw slow, paint fast: This isn’t a classic tenet; it’s something my student Rhea Zweifler coined in my class years ago. Nevertheless, it’s a great rule.
Taking time over your drawing allows you to be looser and more assured in your painting. Do value studies and sketches before you commit to color. Your mind needs time to think about the shapes it sees. Spend that time in the drawing phase, when ideas are easy to assess. Otherwise, you will be doing it on canvas, where your mistakes are more difficult to clean up.
 |
| Value study at Point Prim, Nova Scotia, by Carol L. Douglas. |
Value studies and sketches allow you to be inventive. When you’ve only spent three minutes on a sketch, you don’t lose much by throwing it out. Drawing and value studies at the beginning actually speed you up, rather than slow you down.
This post was originally published in May, 2017 and has been edited and updated.