Monday Morning Art School: know your trees

To paint trees, you need to understand them. That doesn’t mean you need to memorize species, but you do need to be able to spot the differences.

Palm, by Carol L. Douglas, available.


When I first posted this back in 2018, I wrote, “There is a major division in the forest world between conifers (the trees with needles) and broadleaf trees.” I should have added a third class of trees—the palms, since there are 2,600 known species, generally in the tropics and sub-tropics.

Palms are distinguished by their large, compound, evergreen leaves, called fronds, which are arranged at the top of an unbranched stem. Most (but not all) conifers are evergreens; the biggest exception being the larches, which turn a delicious yellow-gold in autumn. Broadleaf trees are always deciduous in the north, but not in the south. Every landscape has a combination of deciduous and conifer trees, but palms grow only in the tropics and subtropics and conifers dominate in the far north. Which are dominant in your landscape? In the Pine Tree State, the distribution of conifers to deciduous trees is about 50/50.

That matters even if the trees in your painting are not much more than silhouettes, because different types of trees have different shapes and traps (sky-holes).

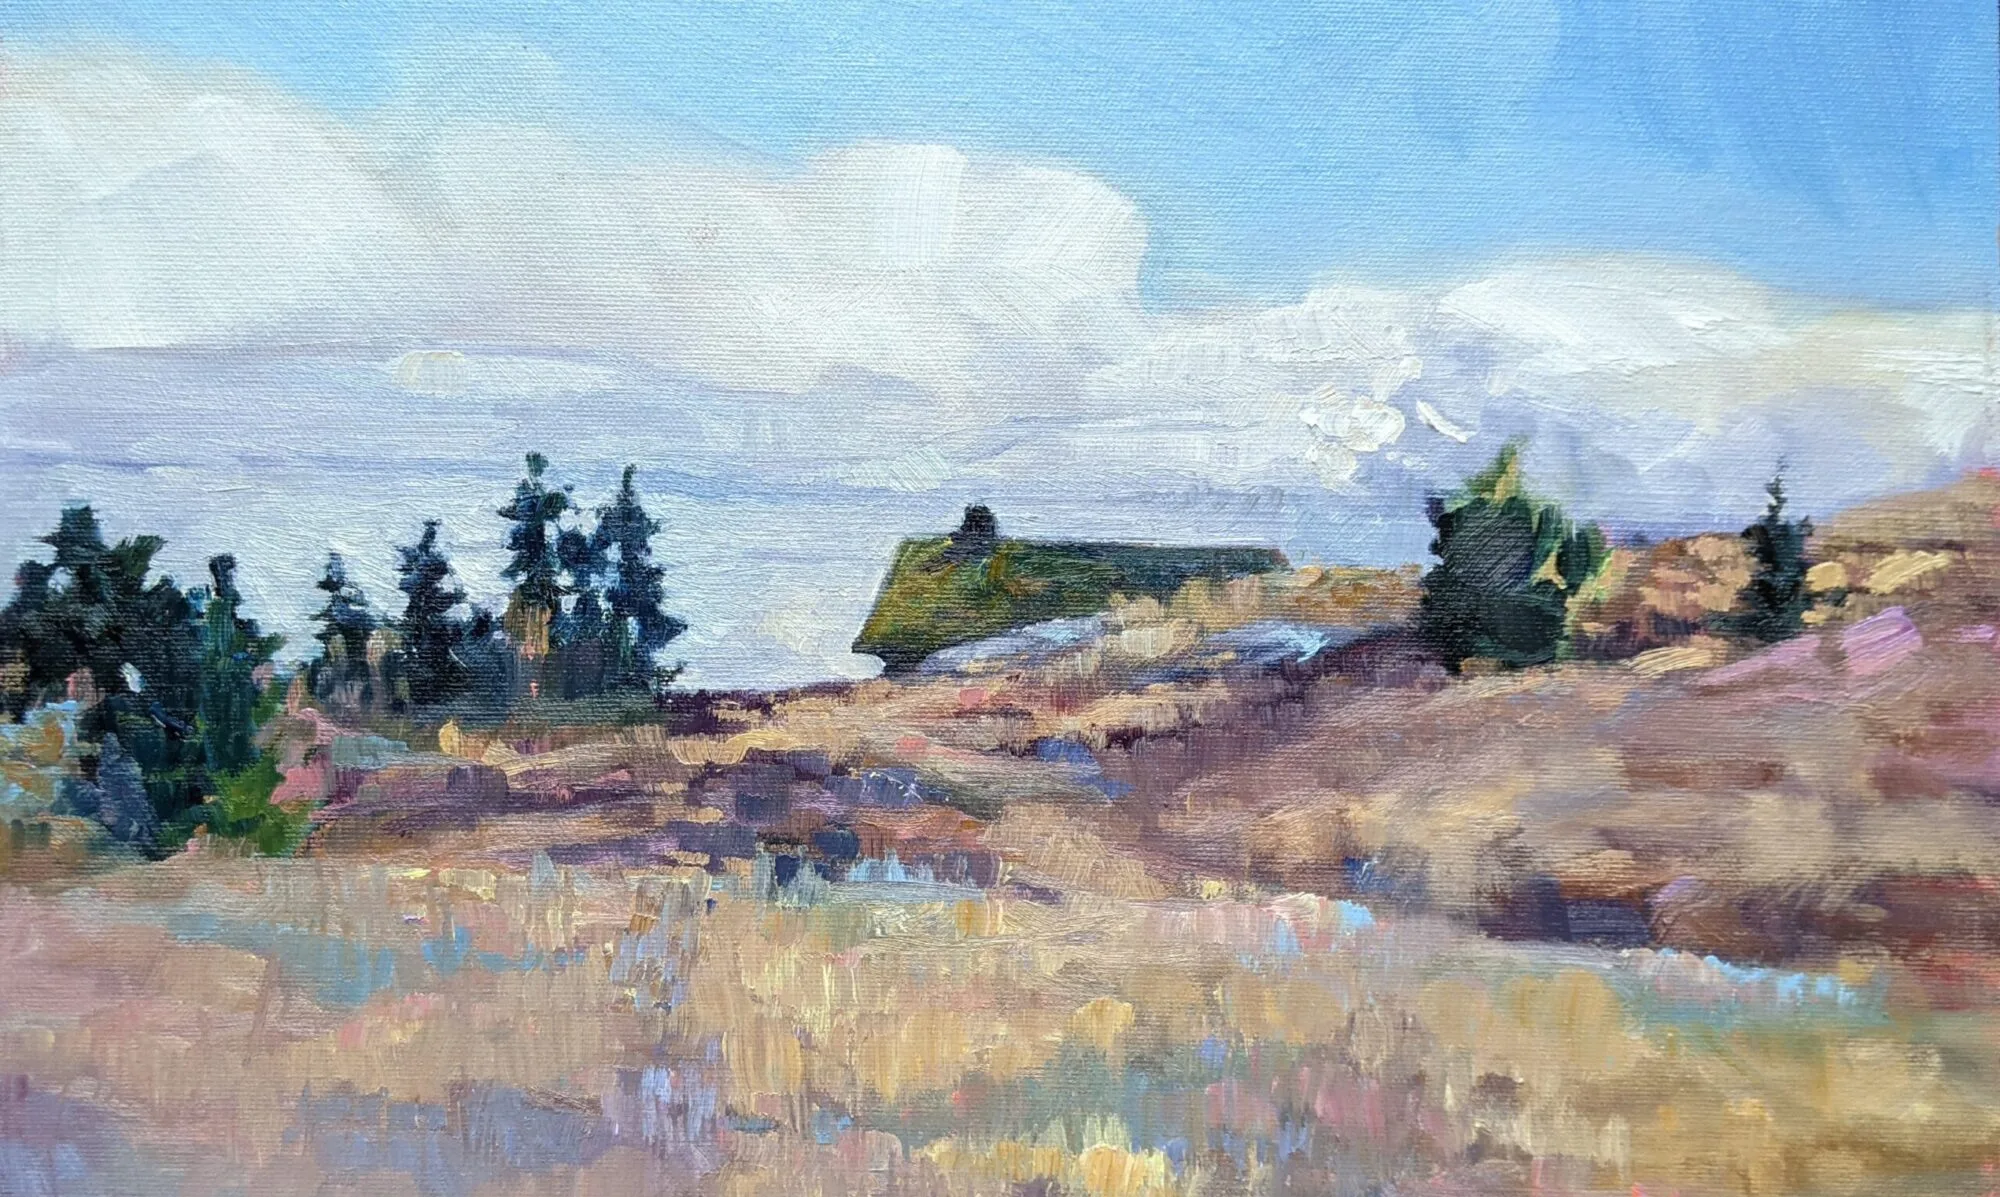
Old Bones, by Carol L. Douglas, available.

For broadleaf trees, the most important distinguishing characteristic is the branching pattern, which defines the shape of its canopy. Silver maples are large trees with open, vase-like canopies. Oaks have large spreading crowns; beeches have similar crowns that appear to have melted. Most broadleaf trees branch alternately but maple, ash, dogwood and horse chestnut branch in opposite pairs. Here’s a tip: whatever pattern the twigs have, the major branches will also have.

Watercolor study of the branching pattern of a live oak, which can seem pretty inscrutable to a Northerner.

Pines have fewer branches than spruces or firs, and their branches grow in circular whorls on the trunk. As they age, they develop an open, jagged canopy. Spruce branches grow in an upturned direction; as youngsters, they look the most like ‘Christmas trees’. In their dotage, they turn a fine, weathered figure to the wind. Firs have wide lower branches and a downcast mien. Notably, their cones point upward.

The beginning artist usually errs in drawing trees in two dimensions, as if they only branched on two sides. In fact, there will be branches coming straight at you and straight away. Perspective is muddied by the diminishing size of branches as they arc toward you. The only solution is to draw carefuly and check angles.

Conifers are most easily identified by their needles. Pine needles grow in clusters of two, (red pines), three (yellow pines), or five (white pines), held onto the stem with a tiny papery wrapper. Spruce needles are short, stiff and grow individually from twigs. Fir needles are soft and flat. Cedars have flat, scale-like leaves and stringy bark. Junipers (including, confusingly, the Eastern Red Cedar) have berrylike, bluish cones on the tips of their shoots.

Many people can identify the common broadleaf trees by their leaves, and I’ve included a chart to help you. It’s more important to see and understand the differences in color. Silver maples have a lovely grey-silver color. Sycamores are garbed in military-fatigue green. Black spruces are dark while Eastern White Pines are fair and soft in their coloring. This is why I discourage my students from using tube greens and encourage them, instead, to mix a matrix of green colors.

The sycamore is a successful urban tree because it’s pollution-resistant. It has peeling, multicolored bark. Maples are grey and deeply grooved in maturity. Oak bark is dark. Cherry has a lovely red, shiny bark in its youth, but becomes furrowed and grey with age, like most of the rest of us. Only beeches maintain their smooth skin into great old age.

Spruces and pines on the Barnum Brook Trail, by Carol L. Douglas

Too often, we painters ignore young trees. Young trees often look radically different from their aged ancestors, but they have a beauty of their own.

To be a convincing painter, you don’t need to memorize tree species, but you do need to learn to distinguish between them. Any plausible landscape will contain a variety of them, with different bark, branch structures, and leaf colors.

Monday Morning Art School: Carol comes a cropper

She asked me to draw a simple tree. How hard could that be?
Velvet-flocked deer with double rainbow, by Carol L. Douglas. Behind the birch tree are marcescent leaves of a young red oak.
Marcescence is the retention of dead leaves in trees over the winter. It’s natural in oaks, beeches and hornbeams, especially in young trees. Leaves drop as Spring approaches. Susurrationis a very quiet whispering sound, such as made by those same oak leaves on a winter’s day. It’s a beautiful wintertime experience.
The oak outside my student’s office window.
One of my summer workshop participants spends her lunch hour drawing (hooray). Last week she asked me to help her figure out how to draw the oak tree outside her window. “Send me a photo,” I answered.
Leaves are generally drawn in masses, but the problem with midwinter oaks is that, like me, they are slowly losing their hair. There aren’t thick masses of dark leaves, but individual leaves etched against the winter sky. At least there are when you’re up close, but she isn’t. Short of getting her employer to move the tree, she was stuck drawing it from a middle distance, where it was a neat, plump form. Plus, Rochester has been very snowy, so there was no enlivening light.
Still, I tell my students they can make a drawing out of anything. I set to with a technical demonstration:
  • Figure out the branch structure.
  • Sketch the leaves as loose masses
Leaves and branches as loose masses.
  • Using your eraser, define and highlight various sections to make the drawing more interesting.
Sometimes I think I erase more than I draw.
The white space redefined with an eraser.
  • Add outlines that suggest the leaf shape.
A little top-drawing to define the leaf shape, and I removed that ungainly lower branch, which was really the most interesting thing about the tree.
That’s how I normally draw, but this time I hated the result. It was flat and uninteresting.
My former house with the neighbor’s oak tree. Photo courtesy of Mary Brzustowicz. 
I used to have an oak at the end of my driveway, so I asked my dear friend Mary to take a photo for me. I know it’s an elegant tree, because I’ve painted those branches many times. Alas, it was another overcast day, and that oak was equally drab.
So, I set to with my imagination. I know what oak leaves look like, more or less. I know what snow looks like. I drew an oak branch and put snow on it. And then I built a branch-cluttered backdrop. It was stillboring. I finally added a small Santa, because I could.
Oak leaves with Santa. 
“Boy, is that cluttered,” said Sandy Quang, who’d stopped by the house to get her mail.
Of course, there were two different objectives here. My student just wanted to know how to do it. The answer is outlined above, even if the demonstration is poor. Sorry, Diane. I wanted to make a drawing that amused and interested me. The lesson, I guess, is that even experienced draftsmen occasionally come a cropper. Don’t let it get inside your head when it happens, and you’ll be fine.

How to Draw a Tree (for Sandy)

Along the Bridle Path, by little ol’ me. Early spring in a place I used to ride, a long time ago.
We tend to see trees as silhouettes instead of three-dimensional objects. This is because the branches that move toward us in space become smaller as they get closer, obviating the primary visual clue of perspective—that things are bigger the closer they are to us. The trick to drawing a tree is to see it as a three-dimensional shape rather than a silhouette.
Here are some common 3-D solid shapes that you can recognize in nature, in the human form, and in architecture. Often, the crown of a tree conforms to one of these shapes, or a combination of these shapes.
Learning to see common shapes in nature will advance your drawing chops.
When the hidden lines are shown, as below, these are called “wireframe” renderings. Being able to interpolate the hidden lines of shapes is an important part of perspective drawing.
Rendering those shapes as wireframe drawings will help you see the perspective.
The woody parts of plants are essentially tubes constructed of xylem (wood) which moves water. These tubes are covered with phloem (bark) which carries sucrose.
Since we know that a tree is a system of tubes, we realize that the cylinder is the fundamental wireframe shape we encounter in drawing it. I have taken this handsome white oak and rendered it as a series of cylinders:
A beautiful old white oak in Nassau, Rensselaer County, New York. How do I know it’s a white oak? By its branching pattern, its crown, its bark, its leaves, and the fact that it’s on the grounds of the now-defunct Camp White Oaks.
Drawing it as a series of tubes allows you to render it in three dimensions rather than as a silhouette.
The white oak above, rendered as a wire-frame drawing of tubes stacked on tubes. I do this every time I draw or paint a portrait of a tree.
We can identify the species of a distant tree from the shape of its crown (which is also three-dimensional), the texture of its bark, and its branching pattern. Paying careful attention to these attributes will make your trees more realistic.

Let me know if you’re interested in painting with me in Maine in 2014 or Rochester at any time. Click here for more information on my Maine workshops!