Everything you need for pen-and-wash will balance comfortably on your lap, thanks to modern technology.
 |
| A fifteen-minute pen-and-wash sketch. |
I slipped my sketchbook in my purse before church, only to find when I got there that my pencil had apparently been eaten by a bear. It was useless. That left me scraping around the bottom of my backpack, where I found a Uni-Ball gel pen and a tiny sample card from Turner Watercolours.
Recently, pen manufacturers have started offering fraud protection technology. This is because of a new form of crime called ‘check washing.’ That’s a kind of identity theft where ink is removed from a check and the check is reused. In response, pen makers have created waterproof and acetone-proof pens. Good luck getting the ink out of your clothes, but it’s a boon for artists looking for inexpensive, waterproof pens for pen-and-wash drawings.
 |
| Initial drawing. |
There’s a tiny, unremarkable, ranch-style house across the road from our church. It’s best to practice drawing everyday objects. If you can get the composition and pattern of lights and darks right on a prosaic little house, you stand a much better chance of getting them right at Niagara Falls or some other equally-grand place. In painting, the composition should always come first.
Without a pencil, I couldn’t even put hashmarks on my paper. Sometimes flying without a net is a good thing, though. You’re stuck with your decisions. I laid out a simple line drawing, and then massed my dark shapes in with the pen.
 |
| More darks. |
Pen drawing is supposed to be fast, and eyeing up proportions is a learned skill, just like reading. If you’re an absolute beginner, you might want to do a measured drawing of the building on another page first, in pencil. Then close that page and work fast on another page. Your mind’s eye will remember the proportions. If you have no idea where to start with that, do this exercise first.
My pal Mary Byromteaches a wildly successful weekly class in southern Maine called The Traveling Sketchbook. We occasionally compare materials for our classes. It was Mary who reminded me of the versatility of the lowly waterbrush pen. The genius of these brushes is that they eliminate the need to carry water separately.
I watched Richard Sneary, who is one of America’s top watercolorists, using the same waterbrush pen with watercolor pencils to do a value sketch at Parrsboro. That’s a technique I use and teach. If that kind of value study is important for him, it’s doubly important for the rest of us.
 |
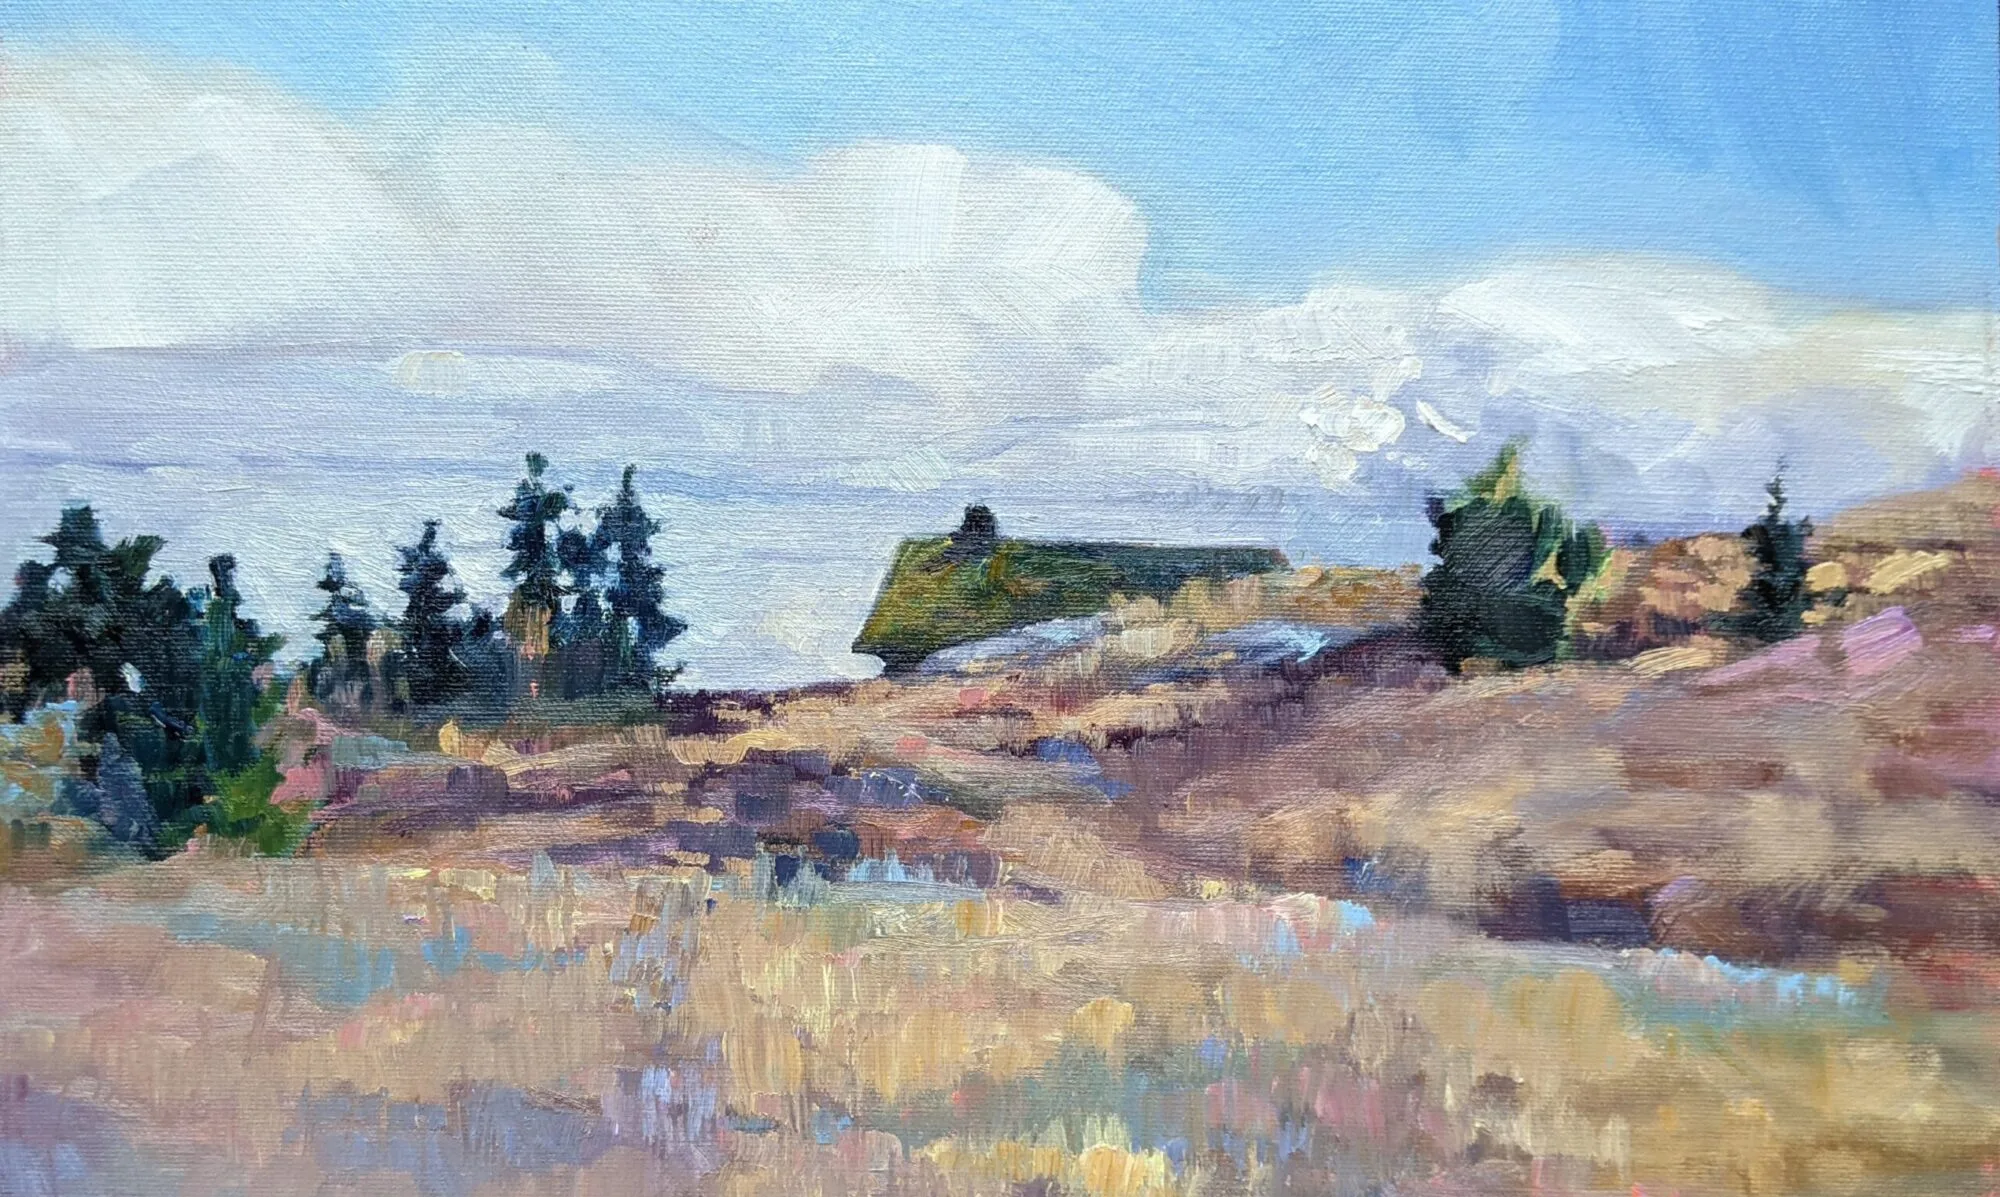
| As far as I want to go with the pen. Now to find some color. |
There are many makers of waterbrush pens. They’re cheap and I have a few tucked here and there, including at the bottom of my backpack.
 |
| My ‘watercolor kit’ for this project. You can do better. |
I didn’t have a watercolor kit handy, but I could still mix paint on the sample card and fill in the big shapes with color. I really recommend that you carry a small watercolor kit instead, but it doesn’t have to be complicated. Everything you need for this exercise will balance comfortably on your lap. That’s a big improvement over pen-and-wash of the past. We used to need a pen holder, nibs, a bottle of ink, watercolors, a brush, a water bottle and a cup.
Voila! You’ve just done your first pen-and-wash drawing. This is another simple way to make a sketch without dragging around a ton of supplies, and it’s a good way to work in advance of a bigger painting.
Of course, the other—probably more common—way to do pen-and-wash is to start with the watercolor painting and enhance it at the end with the pen. That’s a technique for creating more finished work, often used in illustration. It’s usually done on a hard paper like Bristol board or hot-press watercolor paper.
I’ve got one more workshop available this summer. Join me for Sea and Sky at Schoodic, August 5-10. We’re strictly limited to twelve, but there are still seats open.