On vacation? Here are some tips for taking reference photos you can work from later.
 |
|
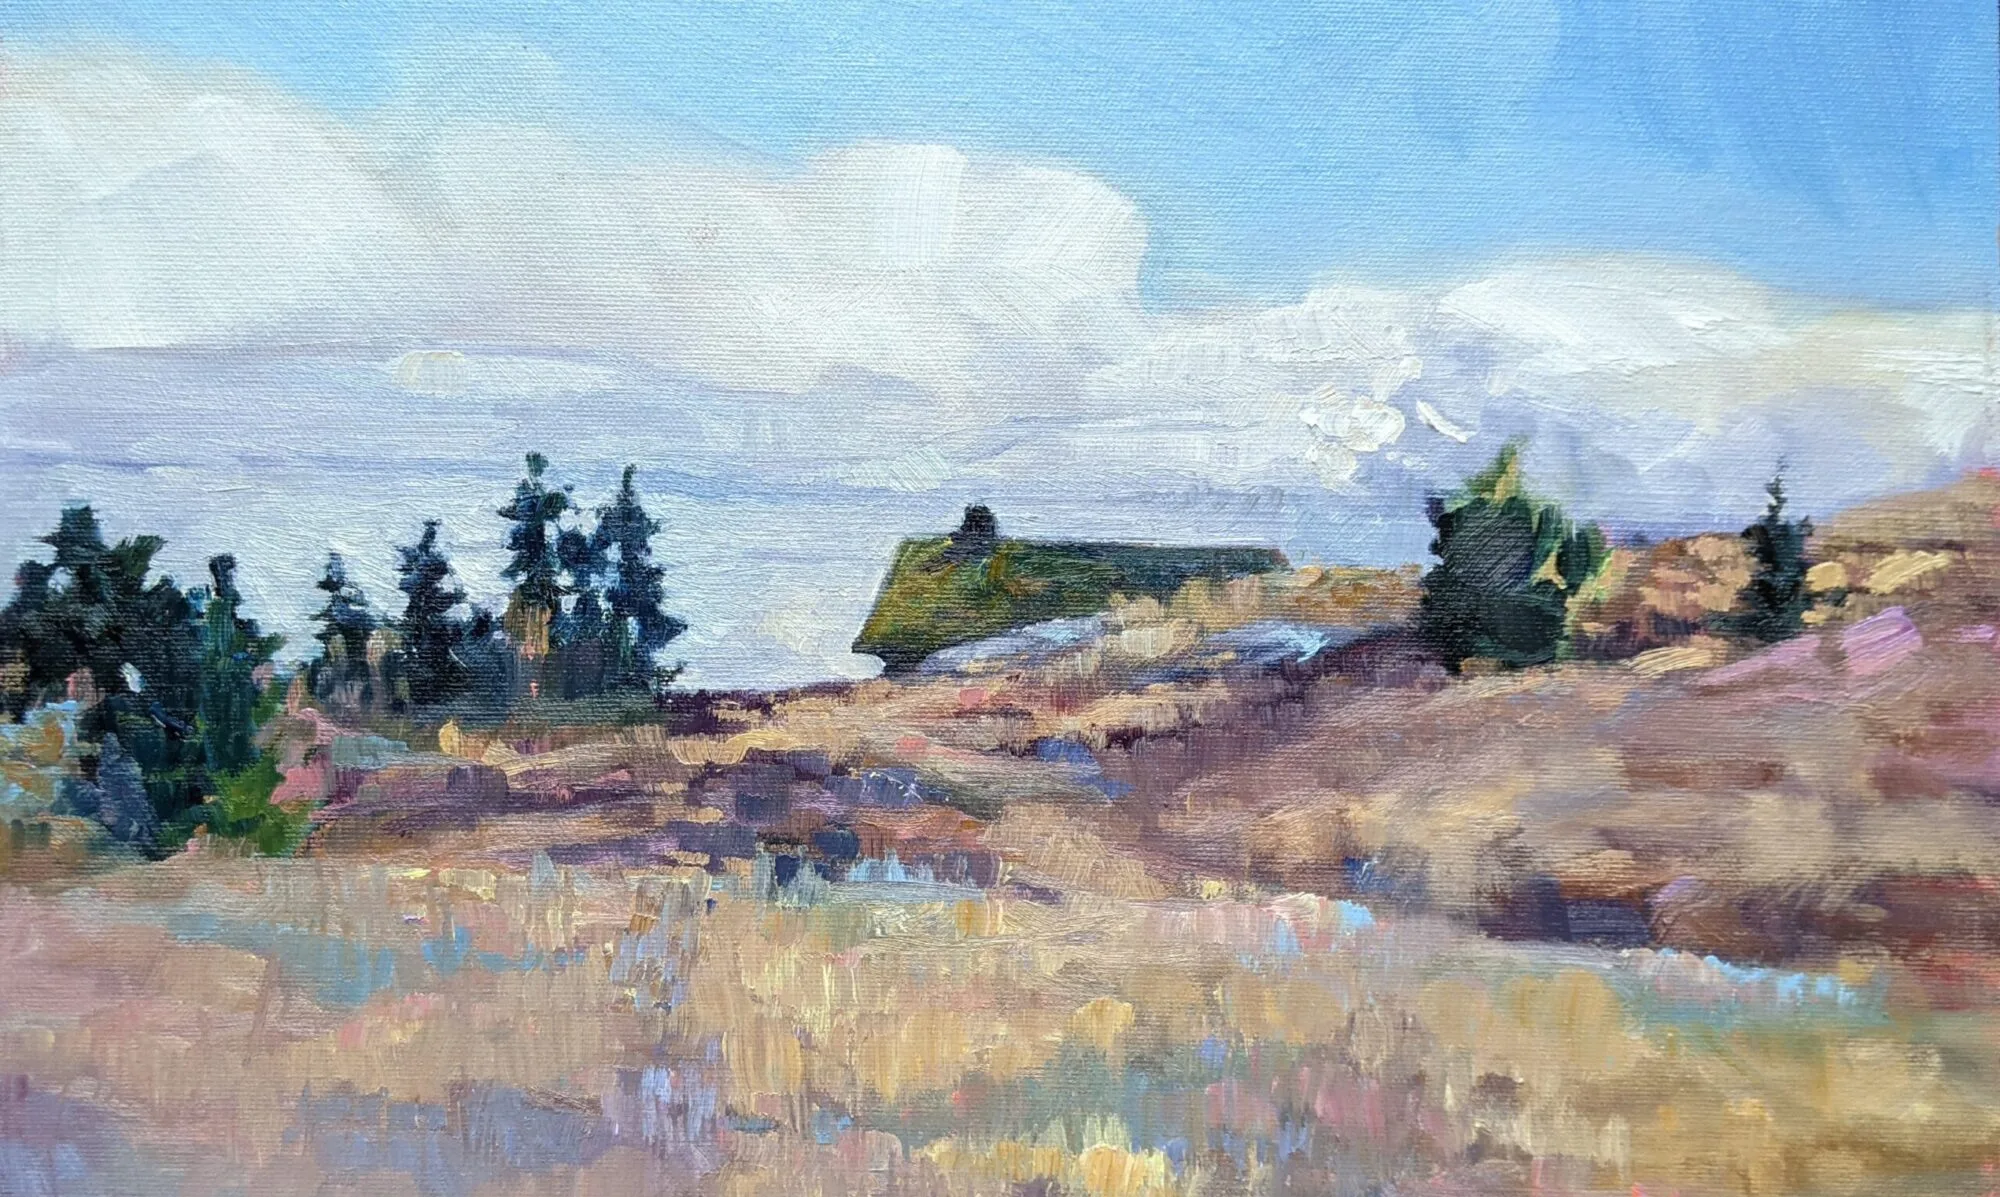
Winter Lambing, 48X36, oil on linen, Carol L. Douglas.
|
My workshop aboard American Eagle included a professional filmmaker who once studied with Ansel Adams. She was taking pictures with her iPhone, a tool Adams could never have dreamed of. She used it like a ‘real’ camera, cropping, composing and controlling exposure on the fly. She wasn’t waiting for a scene to pass by her; she was making something magic happen. “You don’t take a photograph, you make it,” Adams is famous for saying, and that’s exactly what she was doing.
A great photograph does not necessarily translate into a great painting; in fact, in my experience, it’s very rare that it does. The photographer seeks to move us emotionally; the artist wants a picture that preserves information. The same spatial relationships that make a great photograph can appear contrived in a painting. High contrast blows out the details that the painter needs.
 |
|
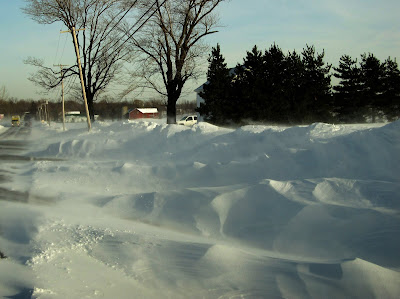
And here is the reference photo. It was a snowdrift, nothing more.
|
Photograph what really interests you. It’s so easy to get sucked into what we ‘should’ take pictures of that we sometimes miss the essential object that we will need later. Go ahead and take fifty photos of the jack pine on the cove, and then put them in a folder labeled “jack pine cove.” On the day that you need a lonely tree for a composition, you’ll have it on hand. After all, film is cheap these days.
Don’t over-crop your photos. Often, I’ve found that the information I needed to finish something was just to the left of the edge of my frame. “You need a camera with a zoom,” one of my students told me. Actually, I don’t. Most modern digital cameras take such high-resolution photos that a small fraction of the frame can be blown up and used for painting.
 |
|
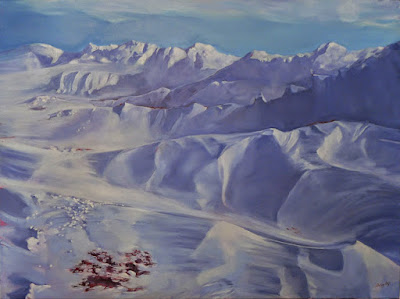
All Flesh is as Grass, 48X36, oil on linen, Carol L. Douglas.
|
I have a Panasonic Lumix camera with a Leica lens. It wasn’t terribly expensive. It’s excellent in low-light situations, which means I can take even interior reference shots without a flash. That’s far more important than getting the details of the main topmast right from a quarter of a mile away. I can look those up; I can’t replace the details that get lost in bad light or by using a flash.
Of course, if I were a wildlife painter, I’d need a totally different outfit. Then a massive zoom lens would be important.
Bracket your exposures. This means you should take one photo at a higher value and one at a lower value than what your camera chooses automatically. Even if you have the most basic point-and-shoot camera, you can do this by hovering on lighter and darker parts of the picture. If you’re unsure about how this works, consult your instruction manual!
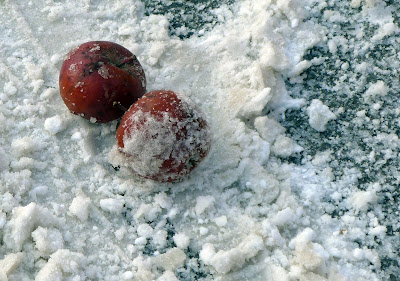 |
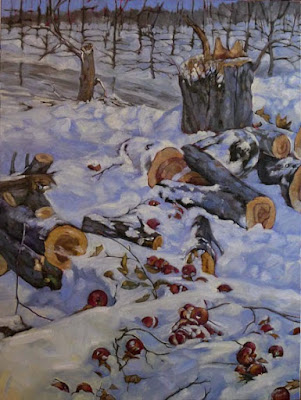
| The above painting relied heavily on photos I took of an apple tree being cut down across the street from me. They were wonderful pie apples, too, but the new owners wanted more conventional landscaping. |
Understand the limitations of reference photos. The camera is as subjective as the human eye. It misrepresents color relationships, depth-of-field, and size relationships. It obliterates subtle differences in color temperature. Reference photos are invaluable, but they should be the slave to your sketches and field notes, not the other way around. You’re under no obligation to represent every detail.
Which comes to my last and most important point: you shouldn’t be painting from other people’s photographs. This is more than just a question of legality (although that’s a real consideration). This is a question of ideas. A well-realized photograph is a complete artistic statement in itself. You have nothing to add. Anyone who has painted a commission from someone else’s snapshot knows just how much emotional information is missing when you weren’t there at the beginning.