Monday Morning Art School: get to that color fast

To paint with assurance, you need to be able to mix colors effortlessly. These tips will help you get there.

Peppers, by me. Cool light, warm shadows.

Start with an organized palette. I paint with my pigments moving from blues on the left through reds and yellows, followed by the three earth pigments to the far right. White is at the bottom. My particular system isn’t what’s important. But always put paints in some kind of logical order and in the same spot.

These basic rules make mixing easier:

  • Never try to paint with hardened paints;
  • Squeeze out enough paint;
  • Put out every color, regardless of what you think you’ll need. Every painting should have a broad range of colors in it, regardless of the subject;
  • Put out more of each color when you use it up, not when you think you’ll need it again;
  • Start mixing each color with the closest match on your palette, and adjust from there;
  • Add small amounts of paint as you adjust the mixture.
Jamie Williams Grossman‘s lovely painting and palette in the Hudson Valley style, showing color strings. Photo courtesy of the artist.
A color string is a set of premixed paints, usually modulated with white or another light color. Artists sometimes mix a series of these starting from each base color. In the Hudson Valley, you’ll sometimes see artists working from vertical palette boxes containing a slew of these premixed colors.

I use a simpler variation of that idea. I make mid-tone tints of each pigment. Different pigments may look the same when squeezed out of the tube, but there the similarity ends. Knowing how a pigment works when tinted with white is critical. Moreover, these tints become the backbone of a bright finished painting. 

A matrix is a color string in 3-D.

In watercolor, the equivalent is tonal steps, or how the pigment acts in different dilutions. You can’t premix them, but you should understand them.

Before you lift a brush, premix three colors for each major object:

  • A light tone, the color of the lightest side of the object;
  • A mid-tone, which is the local color of the object;
  • A dark tone, which is the deepest color.

These should be fairly close in value. For the extremes, you’ll use your global shadow and highlight colors.

In the example at top of the page, the light is cool—you can tell by looking at the tray. There is a warm dark shadow, a ‘true’ mid-tone, and a cool light color for each pepper. The tray is black. Since the shadows are warm, they’re a reddish black. They were made by tempering burnt sienna with ultramarine blue. The highlights are pale blue.

Start by getting the value right first. That’s usually the most difficult part. You can’t raise the chroma of a paint, so if you get it too neutral, set it aside and start again. If it’s too intense, mix in a bit of its complement.

My palette, diagrammed by Victoria Brzustowicz. I generally don’t use red in landscape painting.

Black has a role in painting, but it’s not in making grey. If you need grey, make one by mixing two complements. Greys are never totally neutral in real life; they always have overtones of color. Start by figuring out what that is. Then start from that color, and add its complement until you hit the perfect neutral note.

Once you’ve mixed your color ‘puddles’, look at them as a whole. How do they go together? Which do you want to emphasize?

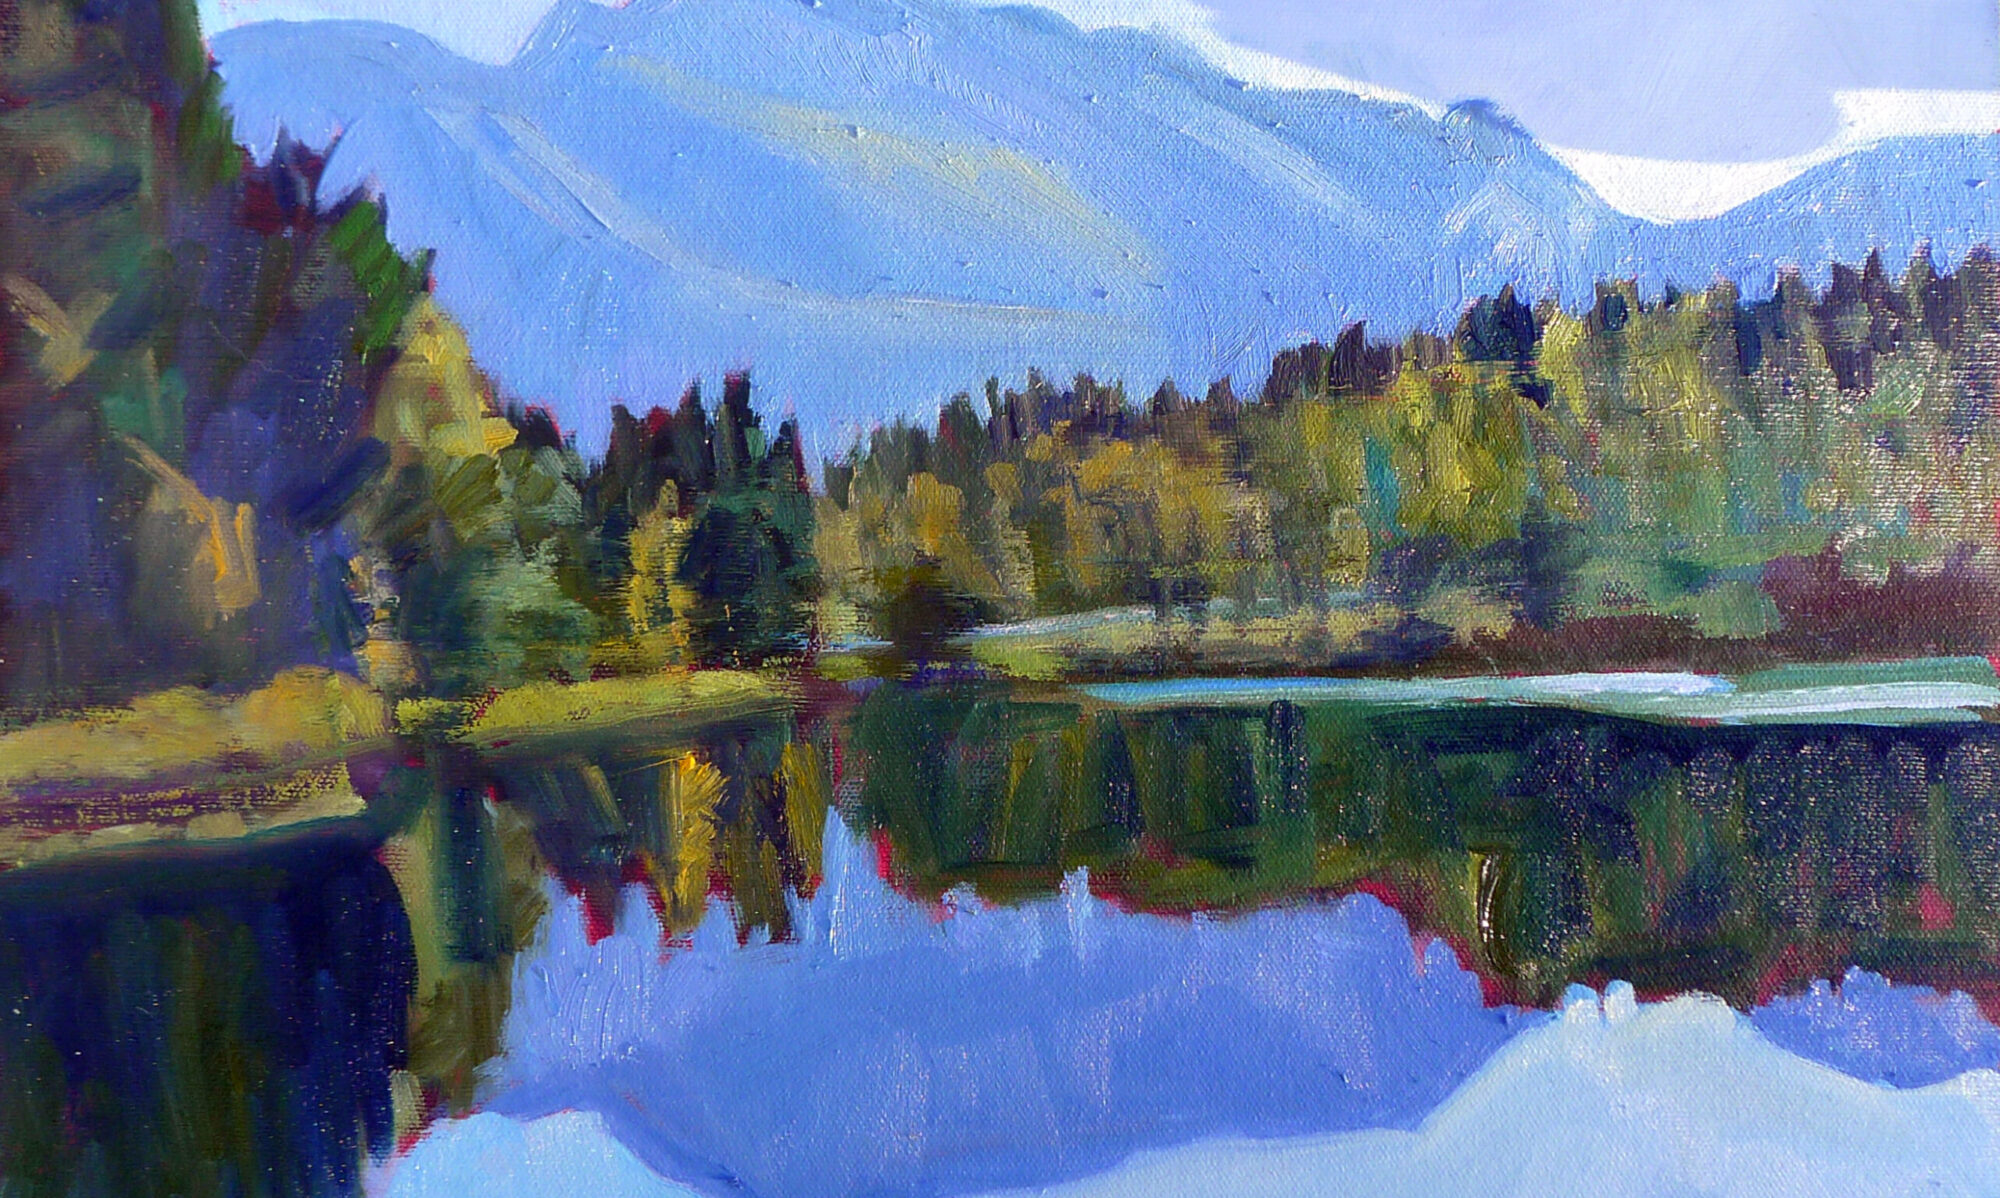
Keuka Lake, by Carol L. Douglas. Available.

I use a green matrix for painting foliage. Otherwise, greens can be oppressively monochromatic in high summer. Remember those tints I had you mix? You can use them to modulate these greens into hundreds of different shades. Just use blues and violet tints to drive the greens back in space, and yellows and oranges to bring them forward.

By thinking through color relationships before you start painting, you can keep them consistent and unified. As time goes by, you’ll learn to do this intuitively. However, when I muck up a painting, it’s almost always because I haven’t really thought the light and color structure through.

This was originally posted in 2020.

Uncovering your mark and more

Two opportunities to learn in mid-coast Maine
Meeting Up, by Ann Trainor Domingue, acrylic on canvas
Baby Joshua and his mom are doing great, so I can concentrate on work again. There are several things I should have told you about and missed with the excitement of the last two weeks. Here are two very important ones.
I’m bringing Ann Trainor Domingue to teach a day-long workshop in my studio because she does something that seems magical to me, and I want to know how. Ann paints lyrical, mysterious, narrative paintings, seemingly drawn from within her own psyche. “I love the same things you do about New England. I just reflect on them in a different light,” she says. Annie’s developed a series of exercises to loosen up our thinking, and they will be good for everyone, no matter what their style.
Here’s Annie!

Uncovering Your Mark, with Ann Trainor Domingue

Sat June 6th, 10-4
Carol L. Douglas Studio
394 Commercial Street, Rockport, ME 04856
Cost $95 per person.
Confused by too many options? Feel uninspired? Need help to get back to your artmaking? Uncovering Your Mark workshop could be just what you need to find your way!
Discover personally meaningful imagery and ideas through a fun guided exploration of things you love. Bring clarity and focus to help make sense as you implement fresh ideas for this phase of your lifelong art journey.
Think quietly about what kinds of things energize you. Sort and combine insights to form something new that feels more authentic by finding your mark.
Take time to work on loose sketches to explore these exciting new ideas and directions to help you stay on your path.

This workshop is a hands-on class aimed at artists of all levels. The first part of the class is a process of guided inquiry. Then, students will apply their self-discoveries through small scale sketching exercises and preliminary color play. It’s strictly limited to twelve students so you’ll get lots of attention. Every style is welcome.
Ann Trainor Domingue is a graduate of Rhode Island College with a BA Studio degree in painting. Her career has included working in adver­tising, as a teacher and as a painter. She is represented in public collections and galleries nationwide.
Download a flyer here or a registration form here.

Tin-foil hat, by Carol L. Douglas. You don’t have to learn about painting reflections by looking at a vase!
Next session of weekly classes in my Rockport studio starts next week.
Some people wonder what we paint when the winter weather drives our class indoors. I build still lives, but they aren’t typical. For example, yesterday’s creation was a clash of greens including pine boughs, gift bags, wine bottles and more. The idea was to learn to mix and use a medley of greens without using any green out of a tube. That’s excellent preparation for spring, which really is just around the corner.
Marie told me, “I always come in and see a still life and think, ‘ugh’, but then I get into it and it’s great.” I’m not interested in still-life as a genre either, but I think painting from life is critically important, so I make an effort to make them unusual and interesting.
Back it up (hard drive and bubble wrap), by Carol L. Douglas
Working in my studio gives us a great opportunity to focus on color theory and technique. We have more time to concentrate on mixing colors and brushwork than we do in the field, where the demands of the scene takes over.
Our next mid-coast Maine painting session will meet on Tuesday mornings, from 10-1. The dates are:
February 25
March 3
March 10 (followed by a two-week break while I hare off to Argentina)
March 31
April 7
April 14
Peppers, by Carol L. Douglas
Painters are encouraged to broaden their skills in drawing, brushwork and color. Your own individual style will be nurtured. We’ll learn how to paint boldly, with fresh, clean color, to build commanding compositions, and to use hue, value and line to draw the eye through our paintings.
Watercolor, oils, pastels and acrylics are welcome. Because it’s a small group, I can work with painters of all levels. The fee is $200 for the six-week session, and we meet at 394 Commercial Street in Rockport.

Monday Morning Art School: How to mix skin tones

Michelle reading, by Carol L. Douglas

Recently I gave you an assignment on mixing warm and cool tones. The example I used was my figure-painting palette. A reader asked for more specific information on mixing skin tones.

I have read many short articles on mixing skin tones and they all seem to start with a basic misconception. That is that the human form can be represented by just a few brownish colors.
An extended matrix for mixing skin tones, by student Matthew M. The warm tones are quinacridone violet, burnt sienna, naphthol red, raw sienna, yellow ochre, cadmium yellow, transparent yellow and something I can’t identify. He modulated them with tints of ultramarine blue, black, Prussian blue, dioxazine purple, and a warm mix. Overkill, perhaps, but it explains how he learned to paint so well.
We all understand that the human race has a variety of skin tones. Each person has a range of tones as well. There are pinker areas and yellower areas, and areas with distinct blue and green tones. Our skin varies by the season, the lighting, and even by the day, which is why we sometimes say, “your color is off,” or “you look peaked.”
If you mix three colors to make a human figure, you’re going to end up with something very inadequate. There are as many different tones in a single human body as there are in a landscape.
The resulting tones. With more or less white, these all appear in the human figure.
The palettes I’ve shown were done by a high-school student working in my Rochester studio. In practice, I don’t usually mix the entire array, but as a learning experience, it’s very useful. When I’m painting a person I’ve never painted before, I usually start with an extensive selection of these tones. Only after I’ve worked for a while can I see what sections of the palette I will use, and whether I need more or less white added into the mix.
You could, of course, skip that step and just hold a print of Matthew’s palette up to see if your model tends to have blue or violet or warm undertones. There are, in fact, entire books of color recipes for skin tones, which you’re supposed to use exactly that way.  I recommend against that, because as soon as you do that, you’re making assumptions instead of looking.
The workhorse dark-neutral, ultramarine blue and burnt sienna.
I always start my figure drawings on canvas with a mix of ultramarine blue and burnt sienna. If the shadows are cool, I push the mix to the blue side. If they’re warm, I push it to the brown side. If I balance them perfectly, they’re as close as is necessary to a chromatic black.
Self-Portrait with Beret and Turned-Up Collar, Rembrandt van Rijn, 1659, National Gallery of Art
Getting the shadow color right allows you to leave your darks thin and loosely worked, a technique that Rembrandt used with great effect. This is usually a technique associated with indirect painting, but it works well in all figure painting.
To make a mix for blocking in the midtones, I generally start with a mixture of cadmium orange, black and white. But these are colors I use only for drawing. When it comes to applying measurable paint, I use the matrix above.
A figure painting still at the drawing stage. As you can see, I’m not interested in the subtlety of color here, but rather in getting the shapes right.
Two things will wreck the color in figure painting. The first is working under spotlights. Wherever possible, figure should always be worked under natural light. Spotlights change and narrow the color range of human skin. The second is working from photographs. Even the best cameras narrow the chromatic range of human skin.
I used the exact same palette for this portrait as I did for the figure painting at the top, with less tinting.
Race has far less to do with differences between people than is generally believed. In 1972, geneticist Richard Lewontin showed that most of the variation (80–85%) within human populations can be found within local geographic groups. Differences we casually attribute to race are a very minor part of human genetic variability. A study by Noah Rosenberg, et al showed that differences among individuals account for 93-95% of all genetic variation. Race accounts for just 3-5% of all human difference. As Ken Malik wrote, “Imagine that some nuclear nightmare wiped out the entire human race  apart from one small population – say, the Masai tribe in East Africa.  Almost all the genetic variation that exists in the world today would still be present in that one small group.”
And I usedthe same palette for this painting, whose model is Central American.
But, surely, skin tone is one area where racial differences are pronounced, you might say. After painting figure for many years, I disagree. There’s really no such thing as “white” skin color, “black” skin color, or “Asian” skin color. They are mixed with the same array of paints; we just control how much white paint we add to the mix.

Monday Morning Art School: Mixing color

Mixing paint colors is easy, but practice makes perfect.

Balmoral Castle from the Approach (Abergeldie Side), 1852, Watercolor, by Queen Victoria.
If you think you’re too busy to paint, consider the above watercolor. It was painted by a mother of nine with a demanding full-time job: Queen Victoria. Note the fine, restrained greens in it and the cool autumn sky. If a queen can do it, so can you.
Green is a so-called secondary color, meaning it is made from a combination of two primary colors (yellow and blue). A secondary color is always across the color wheel from a primary color. It’s handy to remember that. If you want to neutralize a color in a hurry, a fast way to do it is to mix it with whatever’s across the color wheel. That’s its complement.
The conventional color wheel.
There are no pure paint pigments. They all have overtones that muddy them up in certain mixes. That’s why your local paint dealer uses many, many more pigments than just red, blue, and yellow. Most artist palettes also have duplicates. I use paired primaries, meaning I have a warm and cool blue, warm and cool red, and warm and cool yellow. (Here are my supply lists for oilsacrylics, and watercolors.)
The distinction between warm and cool colors has been important since the Impressionists, who emphasized the color of light in their paintings. Warm colors are said to be hues from red through yellow and cool colors are said to be the hues from green through violet. There is no ‘right’ answer to which colors are the anchors, but convention says the peaks are red-orange and blue-green.
Paired primaries.
I should stress that this is a convention, not a fact. In reality, the hottest stars radiate blue light, and cooler ones are red. Much of what we believe about the psychology of color is hocus pocus.
The only part of this that concerns the painter are the attributes of each individual pigment. We say that Hansa yellow is cooler than cadmium yellow deep, even though they’re both ‘warm’ colors. We mean that if you are trying to mix a greenish yellow, you’ll get a clearer shade with the Hansa than you will with the cadmium. If you’re trying to go more orange, start with the cadmium. The warm-cool language is just a convenient way of saying that.
I lay my paints out in hue-order, and encourage my students to do so, too. Not only does this eliminate the “hunt and peck” method of mixing, it makes it easier for you to compare pigments.
The business of mixing color is simple, but it needs to be practiced. First, find the pigment that’s closest to where you want to end up. Then, determine if it needs to be warmer or cooler and modulate it with the appropriate neighbor. If it’s too intense (too high in chroma), you can cut that by adding some of its complement. That’s the color across the color wheel from the original. In oils and acrylics, you lighten the color with white; in watercolor, you dilute it.
In some cases, you might start with a color that’s too dull. For example, chromium oxide green (PG17) is a good, opaque, solid, non-fading green, but it’s relatively low in chroma (intensity). It can only be made even more dull, not tarted up to greater brilliance. If you use that green on your palette, you may need to back up and mix a green with blue (or black) and yellow to get to the appropriate starting point.
A good way to look at this is to imagine the neutral colors as occupying the middle space of the color wheel. You can easily get to neutral by mixing paints across the wheel, but you can never get more intense than your starting point.
Today’s exercise involves stopping at your local hardware store for a few paint swatches. These are Benjamin Moore brand, but you should be able to find similar ones anywhere. There are two off-whites: one cool and one warm. There’s yellow, green, and two soft blues. Your assignment is to mix until you think you’ve hit the exact color. Then put a dot of it on the card to see how close you got. (If you’re working in watercolor, the dot goes on paper instead.)
I also ask my students to make neutrals using combinations of ultramarine blue with burnt sienna and raw sienna. I use the combination of ultramarine blue and burnt sienna as my standard dark neutral, because it can go to the warm or cool side depending on how it is mixed.
These combinations are my starting point for rocks and sands. They’re a variation on the complement set of blue-orange. But you can make good neutrals with other complement sets. Try purple and yellow or red and green. Each has its own character.