You don’t need to spend a fortune to paint.
 |
| Channel Marker, 9X12, oil on canvas, available. |
OILS and ACRYLICS
Expensive brushes are not the place to throw money for the beginning oil or acrylic painter—good quality paints are far more important. Still, brushes do change how the paint sits, and you need proper tools.
For alla prima painting in oils, you want long-handled hog-bristle brushes. They are less expensive than softer hairs like sable. I like Princeton 9700 series and Robert Simmons Signet hog bristle brushes.
Princeton also makes synthetic brushes that are good value for money—the 6300 series. Anything softer really isn’t appropriate for alla primapainting in oils. Acrylic paints will tolerate a little more flexibility, but avoid anything labeled for both watercolor and acrylic—they’re too soft. Princeton has a good chart of fiber stiffness, here.
 |
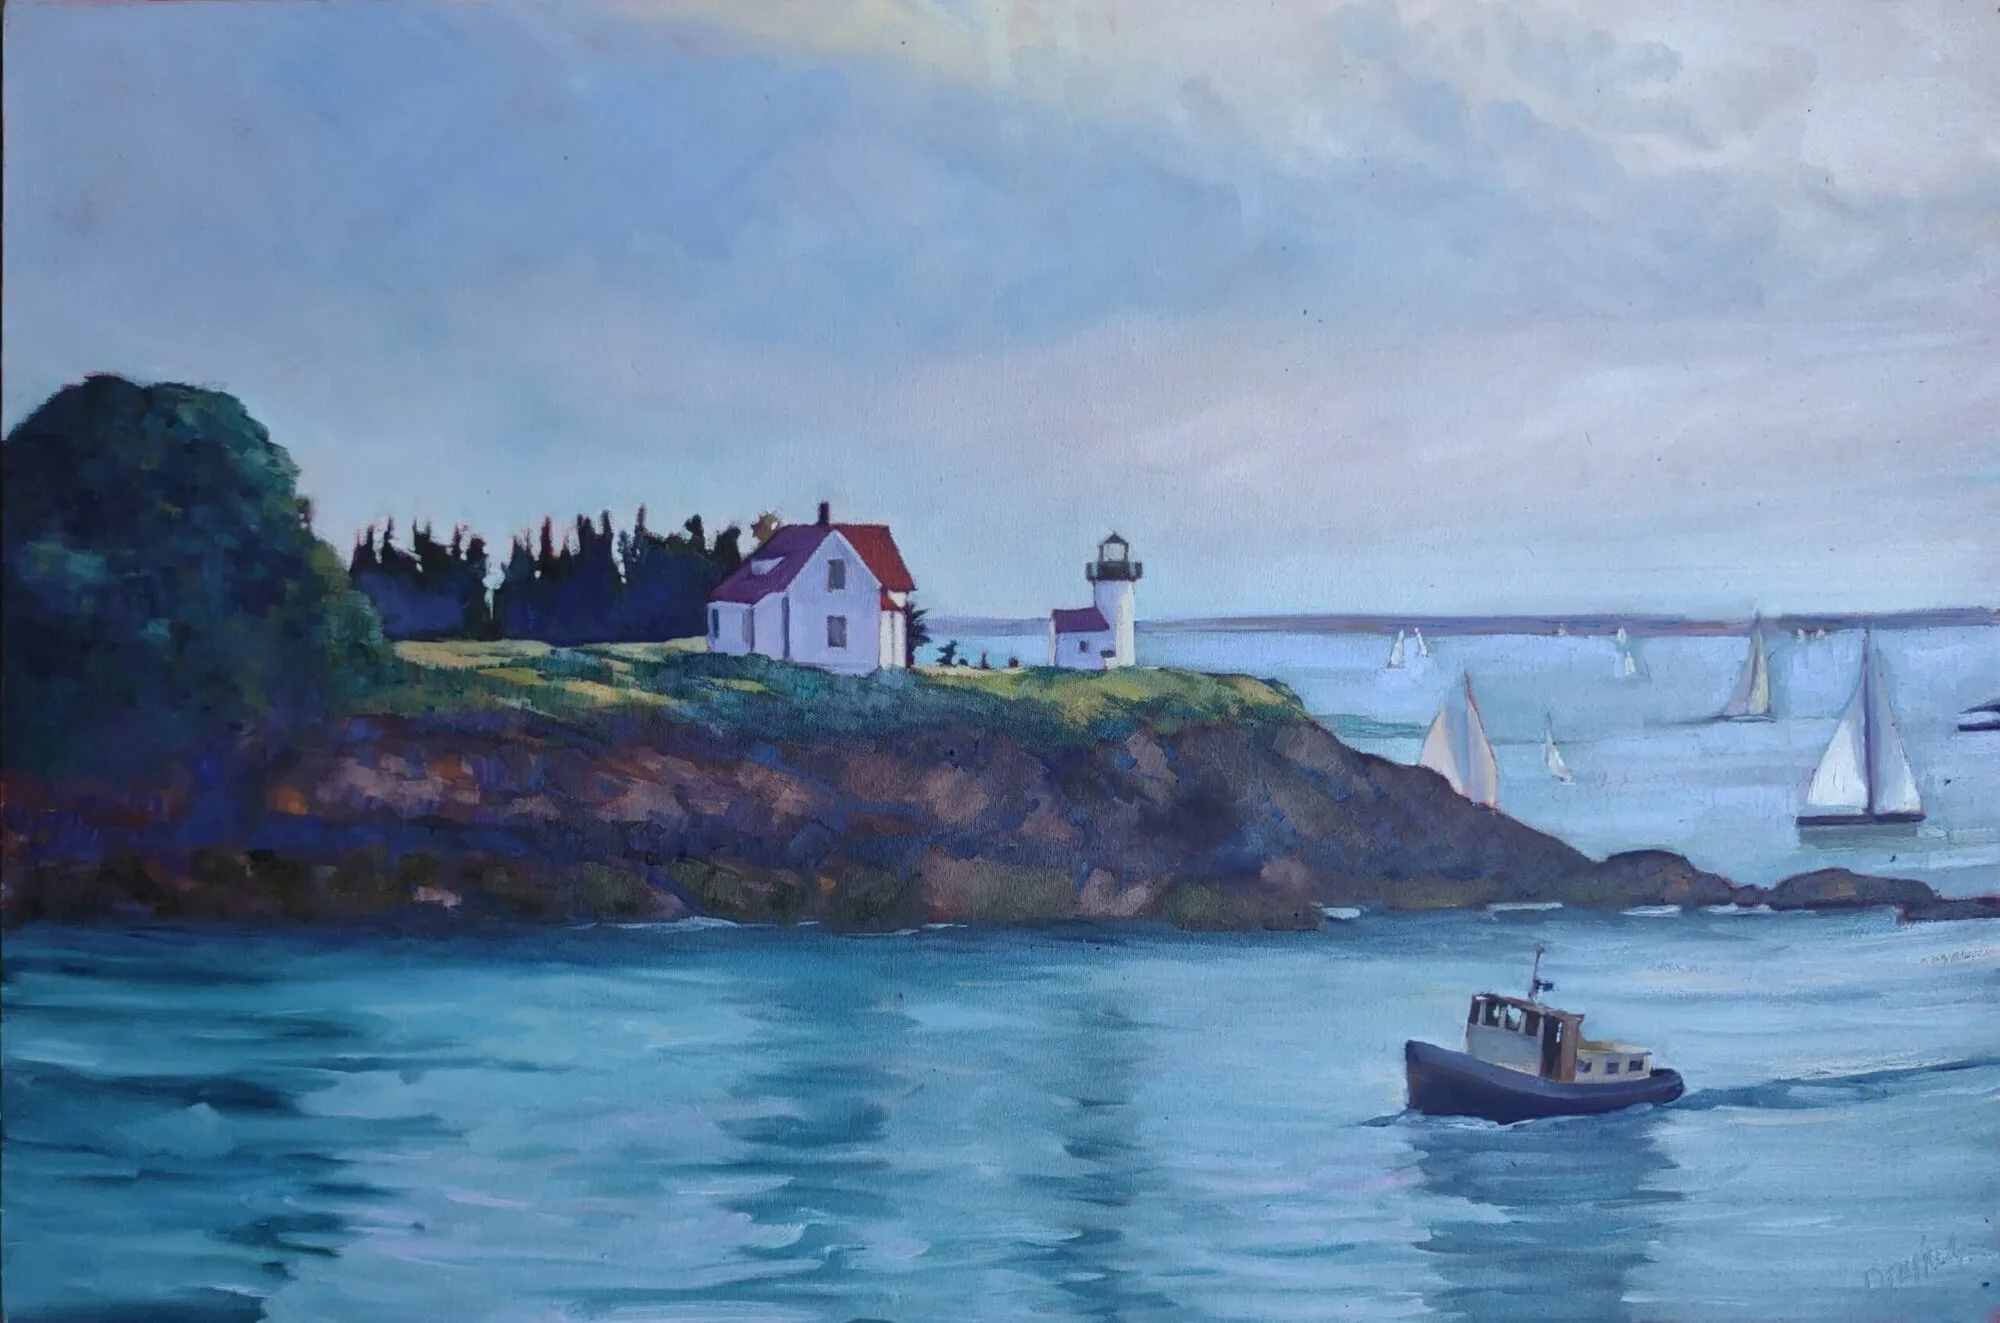
| Home Port, oil on canvas, available. |
An assortment of rounds and filberts, a few large flats and an optional fan brush should suffice. More than a handful is overkill. Most workhorse alla prima painting happens between sizes #6 and #12, with a few smaller brushes for detail work, and larger brushes for bigger canvases.
If you like painting itsy-bitsy lines, invest in a rigger and a #1 round. I get more mileage out of spalter brushes, which are large, inexpensive flats for covering lots of area fast. I also keep a few soft sable brushes for glazing and blending.
 |
| Parrsboro Sunrise, 11X14, oil on canvasboard, available. |
Bristle brushes tend to form a flag (a v-shaped split) at the end over time. If the brush is made properly, with good interlocking bristles, it will have a natural resistance to fraying. However, oil and acrylic brushes can’t tolerate letting paint dry into them, or being left standing on their bristles in solvent. You can wash brushes with Murphy’s Oil Soap, saddle soap (nice), specialty brush soaps, Fels Naptha, or even shampoo or detergent in a crunch. The important thing is that you do it promptly, before your paint has a chance to set up.
First, remove the solids by swishing them around in solvent. Then, put soap on a rag and work it into the bristles from the ferrule down to the bristles’ end. Be sure you’re washing the inside bristles, not just the surface. Repeat until the suds run clean. Shake excess water out, shape the brush slightly with your hand, and let it air dry.
 |
| Sometimes it rains, oil on canvasboard, available. |
WATERCOLOR
Brushes are far more important in watercolor. I like Rosemary & Co. but they are very expensive. I recommend Princeton Neptune brushes for new painters. A ½” flat, a 1” wash brush, a #6 quill and a #8 round will get you started. If you’re going to invest in a mop, squirrel is better than synthetic. A set of short synthetic flats (or mottlers, as they’re sometimes called) in ¾”, 1” and 1½” will round out your collection.
Riggers and liners are tiny brushes for making very fine lines. They’re more useful in watercolor than they are in oils, in my experience. I buy the cheapest ones I can find because I’m always wrecking their points.
Lastly, you should have a scrubberto take out mistakes. You can buy them purpose-built, or you can just use an old hog-bristle brush.
Never leave your brushes standing in water, even as you work. Cleaning watercolor brushes is far easier than cleaning oil brushes. Hold them under the tap and let the pigment wash off with the flow of the water. I have never washed my brushes with soap, but if you find your synthetic brushes have stained, you can use a small amount of bar soap on them. Squeeze the water out and reshape the heads. That’s all there is to it.