An efficient plan for fast outdoor painting in oils.
 |
| Perkins Point, by Carol L. Douglas. All the paintings in this post were done for Castine Plein Air last week. |
Often people ask me how we manage to get so many paintings done during an event. We avoid what my friend Brad Marshall called “flailing around.” That means those times when you seem to lose your way. We’ve all done it, when apparently everything we know falls out of our memory. I’ve written a simple protocol to avoid this. If you always work in this order, you’re less likely to flail around. Feel free to print this and tape it inside your paint box.
 |
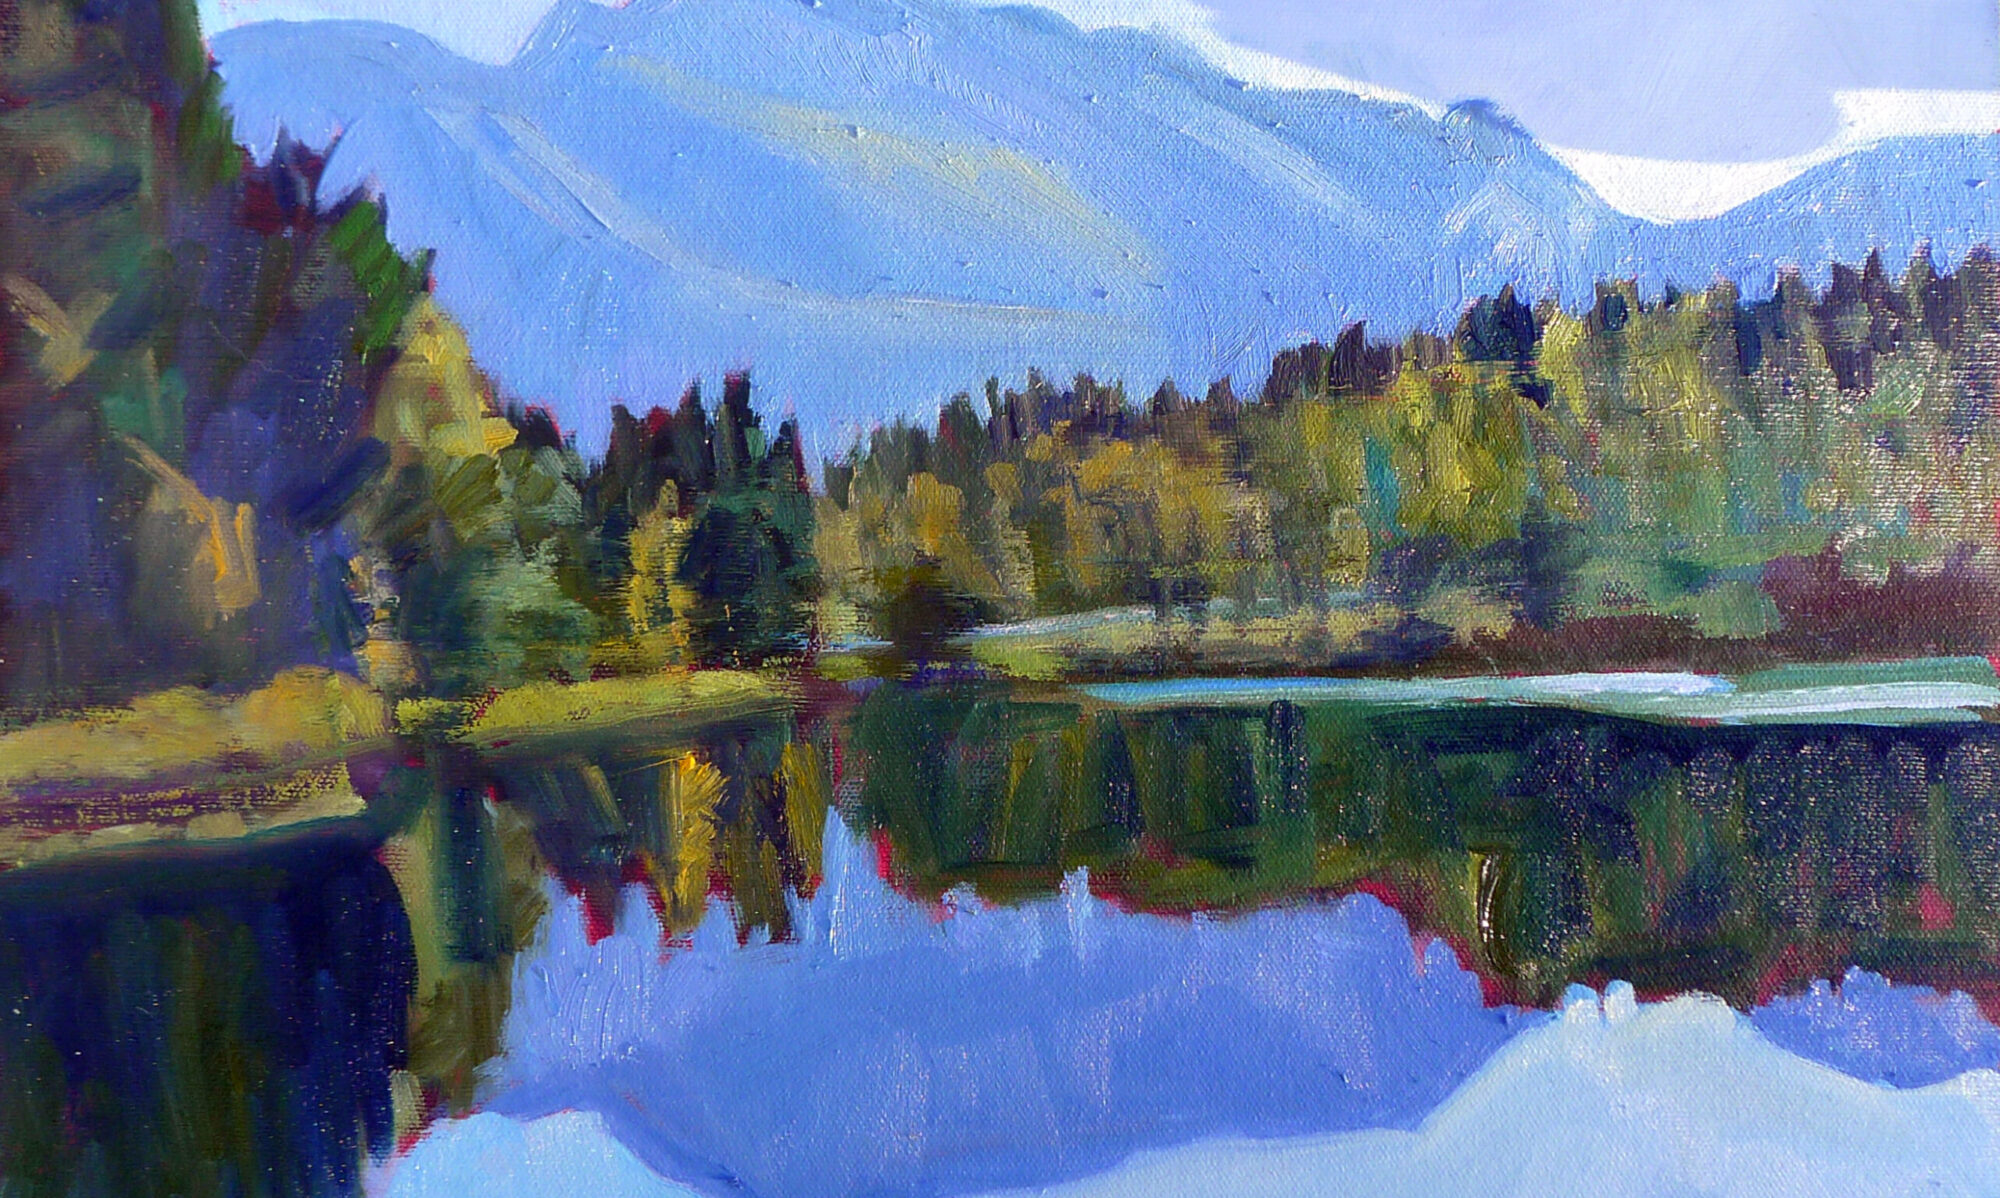
| Glacial erratic, by Carol L. Douglas |
1. Set up your palette with all colors out, organized in a rainbow pattern; may be done before going out.
Putting your pigments in the same spots each time speeds up your process. And putting out all of them when you start ensures that you develop the painting based on what you see, rather than on what’s at hand. Be sure to replace a color when you run out, not when you think you’ll next need it.
 |
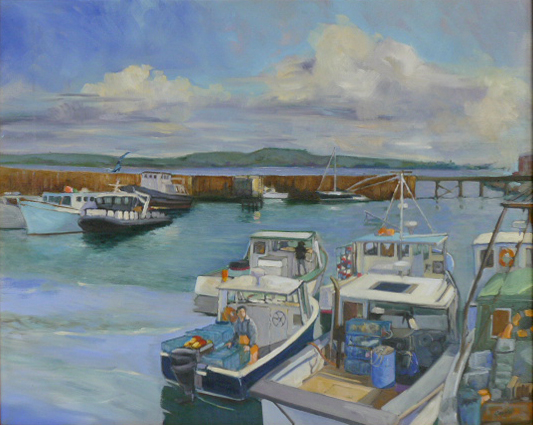
| Lil’ Toot, by Carol L. Douglas |
2. Value drawing of the scene in question, in your sketchbook.
If you do this on your canvas and then paint over it, you won’t have it to refer to when the light changes or you need to restate your darks. Keeping it in your notebook means it’s always accessible.
3. Crop your drawing, and identify and strengthen big shapes and movements.
If you start by filling in a little box, you only allow yourself one way to look at the composition. Instead, draw what interests you first, and then contemplate how it might best be boxed into a painting.
 |
| Tenney cottage, by Carol L. Douglas |
4. Transfer drawing to canvas with paint as a monochromatic grisaille.
This allows you to draw with a brush and check your composition’s values.
5. Underpaint big shapes making sure value, chroma and hue are correct. Thin with odorless mineral spirits (OMS), turpentine, or whatever solvent you generally use.
This underlayer should be thin, but not soupy, so it can accept top layers without making mud. You don’t want added oil or medium in this layer as it can lead to cracking in the future. How much OMS? That varies by the day, but just enough that you can drag your brush without scumbling.
 |
| Sunrise, by Carol L. Douglas |
6. Second layer: divide big shapes and develop details. A slightly thicker layer.
This is the body of your painting, without a lot of detail. Use almost no OMS, and no painting medium or linseed oil. It’s still too early for impasto. For some painters, this is combined with the last layer.
 |
| Water Street, by Carol L. Douglas |
7. Third and last layer: use medium and more paint, adding highlights, detail and impasto.
This is the final layer, the one with painterly flourishes. Controlled use of medium here results in an even, bright, tough final surface.
Next week: a basic protocol for watercolor painting.
Next week: a basic protocol for watercolor painting.