fbpx

Nobody owns technique

One can learn a lot from books, but one can’t learn everything.
This recipe doesn’t spell anything out for you; it presumes you understand how to bake. (BTW, confectioners sugar no longer weighs out at 2.5 cups to the pound. I’d guess it’s milled differently today.)
In 1954 a woman named Doris passed this cookie recipe along to my mother. Its telegraphic style always makes me smile. In the 1950s, baking technique did not need to be explained by one married woman to another. Today, those of us who learned to bake from our mothers or through 4H can follow this recipe without a problem. Those who didn’t, probably can’t. It presumes a basic understanding of baking that is no longer common today.
Once a friend was fretting about how she couldn’t find an uncomplicated muffin recipe. “But they’re all just lists of ingredients,” I said. “You always assemble them in the same order: sift the dry ingredients together, beat the wet ingredients together, and then fold the two mixtures into each other.”
I showed this recipe to Jane Bartlett, who remarked that when she teaches Shibori she frequently tells her students that nobody owns technique. This is a very apt observation for both baking and the fine arts. There is nothing one can patent about artistic technique, any more than one could patent the order of operations for baking.
Dance of the Wood Nymphs, by Albert Pinkham Ryder. It was probably a lovely painting when he finished it, but his disregard of commonly-accepted protocol meant it was an archival disaster.
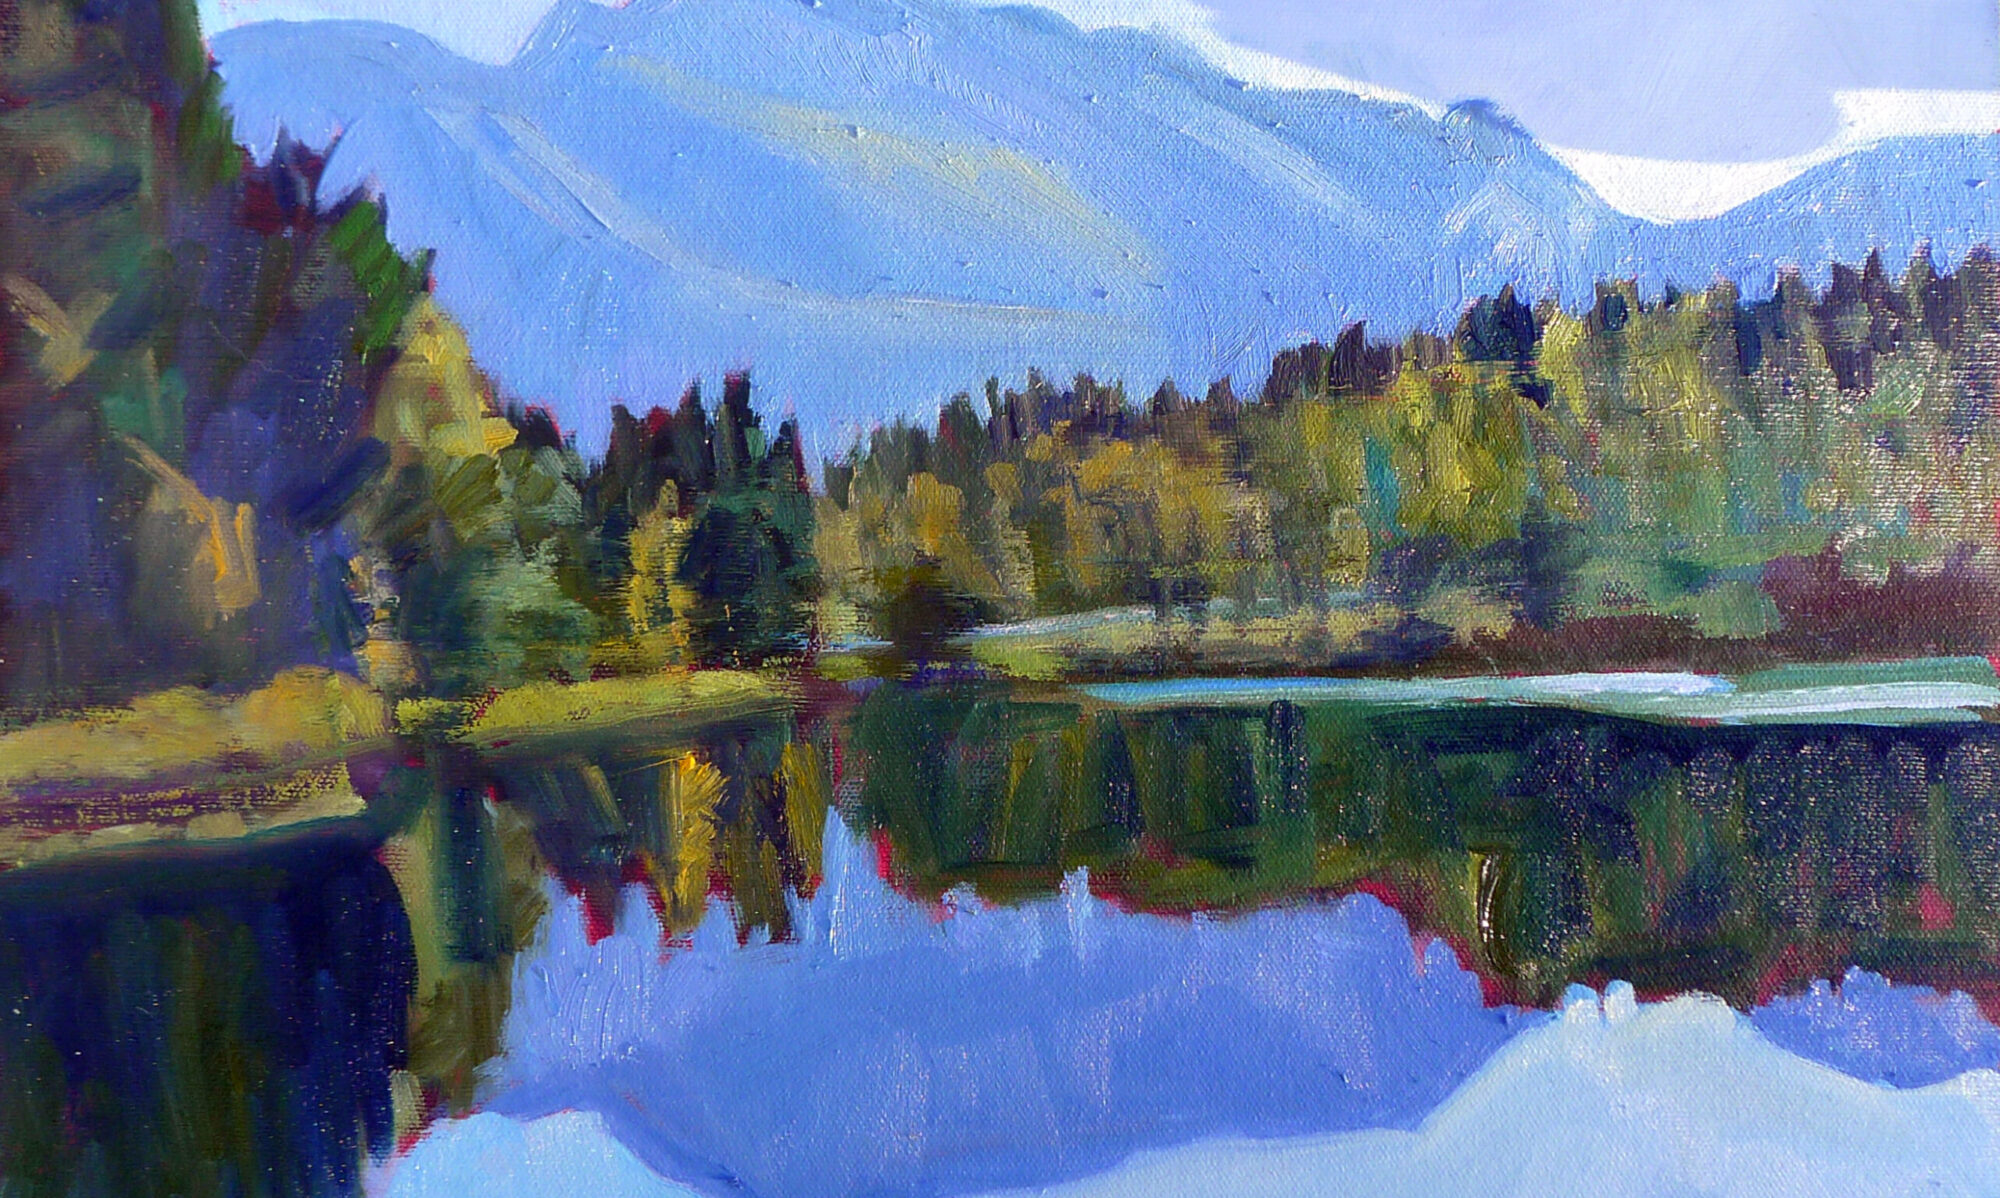
Painting is so straightforward that departing from the accepted protocols is often foolish. A few years ago, some of my students attended a workshop teaching painting into thin layers of wet glaze. The tonalist Albert Pinkham Ryder did that in the 19th century, and his works have almost all darkened or totally disintegrated.
One can learn a lot from books, but one can’t learn everything.  A kid in my studio announced her intention of making an apple pie the other day. (She is an excellent cook but her food heritage is non-western.) I gave her a cookbook and the supplies and left her to it. Imagine my surprise when this was what she came up with:
Elegantly layered, but it’s not an apple pie. Not everything can be learned from books.
To make an apple pie, one needs to know what an apple pie looks and tastes like, but it also helps to have assembled an apple pie under someone else’s tutelage. The same is—of course—true of painting and drawing. Yes, one can learn something about them from books, videos, and the occasional visit to an art gallery, but a good teacher really does help.
This post was originally published on October 4, 2013. If you live in mid-coast Maine and are interested in painting classes, my next session starts January 8. Email me for more information.

Monday Morning Art School: what do different brushes do? (Part 2, watercolor)

Brushes are much more important in watercolor than in oil painting. Here’s what each brush is for.
The more vertical the brush, the more flow.
Recently a student asked me why he was carrying so many different brushes. What were their uses? This is the second part of the answer; I addressed oil painting brushes last week.

Watercolor brushes are softer than oil-painting brushes. The most expensive are sable brushes, and unlike oil-painting brushes, the difference is worth paying for. Natural bristles combine strength with suppleness and hold more paint than synthetics. However, there are some fine synthetic brushes out there. Several of my go-to brushes are Princeton Neptunes. 

Unlike oil-painting brushes, your watercolor brushes should last a lifetime, so buy the best you can afford. The only absolute rule is to never leave them standing in water. Set them down flat between brushstrokes and rinse them thoroughly when you’re done.
Made with the synthetic spalter brush, above.

Except for squirrel mops, watercolor brushes drop more pigment the more vertically they’re held. You can use this to move from a filled area to a broken one in one brush stroke. In all the following examples except for the mop, I’ve held the brush both ways. A good general rule is to carry the vertical brush slowly and in a controlled manner; pull a horizontal brush more rapidly to get the least amount of paint contact with the paper.

The brush I used for the photo montage above is a 2″ flat synthetic mottler or spalter brush. I like this shape for both oils and watercolor. It’s a relatively inexpensive brush that gives a beautiful wash. It’s useful for covering large areas quickly, but with precise edges.

A flat gives you a good even wash. Used on its side, it can give you a controlled line.
And that would be the bright. More punch, less pigment.
Flats and brights give you nice flat washes, but can be used to make expressive lines as well. Brights have more control and carry less paint, just as they do in oil painting. Turn them on their sides to make a controlled line. Twisting the brush while painting gives an infinite variety of shapes. So too does varying the ratio of paint and water.
You can’t do either of these things in any other medium.

Because of the way watercolor bleeds, its brushes can be used in ways not possible in any other medium–a long blend of different pigments, or by painting a shape in clear water and then dropping pigment into it.

Round brushes are just more lyrical than flats.
I don’t normally carry riggers with me in either watercolor or oils. (They’re meant to paint perfect lines, and my world-view apparently doesn’t have many perfect lines in it.) Most of my line work is done with rounds. They do not give as much control on long lines, but they are very expressive.
A mop brush makes a perfect wash, but it does so much more as well.

Squirrel mops are the most uniform wash brush you can use. It’s virtually impossible to make them skip, so use them where a lovely flat wash is a goal.

Mop brush on very textured paper.
But a good mop can also point, hold vast amounts of paint and sweep across the paper in style.
One of my favorite tools, a natural sponge.

Natural sea sponges are multi-purpose painting brushes. Use them to apply or remove paint. They can be as subtle or bold as you wish.

Paint lifted (left) and applied (right) with a sponge.

Your brushwork contributes immeasurably to the quality of your painting. Don’t dab or be diffident; plan your strategy and then execute it with boldness. To do this, of course, you have to practice.


Black and white all over

A class exercise on design, and a chemistry question I can’t answer.
Christ and the Woman Taken in Adultery, 1565, Pieter Bruegel the Elder, image courtesy of the Courtauld Institute of Art but the painting has been stolen.

Yesterday was the kind of day that drives poets mad. Just below freezing, it rained heavily, with gusts of wind. Our plein air painting class was forced into the studio.

grisaille (pronounced griz-eye) is a painting done entirely in shades of grey or another neutral color. Historically, it was used as decorative painting in imitation of sculpture. Some are what we moderns call duotones. They have subtle colors added to extend the value range. But for our class, they would be strictly in black and white.
Abstract design by Christine Covert

Painting runs along two parallel tracks. The first is design. This is why painting teachers relentlessly push students to do thumbnails and other value sketches. Value is our most important tool. Get it right, and you can be wrong about a lot of other things.

(I came to this realization late, by the way. I studied with Cornelia Foss, who tinkers endlessly with the ‘rules’ of painting. From her I got the hairbrained idea of minimizing value as a structural concept. However, this was a misinterpretation on my part. That’s a good lesson in not asking the right questions at the opportune moment.)
Grisaille by Jennifer Johnson.
The second track is color. It’s so much more interesting in some ways that it can be a distraction to the beginning painter. Mixing paints is both difficult and exciting.
Of course, value is part of color. In color space, value is the range from black to white. All successful paintings have some kind of pre-meditated value range in them. A high-key painting is one in which the contrasts are extreme. A low-key painting is one in which the range is narrower. In either case, there must be midtones too. They are also part of the design process.
Grisaille by David Blanchard.
It’s a lot easier to experiment with value when you’re not fussing about color management at the same time. One way to familiarize yourself with this idea is to paint a ten-step scale ranging from black to white. That’s not a bad exercise, but it’s boring. Instead I asked my students to do the monochromatic still life that I assigned in Monday Morning Art School last month.
Grisaille by Chris Covert.
Before that, however, they did an abstraction in charcoal, based loosely on the drawing I included in yesterday’s blog. Charcoal is the most painterly of drawing tools, but this is something you can do in a sketchbook while watching TV. It is a bit intimidating for someone to ask you to do an abstract drawing, but if I call it “doodling,” you can relax and get on with it.
There are only two rules:
  • Have a full range of tones, not just a line drawing.
  • And no realistic objects belong in your drawing at all.

A question: One of my students has had a problem with red pigment from her toned boards bleeding into her final paintings. She prepared a sample board for me to test her M. Graham acrylics vs. a similar red from a very inexpensive craft paint. I tried the squares at 15 minute- and 30 minute-intervals. The M. Graham pigment bled into the white paint, but the craft paint did not. I then tried the same intervals using my own Golden-toned board. Again, there was no bleeding.
Acrylic is pigment suspended in acrylic polymer emulsion. It is supposed to be water-resistant when dried. That doesn’t mean it’s oil-resistant. I’m beyond my chemistry knowledge here, but if any readers can suggest what’s happening, I’d be very grateful.

Monday Morning Art School: ditching the color

A painted value study is a great tool for understanding your subject.

Pile of rocks value study, by Jennifer Johnson

Last week, I had you find and identify the simple shapes within a drawing. The prior week, we learned how to do abstracted value studies of our own homes.  This week I want you to do a monochrome (black and white) painting based on a value drawing.

Jennifer Johnson is usually two steps ahead of me. At the end of Tuesday’s class she told me she’d done this assignment before I assigned it. She graciously offered her paintings to illustrate this post.
Jennifer started by doing this meticulous, detailed drawing of her pile of stones.
Before you can work successfully in color, you need to be able to work successfully in black and white. This is possibly the most valuable training an artist can give him or herself. I often do watercolor value studies before I paint in oils, but any painted medium will do for a monochrome study—gouache, watercolor, acrylic or oils.  It is not necessary to use a pricey substrate for this exercise: gessoed paper is sufficient for acrylics and oils; use any paper you have for gouache or watercolor.
Jennifer was trying to teach herself about rock structure, so she set up a pile of stones. First, she drew a meticulous, careful drawing of her subject. This step is akin to research; you are learning the details of your subject.
She traced the basic shapes for each iteration. It saved her tons of time and made it easier to do multiple iterations of the same idea.
Next, she simplified and redrew her picture in graphite, focusing on the values, not the fine details. She then painted the rocks in monochrome acrylic. She added a final step, using five different colors to represent five different value levels. If you want to add this step, the exact colors you use are immaterial, but they should go from warm to cool or cool to warm as they get darker.
Jennifer used tracing paper to redraw her outlines. That’s perfectly fine, since she didn’t get hung up on the drawing. You may find yourself doing a half-dozen drawings before you get the levels and composition just right. Your goal isn’t to simply copy reality, but to design a construction that pleases your eye. It may be almost exactly what you see, or it may be very different.
Next came a simple value sketch of the rocks.
Value is the first and most important visual element available to the painter. Get it right, and you can be wrong about a lot of other things and still produce a stellar painting. It’s a lot easier to experiment with value when you’re not fussing about color management at the same time.
Why use paint instead of a pencil for your value study? In practice, many students have trouble applying different pencil tones to paper. They leave most of the paper white. Moreover, it’s hard to differentiate four or five value steps with a #2 pencil.
In addition to her monochrome painting, Jennifer did a version where she assigned different colors to different values. If you do this, make sure the colors move warm-to-cool or cool-to-warm as they get darker or lighter.
Work from light to dark. When you’re done, check where the area of highest contrast is. If that’s not where you wanted the focal point to be, you may have a design problem. If so, just do it again until your work can be read like a story: first focal point, next focal point, next focal point, etc.
Don’t be timid about laying in darks and don’t worry about neatness. This is rough work, and it should be done fast.
Why not do your value studies on the canvas you intend to work on? Once you cover it up, you no longer have it for reference. That becomes very important as the light shifts. Having a value study on hand can make the difference between being able to finish a painting or not.

Monday Morning Art School: seeing abstract shapes

If you start with a shed, you can ramp yourself up to Windsor Castle in no time.

It all comes down to abstract shapes.
This week I gave my painting class the assignment of doing three thumbnail sketches of their own home or the view from it. This is an assignment with two goals:
  1. To see beauty in the everyday;
  2. To learn how to draw better thumbnails.

Most of us, including me, think we live in uninspiring houses. My first reaction when I started these drawings was that the shrubberies at the front of my house really need attention. I also realized that I have only a vague sense of what my house looks like from the outside. And it’s nothing special, just an old house that also needs its shutters painted.

My house, shivering in the first frost of the season.
Ultimately, though, everything comes down to a pattern of light and shadow. Will my viewers know I have vinyl siding and replacement windows, and that my house is located on busy Route 1? Or will they see it in its bones, as an old Maine farmhouse at the top of a hill? Unless I’m remarkably picayune with the details, it’s the essence that shows.
I think I like this view better. It’s what I used for the drawing at top.
A big part of learning to paint is learning to see. In my class we don’t use viewfinders. I also discourage doing thumbnails in pre-drawn boxes. That means creating a bounding box in the same aspect ratio as the final painting, and then drawing your thumbnail inside it. (If you don’t know what aspect ratio is, see here.)
Those devices defeat the purpose of the thumbnail, which is exploration.  A good thumbnail sprawls without boundaries, even though it’s quite small. When it’s finished, you can figure out how you want to crop it. Or, as in my example below, you may find that you need to crop it more than once to get it right.
First, figure out which border is critical. In my example, it’s the top; I don’t want that much tree. What’s the next most-important border? Since I want a little light sneaking into the background, it’s the right side. The bottom crop is at a natural point, below (but not too close to) the shed. After that, I approximated where the left line went to make the drawing fit a 12X16 canvas.
You may take a ruler to my drawing and determine that it’s not exactly the right aspect ratio. That doesn’t matter; it’s easy enough to make fix that on the fly. 
That wasn’t too hard, was it?
Let’s build on this exercise and do marker sketches of the same three views. By doing so, we start to see them as abstract shapes. That’s actually tricky to do, but it’s the key to all good drawing.
You must force yourself to stop thinking of the object you’re looking at as “my shed” and start to see it as a series of shapes. First, draw a series of pencil lines to indicate the overall shape. Then, using a pen or marker, doodle in the dark values. If you catch yourself thinking “window,” or “door,” stop and force yourself to relabel your object as merely a light or dark shape. Your brain will catch on, I promise.
If I painted my house from this angle, it would be about the shadows of the tree, which I didn’t even notice when I was drawing the thumbnail.
All objects can be reduced to a certain, limited number of shapes, which build on each other to make a whole. When you see things as abstract shapes, you expand your possible subject matter. A plastic pencil case is not inherently much different from a shed, which in turn has the same, simplified, forms as a house. If you start with a shed, you can ramp yourself up to Windsor Castle in no time.

Like this post? Monday Morning Art School is a weekly feature. Subscribe at right!

Safety in small brushes

In life, as in painting, which brush is going to give you the results you crave?

By Sheryl Cassibry, in gouache. Occasionally, I like to brag on my students. These are all from yesterday’s class.
Yesterday my class painted on the public landing at South Thomaston, watching the Weskeag River burble its short, strapping way to Penobscot Bay. I was, as I often do, coaxing a student to use a bigger brush. My students accept the reasoning behind this, but they often revert back to smaller brushes by the time I visit their easels again. It feels safer.
“What a metaphor for life!” exclaimed Roger Akeley. “You want to paint bold, but you run back to the tiny brush!”
 By Roger Akeley
He is right. In life as well as in painting, there is a time for measured, patient, diligent action, but there’s also a time for bold deeds. The trouble is, by the time we’ve reached our mid-twenties, the bold has been trained right out of us.
Bold carries a more obvious risk of failure. This is illusory. Bold alone carries the potential for greatness. Safe is a one-way ticket to mediocrity.
My youngest nephew joined our class yesterday. He’s going into the eighth grade.
I’ve been pondering the lyrics of Needtobreath’s Slumber this month:
All these victims
Stand in line for
The crumbs that fall from the table
Just enough to get by…
It’s a sadly-apt vision of most of our lives. We hang on from paycheck to paycheck, with no real plan for the future. We want a better job, the opportunity to live somewhere else, satisfying relationships and real community. Yet we stay rooted in our spots, unwilling to make the hard choices that make real, significant change.
By Rebecca Gorrell, in acrylic.
When should you reach for the bigger brush? Assuming you’re not a miniaturist, the answer is: nearly all the time. Most of the struggle in painting is getting the big relationships right. The rest is just detail. If modern painting has taught us anything, it’s that excessive detail is extraneous and often intrusive. It can interfere with the viewer’s ability to understand emotional truth. Detail, in painting, should be saved for where it really matters.
By Jennifer Johnson, in oil. Sorry about the glare.
I’m an artist with the soul of an accountant, myself. I like order; I actually enjoy math, spring cleaning and vacuuming. There are no fuzzy edges in any of these tasks. When I’m done with them, I have a sense of simple satisfaction. But they aren’t central to my life.
By Jen Van Horne, in oil.
The Pareto Principle implies that 80% of our results come from 20% of our work. This doesn’t mean that fussing isn’t necessary, but that it should come at the end, when the work has assumed its overall shape and statement.
By Sandy Quang, in oil.
Using a bigger brush isn’t necessarily more emotional or less rational. In fact, it’s usually the other way around. When I have my monster size 24 flat in my hand, I’m very thoughtful about where I set it down. Flailing around is much easier with a size six filbert. Extend that metaphor to life. It’s much easier to complain about your home town than it is to clean the basement out, sell up and move. In fact, we all complain a lot. But which is going to net you the real results you crave?
I’ve got one more workshop available this summer. Join me for Sea and Sky at Schoodic, August 5-10. We’re strictly limited to twelve, but there are still seats open.

Mad dogs and Englishmen go out in the midday sun

How to paint in direct sun without your painting getting too dark.
Painting in the direct sun at Fort Williams. Not only did I need gallons of water, but I have the most ridiculous tan. (Photo courtesy of Karen Lybrand)
Yesterday, Cat Popesaw the above photo and asked me, “How do you work in the sun and not make your values too dark to compensate?” This is a common-enough problem. Experience has taught me how to compensate, but I used to do it too.
Yes, I could have chosen a shaded location from which to paint, but not at the edge of a cliff looking down into the water. I wanted that view and was willing to broil to catch it.
I have an excellent field umbrella: the EasyL by Artwork Essentials. However, the onshore wind in Maine often sends it flying. It’s gotten to the point where I don’t even bother. I wouldn’t have used an umbrella in the above situation anyway, because my canvas was already the size of a kite.
Painting with Brad Marshall along Long Island Sound, where the sea breezes are light enough to permit an umbrella. (Photo courtesy of Rye Art Center)
I started this painting with the early morning light hitting from the side. By the time the light was overhead, I had the value structure laid out. That’s important because a raking side light isn’t as strong as direct overhead light.
My red canvas is part of the solution. I aim for a value-neutral, high-chroma color. Not only is a very light canvas a liar when it comes to value, it causes eye strain.
Painting on a pale or white canvas makes you lay down those first strokes too dark. To understand why, we need to go back to the master of color mixing, Josef Albers. Albers understood that the same optics rules that played tricks in color also did so in monochrome. He did many greyscale exercises along with his more famous color work.
We perceive the dark square differently in a field of red than in a field of white.
To apply his insights to field painting in bright light, a dark square in an expanse of white reads differently than the same square in a field of mid-value color. That’s why white space is such an important concept in graphic design. In painting, we subconsciously use that white space as part of our design, and when it goes away, we’re left with something that’s dark and drab. It’s worse when the white board is shimmering in the sun. Our pupils contract terribly, altering our perception of color and light.
I mix my colors before I start painting. I have the darkest dark and lightest light set out before I put a stroke on the canvas. This limits my value range and defines my color temperature intellectually, rather than intuitively. I block in my large shapes, shooting for an average hue and value for each large mass. Then I stand back and look at the painting critically, to see if the composition laces together. If it doesn’t, back to the proverbial drawing board.
Historic Fort George, by Carol L. Douglas. This was painted without an umbrella, because I didn’t want to hike the Fort Point Trail carrying extra gear.
It helps to paint in the sky last. The tendency is to paint the sky too dark. This pulls the light level of the whole painting down to match.
I complicate matters by painting in my sunglasses. This isn’t a problem as long as I remove them and check my painting from time to time. The polarizing lenses cut the glare from both the water and the paint, so it’s not really that difficult to match colors accurately. And if the sea is a little bluer than in life, is that really so bad?

Monday Morning Art School: the basic rules of oil painting

This weekend’s workshop was all oil painters. This gave me the opportunity to review some fundamentals.
Nicole Reddington’s painting ruthlessly subjugated detail for design, and was tremendously powerful for that. I wish I had more student work to show you, but I can’t find my camera!

Use enough paint

Using too little paint is a rookie error. Too little paint on your palette means you’ll try to stretch it with solvent on the bottom layers or medium on the top layers, and before you know it, you’re going to have a mushy, monochromatic mess on your hand. In the northeast, that soup usually assumes an unpleasant green tone.
Modern paints are formulated to use almost straight out of the tube. They may need a small amount of solvent for underpainting, or a dab of medium to create a juicy top layer, but too much of either ruins paintings.
In my weekly classes, I don’t let students touch painting medium until they have the steps of constructing a painting firmly in hand. That’s hard to do in a workshop, but remember that painting medium is a boost, not a crutch.
Sandy Quang’s painting of a downed tree.
Big shapes to little shapes
Stop thinking of your value sketches as something you must get through before you get to the fun of painting. They’re the most important part of the process, and they’re also a lot of fun.
I like to do lots of preparatory sketches before I start to paint, either in marker or in monochromatic watercolor. The abstract pattern is far more important than the details. In the early phases of a painting, you must relentlessly sacrifice detail to the good of the whole.  This is true whether the results you want are hyper-realistic or impressionistic.
The untrained eye looks at a scene and thinks about it piecemeal and in terms of objects: there’s a flower, there’s a path, there’s a tree. The trained eye sees patterns and considers the objects afterward.
Is there an interesting, coherent pattern of darks and lights? This pattern is the primary issue in composition.

Stop thinking of drawing as something you have to get through, and start doing your dreaming in a sketchbook.
Darks to light
In oils, it’s easy to paint into dark passages with a lighter color; the reverse isn’t true. Put down white paint too quickly, and you’re going to fight all afternoon to avoid fifty shades of meh.
This doesn’t mean oil painters don’t jump around after we set the darks; we can and do. But that dark pattern controls your paintings.
Don’t choose slow-drying or high-stain pigment to make your darks. The umbers are great because the manganese in them speeds drying. However, I don’t want to carry an extra tube just for this. I use a combination of burnt sienna and ultramarine.
A student’s palette… This is the color space in which the modern painter can work. It sizzles.
Fat over lean

Odorless mineral spirits (OMS) replaces turpentine as the modern solvent. This is different from medium, which is some combination of oil, drying agent, solvent and varnish. Paint with solvent in the bottom layers. Paint with medium in the top layers. As noted above, use both sparingly.
The more oil in a layer, the longer the binder takes to oxidize. This keeps paints brighter and more flexible. However, oil also retards drying. Using too much in underpainting will result in a cracked and crazed surface over time.
The makers of Galkyd and Liquin say their products are designed to circumvent this rule. However, we have no track record for these alkyd-based synthetic mediums, whereas we have centuries of experience layering the traditional way.
Even if we could change it, why would we want to? Underpainting with soft, sloppy medium gives soft, sloppy results. The coverage is spotty and thin. The traditional method is tremendously variable and gives great control. It just takes a little while to learn it properly.
Next up, a watercolor workshop aboard American Eagle, June 10-14, and my annual Sea & Sky workshop at Acadia National Park, August 5-10. Email me if you have any questions.

Cloudy with a chance of rain

A reader asks for advice teaching his first workshop.

Janith Mason at a Sea & Sky workshop. One of my all-time favorite photos of a student.

It looks like the rain predicted for Monday has moved up to Sunday, but I’m prepared; I rented a shelter for this workshopmonths ago. It can be a fly tarp, a tent, a shelter, your studio, or a porch, but you must have a place for students to keep working when the weather goes bad. Rain is inevitable.

Your first and most important step, however, is to get consent from the places you’ll take your class. The rules change when you’re not alone. For example, if you bring a group to Acadia or another national park, you need a permit and proof that you’re carrying insurance (which you should have anyway). Many state and local parks have similar requirements. Historic sites often also charge a fee.
Rain is inevitable. Here we are getting soaked on the Monhegan ferry.
If you’re painting a view along a street or road, remember to ask the property owner first. Stay on the sidewalks, the shoulder of the road, or in a pocket park if you’re in a public place.
You’re morally and legally responsible for the safety of your students. That’s why I don’t teach at Raven’s Nest in Schoodic, even though it’s a fantastic view. It’s not safe for big groups. Keep your people back from the road, and away from drop-offs and heavy equipment.
Know your own process and be able to break it down into discrete steps. Can you explain why you’re doing what you’re doing each step of the way? If not, go back and run through a painting in your studio and note each step. If you don’t have a consistent protocol, you’re probably not ready to teach.
You can’t demo convincingly unless you understand how and why you do each step in your process.
In a similar vein, if you’re not a natural-born encourager and coach, teaching might not be the best option for you. Teaching painting is far more than just technical advice. Your own personality is the biggest indicator of your potential as a teacher.
Write supply lists and disseminate them freely. Mine are in this blog post. (No, I don’t mind if you use them as templates.)
Every workshop should have a focus. This weekend’s is the composition questions raised by the gently rolling landscape of the Genesee Valley. In The Age of Sail, it will be watercolor sketching on the fly. Sea & Sky at Schoodic is longer, so we work more intensively on essentials of painting rocks, water, trees and skies.
Students need time to work alone, but they also need your attention.
Don’t take too many students. For me, twelve is about the maximum. Bigger classes end up with the teacher spending too much time demoing, and a video is cheaper and better for that. They’ve paid for your individual attention and problem-solving, and they should get them.
I do ask students to not spread out too far apart, or I spend all my time walking from person to person. When possible, I carry a bicycle with me to get from painter to painter faster.
The bottom line for a good workshop is one-on-one attention. Oh, and sunscreen.
Any time I have more than six students, I engage a classroom monitor. This person is responsible for setting up my supplies, logistics and answering simple questions (but not for teaching).
Lastly, I carry a teaching bag containing extra boards, rain slickers, palette knife, and bug spray. People inevitably forget something, and we want them to have a good time.
Addendum: I forgot to mention restroom access here. In the deep wilds you can use a porta-potty or nature itself, but in more civilized place, find a site with public restrooms.

Monday Morning Art School: the architecture of trees

To paint trees, you have to know trees. That doesn’t mean you need to memorize species, but you do need to be able to see the differences.
Along the Ottawa River, by Carol L. Douglas. You don’t need to be able to identify species at 200 paces, but you do need to be able to recognize how trees differ.
Trees, clouds and rocks are all frequently abused in the same way: the oblivious painter never thinks about their individual characteristics but paints them interchangeably. That’s a mistake.
Old Bones, by Carol L. Douglas
There is a major division in the forest world between conifers (the trees with needles) and broadleaf trees. Most, but not all, conifers are evergreens; the biggest exception being the larches (tamaracks), which turn a delicious yellow-gold in autumn. Which are dominant in your landscape? Even in the Pine Tree State, the distribution of conifers to deciduous trees is about 50-50.
Most scenes will include a variety of canopy shapes.
For broadleaf trees, the most important distinguishing characteristic is the branching pattern of the tree, which defines the shape of its canopy. Silver maples are large trees with open, vase-like canopies. Oaks have large spreading crowns; beeches have similar crowns that appear to have melted. Most broadleaf trees branch alternately but maple, ash, dogwood and horse chestnut branch in opposite pairs.
Pines have fewer branches than spruces or firs, and their branches grow in circular whorls on the trunk. As they age, they develop an open, jagged canopy. Spruce branches grow in an upturned direction; as youngsters, they look the most like ‘Christmas trees’. In their dotage, they turn a fine, weathered figure to the wind. Firs have wide lower branches and a downcast mien. Notably, their cones point upward.
Along Kiwassa Lake, by Carol L. Douglas
Conifers are most easily identified by their needles. Pine needles grow in clusters of two, (red pines), three (yellow pines), or five (white pines), held onto the stem with a tiny papery wrapper. Spruce needles are short, stiff and grow individually from twigs. Fir needles are soft and flat. Cedars have flat, scale-like leaves and stringy bark. Junipers (including, confusingly, the Eastern Red Cedar) have berrylike, bluish cones on the tips of their shoots.
Basic broadleaf leaves.
Many people can identify the common broadleaf trees by their leaves, and I’ve included a chart to help you. The important part for the painter, however, is to see the differences in color. Silver maples have a lovely grey-silver color. Sycamores are garbed in military-fatigue green. Black spruces are dark while Eastern White Pines are fair and soft in their coloring.
This is why I discourage my students from using tube greens and encourage them, instead, to mix a matrix of green colors.
Baby black spruce and pines, by Carol L. Douglas
Too often, we painters ignore young trees, something I tried to rectify (with varying success) last season. Young trees often look radically different from their aged ancestors, but they have a beauty of their own.
To be a convincing painter, you don’t need to memorize the species of trees, but you do have to learn to distinguish between them. Any plausible landscape will contain a variety of them, with different bark, branch structures, and leaf colors.
It’s about time for you to consider your summer workshop plans. Join me on the American Eagle, at Acadia National Park, or at Genesee Valley this summer.