If you don’t like how you’re painting, knock the struts from under yourself and see what happens.
 |
| Damariscotta Lake overlook, watercolor on Yupo, by Carol L. Douglas |
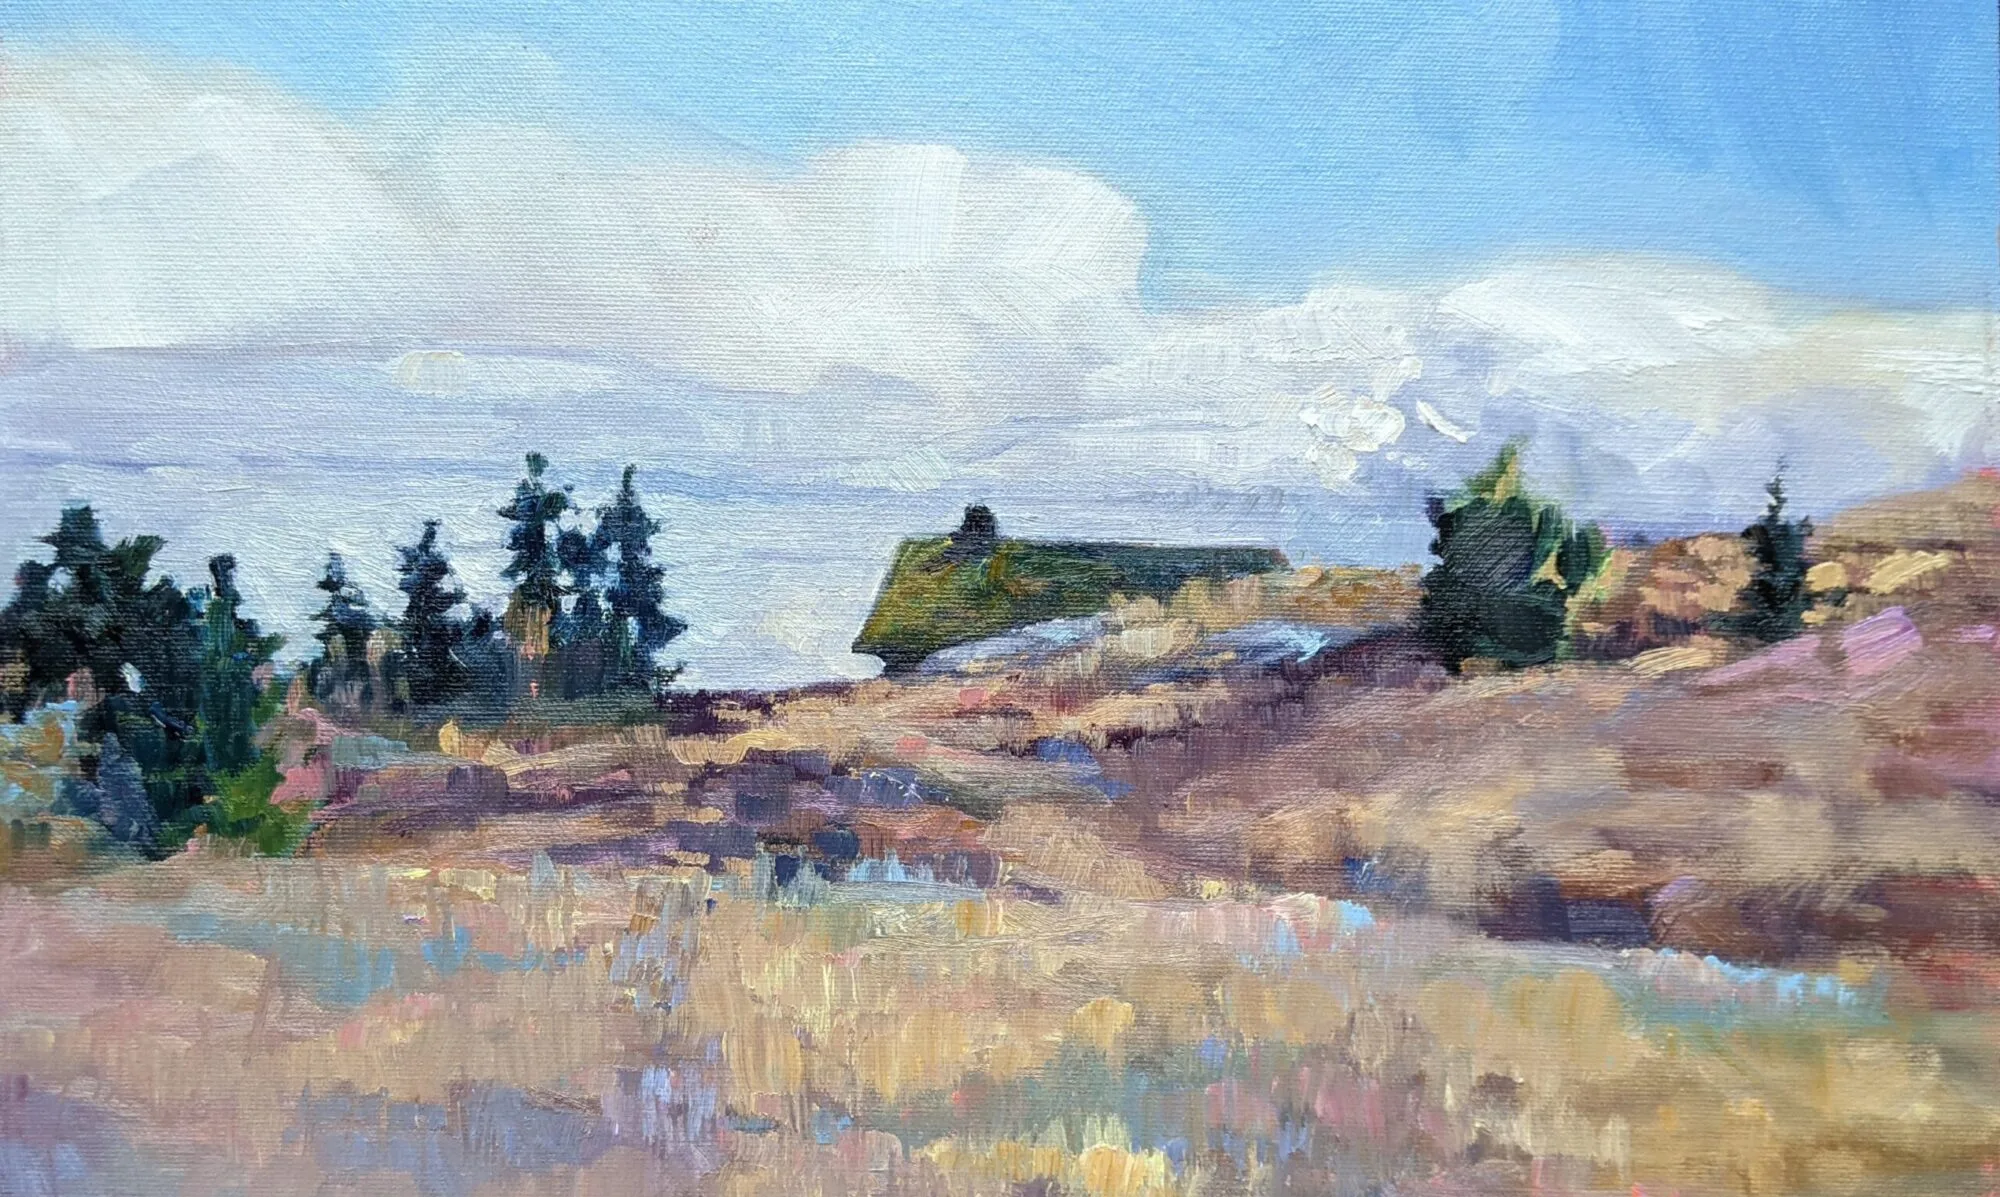
I’ve been mulling over the color-shift I see between my oil paintings and my watercolors. My pigments are essentially the same. (Here are my supply lists for watercolorand for oil painting.) But my oil paintings of the same scenes always seem cooler. Is that because I’m toning in red? Or is something else at play?
David Dewey suggested the problem was, in a sense, all in my head. I’m so rooted in oils, he thought, that I’m more observational, and feel less free to depart from reality. My watercolors are a lark to me, so I give myself permission to experiment.
Since then I’ve been trying to be less bound to observed color. It’s too soon to say what the outcome will be, but I did look at a small painting in my studio yesterday—one that I thought was garish and overshot when I did it earlier this month—and thought, “That’s really not half bad.” There’s a lesson there, and it’s to not be too quick to judge your own work.
 |
| Damariscotta Lake overlook, oil on canvas, by Carol L. Douglas |
Perhaps the problem is also the substrate. After all, my excitement about watercolor exploded when I discovered Yupo.
Because my residency oils were quite large, they were done on stretched canvases. For work under 24X20, I like RayMar panels. They’re solid, stable, archival—and pricey for beginning students. For them, I suggest a decent panel over a cardboard or MDF backing. As they grow more confident, they can move to a better-quality panel.
In May, I bought a bunch of different boards by different makers to test. Then I got busy with my season and forgot them. RayMar’s medium landscape cotton panel is a toothy board even after heavy toning. That makes for great control, and it’s a high mark for competitors to match.
Linen’s advantages over canvas mainly show on stretcher frames. Linen is highly reactive to the moisture in sizing and primer, and it’s very strong for its weight. It dries tight and it stays taut. Nothing is more satisfying to paint on than hand-stretched Belgian linen.
But those qualities are irrelevant in a glued linen panel. There isn’t much sense in paying a premium for linen to be glued down.
Still I’d bought a few linen panels from different makers in my assortment. I was pleasantly surprised by how much I liked the surface: it’s less toothy, which made it fun to slosh the paint around.
The problem with less-expensive boards is always their backing (although the gesso can be pretty thin, too). MDF and cardboard are perfectly fine in smaller sizes or for student work. But they aren’t as rigid as wood. Cardboard, particularly, bows and curls with time.
 |
| Poppy’s handmade birch panel. |
On Sunday, as we were setting up for our last, quick,painting, Poppy Balser handed me a panel she’d made herself. It was clear birch, finished with two coats of Golden GAC 400 and clear gesso. She’d left the board unsanded, which gave it a better tooth than the manufactured versions of the same thing. And it was uncradled, which made it frameable for plein airevents.
I made a poor painting on it, but that was my doing, not the board’s. It’s the best new product I’ve painted on all year—of course, because it’s the most work. Still, I plan to make a few and keep playing.
Note: I’ve decided to teach one more plein airsession in Rockport. No, I’m not nuts. If it’s miserable, we’ll meet in my studio. But the light has been so fantastic in midcoast Maine, we might as well do another session before winter closes in for real.
 |
| Yesterday in Rockport. |
I’ll be teaching a six-week plein air class on Tuesday mornings from 10-1. It runs from November 13 to December 18.
When weather permits, we paint at fantastic locations around the Rockport-Rockland-Camden area; rain dates are in my studio at 394 Commercial Street. Watercolor, oils, pastels and acrylics; all levels of painters are encouraged to join us. The fee is $200.


