Whether you want to make a drawing as detailed as Prud’hon’s or as simplified as Gauguin’s, the process is the same.
 |
| My precious linen drape. |
If you’re lucky enough to own a worn mid-century linen tablecloth, don’t get rid of it. It can stand in as a drape under a still life, or as a sheet in a figure drawing. You can even iron it and put it over the deal table in your garret when company comes. If you don’t have one, you need a cotton sheet for today’s exercise. Throw it over something and let’s get going.
In the late eighteenth century, Neoclassicism brought drapery studies back to the forefront of art training. Their challenge and appeal were the same as in antiquity. Drapery plays peek-a-boo with the human form, exaggerating and pointing up the body’s activities. That artfulness is lost on modern viewers, and so is the skill of draping.
 |
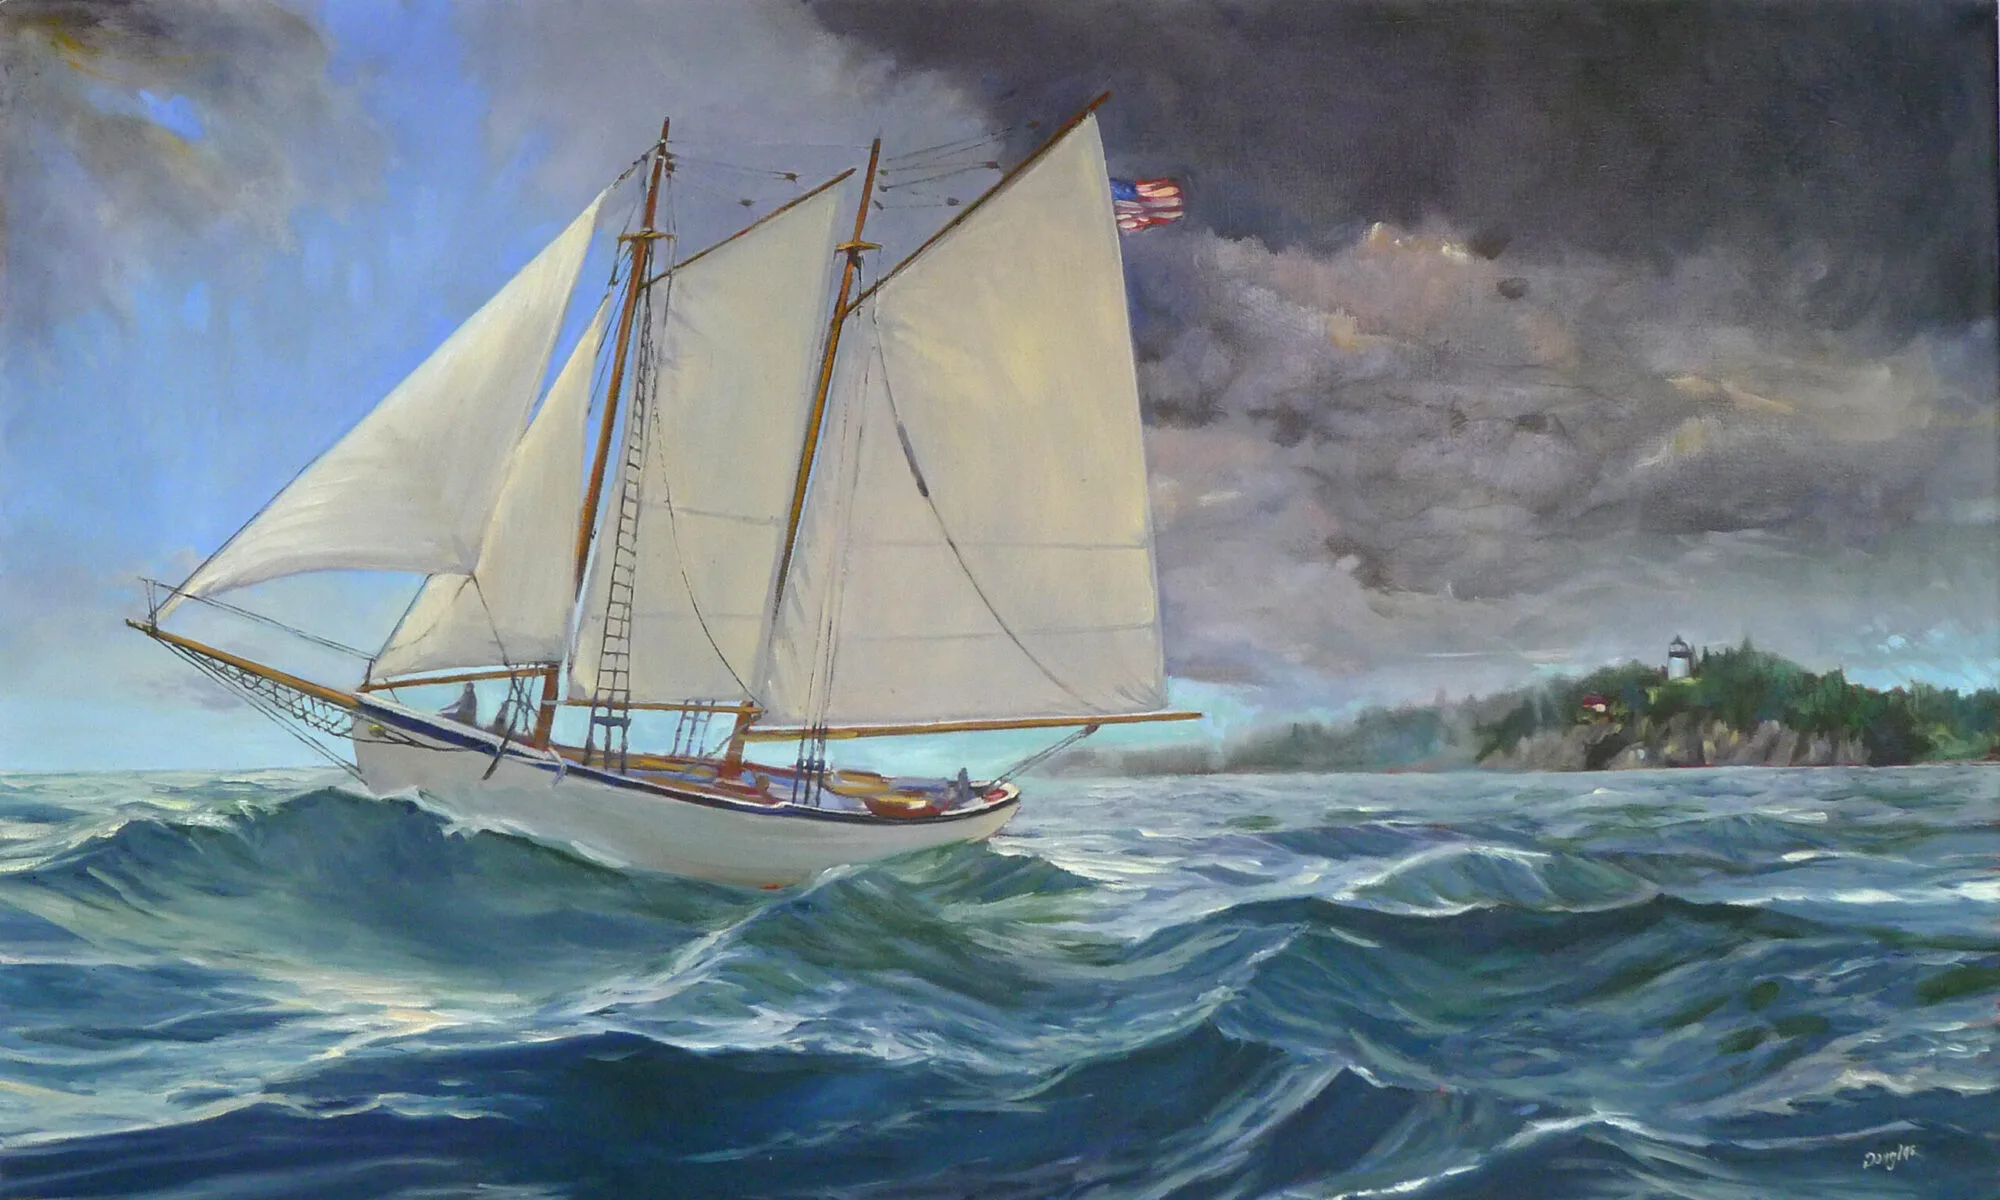
| Same linen cloth, appearing as a sheet in The Laborer Resting, by Carol L. Douglas |
Modern man wanders around in jeans and t-shirts. We don’t tend to draw people in them; most figure classes are done with nude models. We don’t learn much about rendering fabric, or about rendering people in clothes.
 |
| Free form curves are measured as straight line segments, as on the right, and then smoothed into their final shape. |
We’ve talked about ellipses, but free-form curves appear often in the natural world, and especially in drapery. They’re wild and sinuous, and they can be very confusing. It helps to visualize them as straight-line segments that are joined up and smoothed, as in the above illustration. For a refresher on how to use your pencil to measure, click here.
 |
| This is done the same way; there are just more line segments. |
In my first pass, I have drawn all the curves of the drapes as straight-line segments. Pay no attention to value at this point. As always, measurement comes first. The most complicated shapes and shadows are still just a collection of angles, proportions and alignments.
With practice, you’ll be able to measure the curves as you draw them. You’ll still be measuring; you’ll just be doing it automatically.
 |
| Place the shadows. You get white or dark and that’s it. No shades of grey. |
In your second pass, define the large areas of shadow. There is no detailed modeling done in this step, just placement of the large shapes. (If you’re nearsighted, you can take off your glasses for this step.) Don’t use value steps as we did two weeks ago: you get white and dark, and that’s it. Don’t refine your shapes, either.
 |
| Now you can start focusing on the details. |
In your third pass, you can begin to explore the subtlety of the shapes and the relative values of each fold. Erase if you want, be more careful with your linework. If you love detailed drawing, start big and revel in this phase; it’s fun. Because you set the value relationships up front, you can’t really go wrong focusing on the details.
 |
|
Drapery study, 1813, Pierre Paul Prud’hon, black and white chalk with stumping on blue paper, some squaring in black chalk (courtesy Metropolitan Museum of Art)
|
Why do I never finish these Monday Morning Art School drawings to the level of Pierre Paul Prud’hon’s wonderful drapery study at the Met, above? That kind of high finish is actually the easiest part of drawing, requiring just loads of time (and interest) to finish. It’s not where most people need help. They need help knowing how to fit all the puzzle pieces together at the beginning.
Whether you want to make a drawing as detailed as Prud’hon’s or as simplified as Gauguin’s, the process is the same—start by figuring out the shapes, then work out the shadow structure and then—and only then—worry about detailed modeling and mark-making.
Great step-by-step process instruction!
Also, I thought your own drapery figure (the resting worker) was an Old Master until I read the caption.
I'm impressed (again).
Very helpful! I can see why your blog is so highly rated! Thanks for addressing my individual issue!
Thank you, Dave!