A difference of intention

There’s a difference between painting fast and phoning it in.

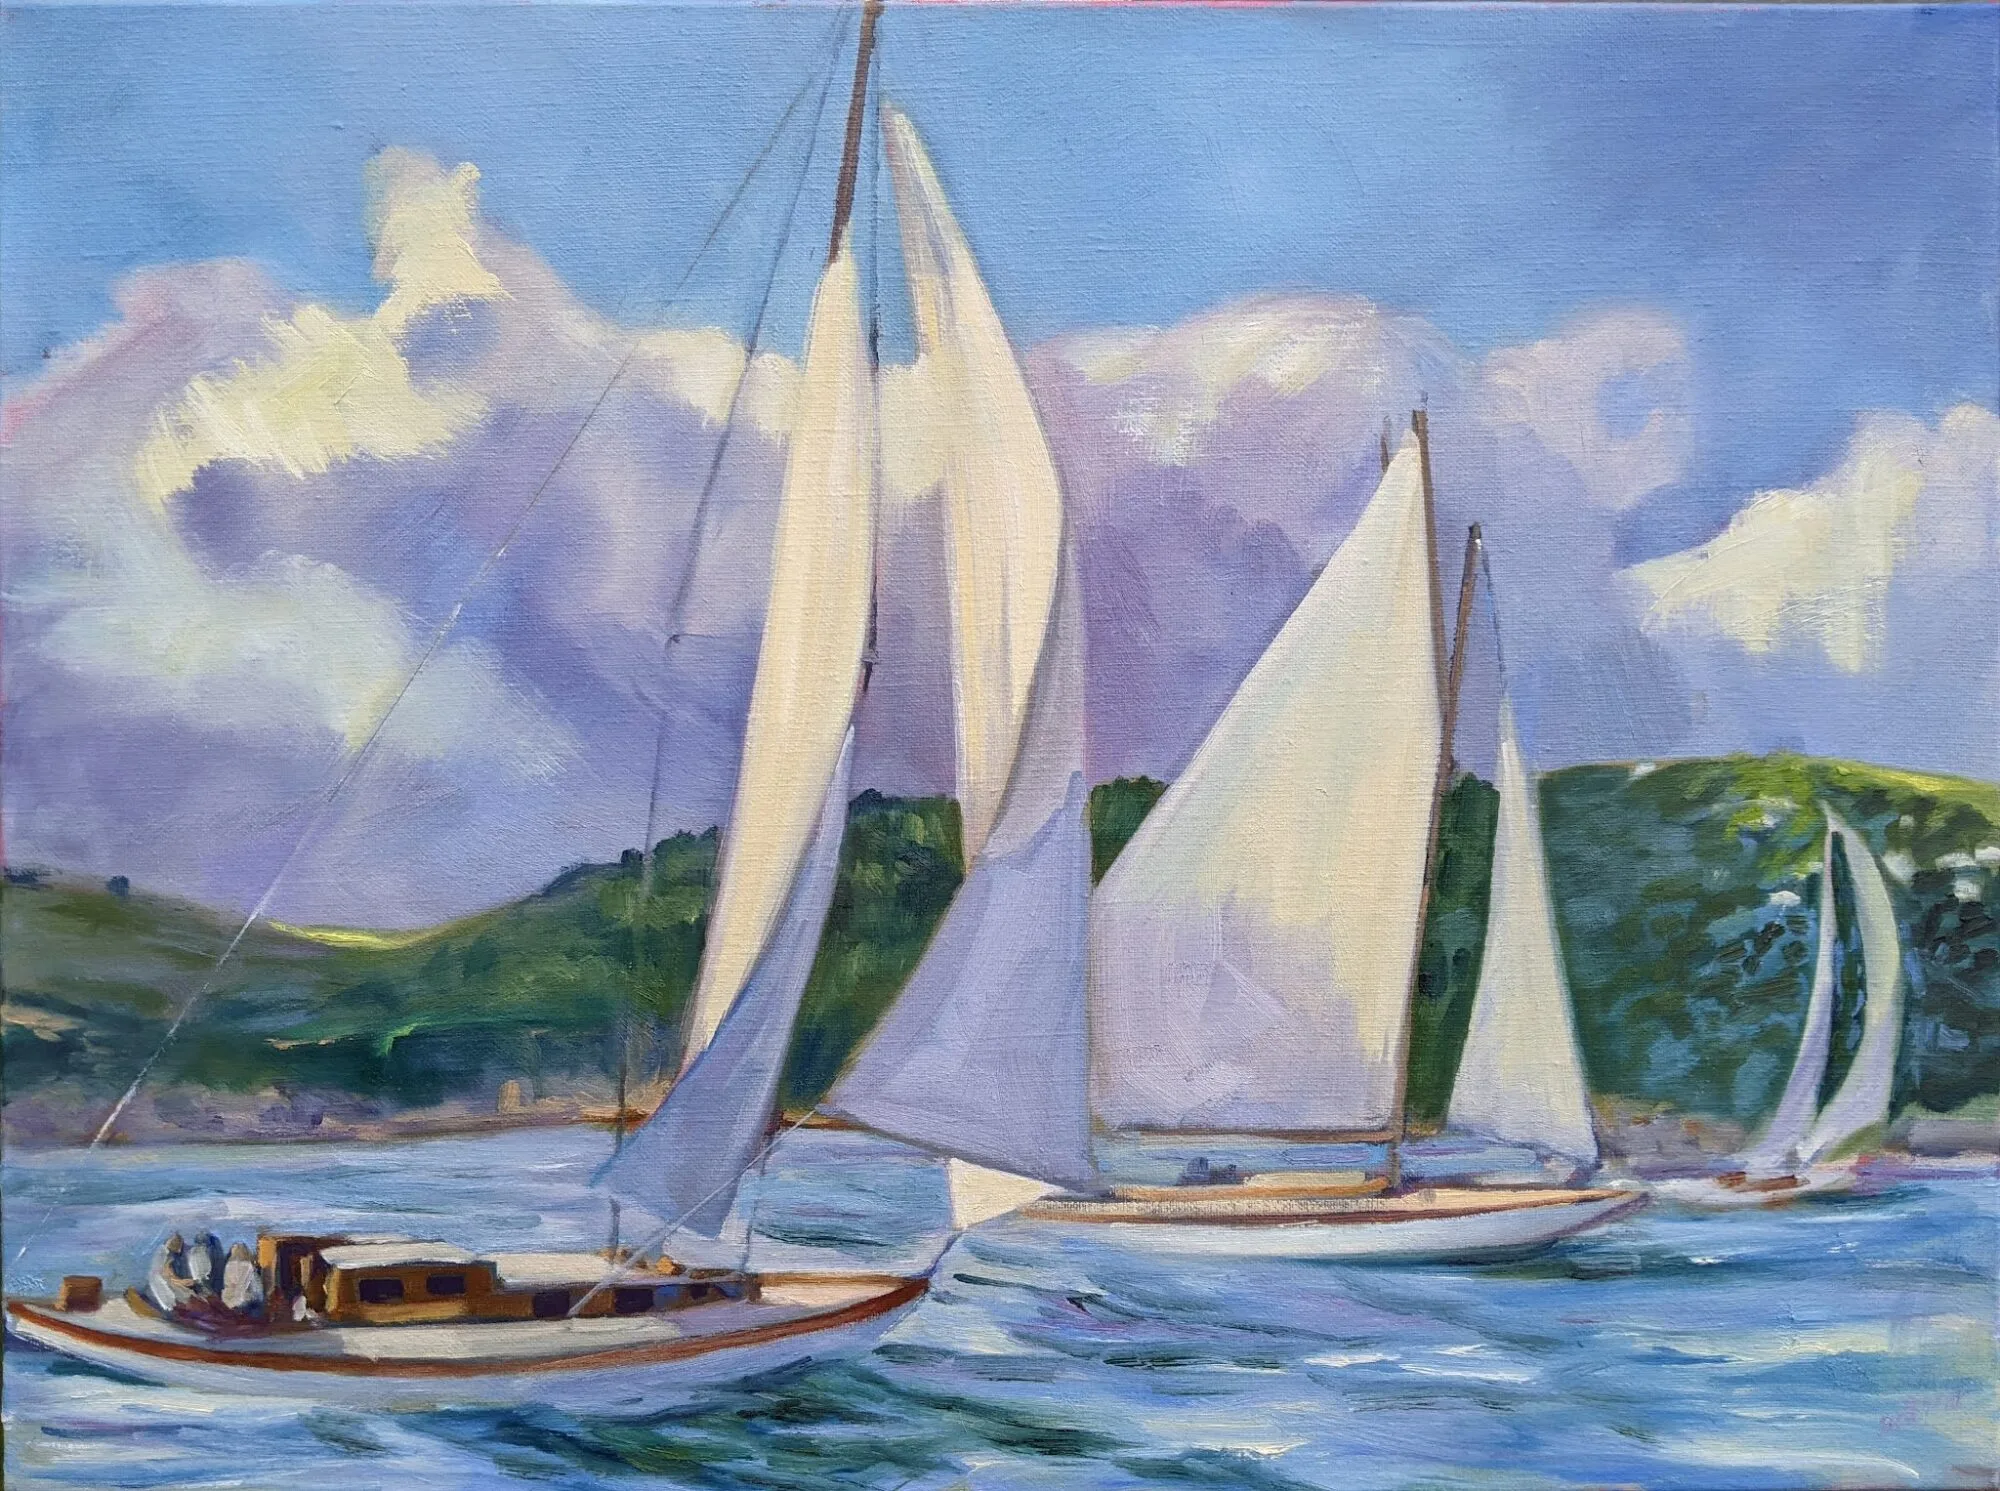
Main Street, Owls Head, 16X20, oil on gessoboard, $1,623 unframed

The hiker makes constant adjustments to his course, although he does most of them automatically. When sailing, the helmsman trims frequently to follow changes in the wind. On a zip line, a person makes one decision (to jump) and then hangs on for dear life. As our speed increases, our control decreases.

That’s as true for painting as anything else in modern life. It’s one reason why so much modern art has been about expression of a single idea or feeling, rather than craft. It’s a true representation, in tangible form, of the chaotic speed at which we hurtle through life.

Apple Blossom Time, 9×12, oil on canvasboard, $696 unframed

If that’s your schtick, there’s not much a traditional painting teacher can offer you. We’re no substitute for the creative genius that will motivate you to vomit pigment onto a canvas. What we teach is rather shopworn: a process by which you can transfer ideas onto canvas, using technique that’s more than a thousand years old. It’s not for the easily-bored, because it takes time to master. And even when it’s mastered, it takes time to execute properly.

That doesn’t mean that good paintings are necessarily slow paintings (or vice versa). “How can you finish a painting that fast?” is a question every plein air painter has heard many times. We’ve learned an efficient way of approaching the problem. If we deviate too far from it we get bogged down in the process of painting, at the expense of our personal vision.

Autumn blues, 12X16, oil on canvasboard, $1449 framed

When my advanced watercolor students have finished a long project, I’ll sometimes tell them, “Now, paint it again in ten minutes.” They’re often surprised that the second, fast painting is better than the one they spent so much time on. But that second painting didn’t take them ten minutes—it took them that plus all the time they spent on the first one. It’s just a second iteration of the same work.

There’s a difference between painting fast and phoning it in. It’s a difference of intention. I was dissing a well-known artist with an avid collector at a reception last week. “His new work has become…” He paused, unable to think of how to finish his sentence.

“A schtick?” I suggested.

His eyes widened. “I own one of his paintings from the ‘90s,” he protested, “and it’s really good.”

“That’s because he wasn’t copying himself yet,” I said.

Fallow field, 12X16, oil on canvasboard, $1449 framed

It happens to many excellent painters—they figure out a motif that sells, and produce a lot of it, and then suddenly, it’s ‘what they do.’ They’re no longer engaged on a deep level; they’re phoning it in, either out of laziness or fear of losing their audience.

Galleries don’t help, because they want painters to produce shows that are unified and coherent. There’s visual impact to twenty almost-identical paintings, especially if they lean heavily on graphic design. But that’s only true in the showroom; take one home and it loses that impact. Then it must stand or fall on its own merit.

That doesn’t mean that we artists don’t have one finger raised to the wind of painting fashion. Obviously we do, or we would still be painting like Mannerists. But within our time and place, we have great scope for personal creativity, exploration, and deep thinking. The artists with long-term staying power are those who never forget that.

What is freedom?

Yes, painting (like music) is about personal expression—but it’s also a finely-honed craft.

Owl’s Head fishing shacks, oil on canvasboard, Carol L. Douglas, 11X14, $1087 framed or $869 unframed.

My little granddaughter, age five, recently got her first guitar. Being a smart little nipper, she’s going to shortly become bored with strumming the open, untuned strings. She’ll want to learn how to play the darn thing. Thank goodness it’s not the bagpipes.

Her parents could let her experiment until she miraculously discovers how to finger chords, but a smarter idea would be to ask her aunt Mary to teach her. As a culture we have thousands of years of experience with stringed instruments.

That’s true of every discipline I can think of—mathematics, auto repair, music, carpentry. Only in the visual arts do we persist with the notion that ‘freedom’ means dispensing with technique.

Skylarking, oil on canvas, Carol L. Douglas, 24X30, $3478 framed,

I was reminded of that while sailing aboard American Eaglelast week. One of my students is a high-school art teacher. “I realize art is about personal expression,” she said. “But how do you get them to understand there is a better way?”

It’s been a long time since I taught children, and I’ve never taught them in a school, where they’re under compulsion. But I have four kids of my own. I remember how mentally-inflexible they are at that age; they’re always certain they’re right. They don’t like adults touching their head space, but that’s what teachers are supposed to do. Meanwhile, they’ve been told that the art room is the one place in life where their thoughts and emotions have complete freedom. It’s no surprise that they guard that freedom zealously.

Back to basics: Karen experimented with various compositions before she started painting in Thursday’s class.

In fact, it’s not until they head off to RISD, where tuition, room and board will set them back an eye-watering $73,000 a year, that they may start listening to their art teachers. (In comparison, Pratt at $69,000, seems like a bargain, not.)

Meanwhile, the clarinetists and violinists among their peers will have had the benefits of private lessons and strict discipline. They’re used to following orders and practicing, and they don’t chafe at it.

But that’s not so in visual arts, and it’s not the fault of their teachers, but of the society that dismisses visual arts as the comic meanderings of dilettantes. This month’s offensive kick in the teeth is an Italian artist who sold a “column of light and air,” i.e., literally nothing, for $18,300. Parents aren’t wrong in wondering if art is just a con game, and teachers aren’t wrong in questioning the point of such a career.

Terrie’s sweet sketch for Thursday’s class.

Artistic kids are routinely told to pursue some other avenue of creative expression. After a career in teaching, industrial design, or marketing, they’ll finally wander back to me to try to recapture their first love, painting.

At which time I give them the carefully-scripted protocol that they should have had at age 14. As adults, their thinking has matured. They accept that is how art should be taught. They’ve had enough disappointment with their unguided attempts that disciplined learning is a relief.

Yes, painting (like music) is about personal expression—but it’s also a finely-honed craft. Expressive freedom rests on a solid base of experience and technique.

Monday Morning Art School: different strokes

The best way to learn about your brushes is to experiment.Your brushwork contributes immeasurably to the quality of your painting. Don’t dab or be diffident; plan your strategy and then execute it with boldness.

A spalter or mottler is a most useful watercolor brush.

On Friday, I gave you a guide to buying brushes. What are you going to do with these brushes now?

OIL and ACRYLIC

In the following illustrations, I’ve tried to keep the amount of solvent the same (except with the fan brush).

Above is a sable flat brush by Rosemary & Company. It can put down a very smooth surface and offers a lot of control, but it doesn’t carry the quantity of paint that an equivalent bristle brush will. I save sable for glazing or blending.

This is a hog bristle flat brush. The paint it lays down is both rougher and more impasto than the sable.

Flat brushes make an immediate, energetic mark. They’re excellent for fast, powerful surface work, long sweeping strokes, and blocking in shapes.

Used on their sides, they also make great lines, far more evenly than a small round can do.

Two rounds of very different sizes. A round is a more lyrical brush than a flat, and is a classic tool for painterly surface marks. It can be used to make lines that vary from thin to thick. A pointed round is used for fine detail. Bristle rounds tend to lose their points very quickly, however.

The great advantage of a filbert is the variety of brushstrokes you can get from one brush. This is great for single strokes that taper, such as in water reflections. Its rounded edges are good for blending. Set on its side, it makes nearly as good a line as a flat.

A bright is a less-flexible version of a flat. It’s great for short, powerful strokes or situations where you want a lot of control.

A fan brush probably has no place in a plein air kit, but I carry one anyway. I use it for blending, as on the left, although some people like using it to make whacked out marks as on the right. The problem is, it can carry very little paint, so its marks tend to be either gooey, as above, or very abrupt.

In my studio, I just use a clapped out soft-haired brush to blend.

Many plein air painters also carry liners and riggers, which are useful in paintings that are built up smoothly. I don’t paint that way, so I seldom use them. Another brush that is good for detailed work is an angled brush. I don’t have one of them, either. You can do almost any work you can envision with just the brushes I’ve shown you above.

WATERCOLOR

Watercolor brushes are softer than oil-painting brushes. The most expensive are natural bristles, and the difference is usually worth paying for. Natural bristles combine strength with suppleness and hold more paint than synthetics. Unlike oil-painting brushes, your watercolor brushes should last a lifetime, so buy the best you can afford.

In general, watercolor brushes drop more pigment the more vertically they’re held. You can use this to move from a filled area to a broken one in one brush stroke. In all the following examples except for the mop, I’ve held the brush both ways. A good general rule is to carry the vertical brush slowly and in a controlled manner; pull a horizontal brush more rapidly to get the least amount of paint contact with the paper.

Made with the spalter brush at the very top of the page.

The brush I used for the photo montage at the top of the page is a 2″ flat synthetic mottler or spalter brush. I like this shape for both oils and watercolor. It’s a relatively inexpensive brush that gives a beautiful wash. It’s useful for covering large areas quickly, but with precise edges.

A flat gives you good even washes. Used on its side, it can give you a controlled line.
A bright is a shorter version of a flat. More punch with less pigment.

Flats and brights give you nice flat washes, but can be used to make expressive lines as well. Brights have more control and carry less paint, just as they do in oil painting. Turn them on their sides to make a controlled line. Twisting the brush while painting gives an infinite variety of shapes. So too does varying the ratio of paint and water.

You can’t do either of these things in any other medium.

Because of the way watercolor bleeds, its brushes can be used in ways not possible in any other medium–a long blend of different pigments, or by painting a shape in clear water and then dropping pigment into it.

Round brushes give more lyrical lines than flats do.

I don’t normally carry riggers with me in either watercolor or oils. (They’re meant to paint perfect lines, and my world-view apparently doesn’t have many perfect lines in it.) Most of my line work is done with rounds. They do not give as much control on long lines, but they are very expressive.

A mop brush gives a perfect wash, but it does so much more as well.

Squirrel mops are the most uniform wash brush you can use. It’s virtually impossible to make them skip, so use them where a lovely flat wash is a goal. But a good mop can also point, hold vast amounts of paint and sweep across the paper in style.

I think Guillo the dog ate my sea sponge.

Natural sea sponges are multi-purpose painting brushes. Use them to apply or remove paint. They can be as subtle or bold as you wish.

Uncovering your mark and more

Two opportunities to learn in mid-coast Maine
Meeting Up, by Ann Trainor Domingue, acrylic on canvas
Baby Joshua and his mom are doing great, so I can concentrate on work again. There are several things I should have told you about and missed with the excitement of the last two weeks. Here are two very important ones.
I’m bringing Ann Trainor Domingue to teach a day-long workshop in my studio because she does something that seems magical to me, and I want to know how. Ann paints lyrical, mysterious, narrative paintings, seemingly drawn from within her own psyche. “I love the same things you do about New England. I just reflect on them in a different light,” she says. Annie’s developed a series of exercises to loosen up our thinking, and they will be good for everyone, no matter what their style.
Here’s Annie!

Uncovering Your Mark, with Ann Trainor Domingue

Sat June 6th, 10-4
Carol L. Douglas Studio
394 Commercial Street, Rockport, ME 04856
Cost $95 per person.
Confused by too many options? Feel uninspired? Need help to get back to your artmaking? Uncovering Your Mark workshop could be just what you need to find your way!
Discover personally meaningful imagery and ideas through a fun guided exploration of things you love. Bring clarity and focus to help make sense as you implement fresh ideas for this phase of your lifelong art journey.
Think quietly about what kinds of things energize you. Sort and combine insights to form something new that feels more authentic by finding your mark.
Take time to work on loose sketches to explore these exciting new ideas and directions to help you stay on your path.

This workshop is a hands-on class aimed at artists of all levels. The first part of the class is a process of guided inquiry. Then, students will apply their self-discoveries through small scale sketching exercises and preliminary color play. It’s strictly limited to twelve students so you’ll get lots of attention. Every style is welcome.
Ann Trainor Domingue is a graduate of Rhode Island College with a BA Studio degree in painting. Her career has included working in adver­tising, as a teacher and as a painter. She is represented in public collections and galleries nationwide.
Download a flyer here or a registration form here.

Tin-foil hat, by Carol L. Douglas. You don’t have to learn about painting reflections by looking at a vase!
Next session of weekly classes in my Rockport studio starts next week.
Some people wonder what we paint when the winter weather drives our class indoors. I build still lives, but they aren’t typical. For example, yesterday’s creation was a clash of greens including pine boughs, gift bags, wine bottles and more. The idea was to learn to mix and use a medley of greens without using any green out of a tube. That’s excellent preparation for spring, which really is just around the corner.
Marie told me, “I always come in and see a still life and think, ‘ugh’, but then I get into it and it’s great.” I’m not interested in still-life as a genre either, but I think painting from life is critically important, so I make an effort to make them unusual and interesting.
Back it up (hard drive and bubble wrap), by Carol L. Douglas
Working in my studio gives us a great opportunity to focus on color theory and technique. We have more time to concentrate on mixing colors and brushwork than we do in the field, where the demands of the scene takes over.
Our next mid-coast Maine painting session will meet on Tuesday mornings, from 10-1. The dates are:
February 25
March 3
March 10 (followed by a two-week break while I hare off to Argentina)
March 31
April 7
April 14
Peppers, by Carol L. Douglas
Painters are encouraged to broaden their skills in drawing, brushwork and color. Your own individual style will be nurtured. We’ll learn how to paint boldly, with fresh, clean color, to build commanding compositions, and to use hue, value and line to draw the eye through our paintings.
Watercolor, oils, pastels and acrylics are welcome. Because it’s a small group, I can work with painters of all levels. The fee is $200 for the six-week session, and we meet at 394 Commercial Street in Rockport.

It’s not the brushes, kiddo

Brushes are ordinary; it’s what you can do with them that is extraordinary.

Home Port, by Carol L. Douglas, 18X24, oil on linen.
At Castine Plein Air, Ken DeWaard did a small boat painting that I thought was darn near perfect. (I don’t have an image of it, but you can see it at Camden Falls Gallery.) One of the things that struck me was the fluid brushwork. My brushes are getting frayed, so none of my flats are still flat, and many of my rounds are splayed. And, frankly, I abuse them, tossing them in my hot car and forgetting to clean them. I’ve had trouble with my last batch of Robert Simmons signets—the ferrules are loose—so I’m interested in experimenting with something else.
I asked Ken what brushes he’s using. “Some Rosemarys, and some cheap synthetics,” he answered. That made sense. In oils, the trade off with synthetic or soft animal hair is that you get better control, but they carry less paint. You can’t be rudely aggressive with them. But if you want lyrical linework or detail, or want to glaze, they’re unbeatable. I’ve been messing with a Princeton Snap! brush this month. Synthetics have come a long way.
What I was working on while painting with Ken DeWaard on Monday. Another day and I think I’ll be well on the way to finishing.
Monday, Ken and I painted together in Rockport. I took the opportunity to look at his brushes. They’re a saturated, half-hardened mess—even worse than mine. If he can paint that beautifully with those cudgels, I need to stop grumbling about my brushes.
Albrecht Dürer was arguably the most facile brush-wrangler who ever lived. Whether it was in watercolor, as in the Young Hare, or in oils, as in his many self-portraits, he could seemingly lay down every single hair on man or beast’s head. He was famous for this skill all over Europe.
He was in communication with the major Italian artists of his time, including RaphaelLeonardo da Vinci, and Giovanni Bellini. His relationship with Bellini was more than merely professional. DĂźrer visited Venice twice and developed a friendship with the older man. Bellini was the most famous member of a prestigious family of artists and very influential. He was no slouch with the fine brush himself.
Self-Portrait at Twenty-Eight, 1500, Albrecht DĂźrer, courtesy Alte Pinakothek, Munich
By Dürer’s second visit, Bellini was at the end of his long life. He extended many professional courtesies to Dürer, not the least of which was introducing the younger man to his own noble Venetian clients.
One day, after carefully examining the head of one of Dürer’s saints, Bellini asked to use the brush that had creating such lifelike hair. Dürer handed the old man the brush in question. Bellini tried it and failed to produce anything fine. Dürer took the brush back, still loaded with Bellini’s paint, and painted a lock of hair so marvelous that the older man said he wouldn’t have believed it had he not seen it with his own eyes.
Doge Leonardo Loredan, after 1501, Giovanni Bellini, National Gallery, London
This story is apocryphal, but makes a true point. Dürer’s brush was ordinary; his abilities were extraordinary. Brushes influence our mark-making, but they don’t control it. Strength, age, experience, personality and patience all play roles in how we lay down paint.
Dürer, by the way, was inordinately proud of his own hair, painting his ringlets in several wonderful self-portraits. I have the same ringlets as that cocky young man had five hundred years ago, and I’m almost as vain about them as he was. But I’ve never painted a self-portrait. Perhaps this winter I should rectify that.

Monday Morning Art School: painting the details

It may seem like a fine brush is better, but that’s not true in wet-on-wet painting.

The Halve Maen passing Hudson Highlands, by Carol L. Douglas
One of the things painting teachers repeat over and over is, “use a bigger brush.” Students think they have better control with a smaller brush, but in many cases, the reverse is true. Smaller brushes hold less paint, and they waggle more when we tremble. To draw a juicy line, a brush has to be big enough to hold enough pigment.
It’s relatively easy to lay fine lines down in thin paint, either water-based or when glazing with oils. It’s not so easy in alla prima oil painting. The style tends to be looser and rougher. A fine line added with a rigger can lie on the surface looking silly, or it can melt into the lower layers and look like a grey streak of mush.
Working backwards allows you to make clean edges without being overly fussy.
One solution is to paint edges and lines in the underpainting, and then overlap the color in the top layers to meet the edges. This allows you to create a line that’s razor thin without looking fussy.
Of course, if you’re painting big to small, you don’t have lines or detail in the underpainting. They’re not important in the big-shape phase. You need a technique to remove the excess paint before you draw. For large corrections, I take off excess paint with a palette knife. For lines, I use a wipe-out tool. I had a very old one made by Loew-Cornell that I lost last summer. I replaced it with a Kemper wipe-out tool, and it works perfectly well. These tools are also great for signing wet canvases.
Start by getting rid of excess paint.
You must get rid of excess paint before you can paint your initial shape. You can’t draw into soup. Once you’ve prepared the surface, lay the line in first, before the surrounding background. This sometimes means a line of light-colored paint is laid in before its dark surround. Don’t worry that you’ve broken the dark-to-light rule. This rule is about overall composition, not the final details of a painting.
It’s easier to paint a line with a flat on its side than with a small round.
The side of a flat brush works better than a small round for straight lines. Flats are more stable and tend to track in the right direction. Or, use a palette knife or the edge of a credit card here. Go ahead and use a ruler if you need to, making sure to keep it from dragging the paint.
Your line should be made of fairly thin paint, with just enough medium to carry it smoothly. Too much oil and it will melt into its surround.
Then push the background color right up against the line.
Next paint the surrounding area, pushing up against the line with the background color. Use enough paint and be bold. It’s best to do this edging in a single stroke, but that takes practice. However, as a general rule, the more you touch the surface, the muddier the edges will get.
American Eagle in Dry Dock, by Carol L. Douglas
In my examples, I use two different brushes. The fine flat, made by Rosemary & Co., is very precise, but as with all synthetic fibers, it doesn’t carry much paint. The bright is old and clunkier, but it carries enough paint for a good, finished line. It may seem like finer is better, but that’s actually not true. What’s most important is getting enough paint on the canvas in one pass, evenly, so that your line doesn’t look anemic. With alla prima painting, hog bristles are almost always better.

Three basic elements that make or break a painting

What defines great art? It’s not style or beauty.

Execution, 1996, Yue Minjun, courtesy of the artist
Emotional content
Stirring a response in the viewer is the first responsibility of art. This is done by evoking ideas, memories, or a sense of place. (Even bad paintings, if they’re of someone we cherish, can be meaningful to us.) Painting is primarily a medium of communication. If there’s no content, there’s no point. If the viewer doesn’t stop and ponder, the artist has failed at his primary job.
Style has nothing to do with this. Photorealism or abstraction can make points every bit as powerful as figurative painting does. That is a question of the personal taste of the artist and his audience, nothing more.
Likewise, emotional content has nothing to do with beauty, or the lack of it. There is nothing beautiful in Execution, a 1996 painting by Chinese artist Yue Minjun. It was inspired by the Tiananmen Square Massacre and it packs a raw emotional punch. Conversely, Berthe Morisot with a Bouquet of Violets, by Édouard Manet is a lovely painting of an obviously-revered woman. It has just as much emotional content as Yue Minjun’s painting, but in a completely different way.
In some ways, simple thinking is a virtue in painting. Too many ideas, too much conflicting emotion, and the piece will be too complicated to say much at all.
Berthe Morisot with a Bouquet of Violets, 1872, by Édouard Manet, courtesy MusĂŠe d’Orsay
Technique
In painting classes, we focus on technique, because it’s the basis of painting. Technique simply refers to the protocol of producing a competent painting:  mark-making, composition, palette, building up a surface, moving the viewer through the piece, etc.
In certain fashionable circles today, technique gets a bad rap. Art has become more about making social statements and less about skill. That only works as long as the artist colors within the lines of his particular social statement. 
Imagine, if you will, that an enfant terrible artist comes across a moment of great beauty or a harrowing personal tragedy that requires great skills to depict. He is lost. Technique frees us to be emotionally responsive, but emotionalism cannot be sustained into maturity without a basis in technique. Without it, we have inchoate noise.
Ophelia, 1852, John Everett Millais, courtesy Tate Museum
Timelessness

It’s an interesting fact that we identify works of art by their creator’s names; we ask, is this a Caravaggio or a Gentileschi? Once living, complicated humans, artists are transformed into the sum of their work.
To be great, a painting must transcend the symbols and customs of its times. John Everett Millais’Ophelia (c. 1851) is in many ways a Victorian trope. To completely understand it, you’d have to be familiar with Shakespeare’s Hamlet and with the Victorian idea of the language of flowers, for the flowers in Ophelia’s garland all have specific meaning. Most modern viewers know neither, and yet the painting can still move us, because of the profundity of Millais’ understanding of despair.

Monday Morning Art School: Palette knife painting

If you’ve ever frosted a cake, you know how to use a palette knife.
Fishing village, by Carol L. Douglas
Most of what we artists use on our palettes are what are currently called “painting knives.” A palette knife, in current parlance, is flat like a putty knife. The ones with cranked necks are, according to purists, painting knives.
That’s not a distinction based in practice. Nobody wants to scrape their knuckles either on the palette or on the canvas, so small flexible knives are better for nearly everything. However, you do need a knife with a crook in the neck to paint, and it should be steel and flexible. (You’ll never get any kind of results with a plastic one.)
This demo painting was done on top of an unfinished study I did in the rain in Corea, ME. I never got past the underpainting that day. You can see the original drawing at the top.
Palette knife painting is an impasto technique, meaning it’s best done on top layers. Underpaint in the traditional way, with paint thinned with solvent. Here value is more important than hue. Because you may let certain areas of the underpainting show through, working with analogous colors in the underpainting can be good technique.
Excessive smearing in a palette-knife painting comes from either mixing your paints insufficiently or digging when you apply the paint. Either way, it takes away from the jewel-tone beauty of good palette knife painting. Thoroughly mix your colors before applying them. I add a drop of medium because I don’t want any oxidation in the top layers of my paintings. But limit it, because you can easily make the paint too thin.
Human Ingenuity, by Cynthia Rosen, courtesy of the artist. Note the clean edges and lines Rosen is able to achieve with her knife.
If you’ve ever frosted a cake, you know how to hold the knife. You want new layers of paint to glide over what’s there. A light hand prevents digging. Wipe the knife clean after each color, because it takes very little color to contaminate a stroke.
As with paint brushes, use big knives for big, flat passages and little knives for detail. In general, you’re going to paint using the edge of your knife or by dragging the point.
Palette knives excel at hard edges. They can be added to a brush painting to give less-studied marks to things like power lines, blades of grass, etc.
The Tide Pools, by Cynthia Rosen, courtesy of the artist. Note the pure colors, which were achieved by pre-mixing.
They’re also great for softening the edges where contrasting areas meet. For example, the traps in trees (sky holes) are easily made by floating the sky color across and over the tree-line. This is just a variation of the painting technique called scumbling, where a layer of broken color is added over other colors so that bits of the lower layers of color show through. Palette knives are also tailor-made for sgraffito, which just means scratching through the top paint layers to draw with an incised line.
One of the down-sides of palette-knife painting is the long dry time. You can’t paint over thick paint that’s not thoroughly cured. You’ll need to wait, often a significant amount of time, to rework passages.
This also affects the longevity of your work. If you layer thick paint with no respect to the “fat over lean” rule, it will be prone to cracking. A board is a better substrate, but if a canvas is necessary, you’re best off limiting the amount of paint you apply with a knife.
For those interested in further study of palette knife painting, I recommend Cynthia Rosen. My students’ assignment this week was to study her paintings, here. Note the clarity of her color (achieved by premixing), her incisive linework, and the drawing and composition that undergird her paintings. Everything that matters in brush painting also matters in palette-knife painting.

Nobody owns technique

One can learn a lot from books, but one can’t learn everything.
This recipe doesn’t spell anything out for you; it presumes you understand how to bake. (BTW, confectioners sugar no longer weighs out at 2.5 cups to the pound. I’d guess it’s milled differently today.)
In 1954 a woman named Doris passed this cookie recipe along to my mother. Its telegraphic style always makes me smile. In the 1950s, baking technique did not need to be explained by one married woman to another. Today, those of us who learned to bake from our mothers or through 4H can follow this recipe without a problem. Those who didn’t, probably can’t. It presumes a basic understanding of baking that is no longer common today.
Once a friend was fretting about how she couldn’t find an uncomplicated muffin recipe. “But they’re all just lists of ingredients,” I said. “You always assemble them in the same order: sift the dry ingredients together, beat the wet ingredients together, and then fold the two mixtures into each other.”
I showed this recipe to Jane Bartlett, who remarked that when she teaches Shibori she frequently tells her students that nobody owns technique. This is a very apt observation for both baking and the fine arts. There is nothing one can patent about artistic technique, any more than one could patent the order of operations for baking.
Dance of the Wood Nymphs, by Albert Pinkham Ryder. It was probably a lovely painting when he finished it, but his disregard of commonly-accepted protocol meant it was an archival disaster.
Painting is so straightforward that departing from the accepted protocols is often foolish. A few years ago, some of my students attended a workshop teaching painting into thin layers of wet glaze. The tonalist Albert Pinkham Ryder did that in the 19th century, and his works have almost all darkened or totally disintegrated.
One can learn a lot from books, but one can’t learn everything.  A kid in my studio announced her intention of making an apple pie the other day. (She is an excellent cook but her food heritage is non-western.) I gave her a cookbook and the supplies and left her to it. Imagine my surprise when this was what she came up with:
Elegantly layered, but it’s not an apple pie. Not everything can be learned from books.
To make an apple pie, one needs to know what an apple pie looks and tastes like, but it also helps to have assembled an apple pie under someone else’s tutelage. The same is—of course—true of painting and drawing. Yes, one can learn something about them from books, videos, and the occasional visit to an art gallery, but a good teacher really does help.
This post was originally published on October 4, 2013. If you live in mid-coast Maine and are interested in painting classes, my next session starts January 8. Email me for more information.

Monday Morning Art School: accurate lines in oils

It may seem like a fine brush is better, but that’s not always true in wet-on-wet painting.
Sea Fog on Main Street, by Carol L. Douglas. When painting plein air, you don’t have time to wait for the painting to dry to draw lines.

I’m working on a commission that has a lot of architectural detail. I don’t want the end result to be fussy. I’m not a clean renderer like Frank Costantino. He can drop a fine line with a rigger and it falls into the painting, cool and elegant.

Watercolor loves fine lines. Alla prima oil painting doesn’t. It tends to be looser and rougher. A fine line added with a rigger can lie on the surface looking silly, or it can melt into the bottom layers and look like mush.
Working backwards allows you to make clean edges without being overly fussy.
My solution is to paint edges and lines in reverse. I lay down the line and then back the color up to meet it.
Lines should be happening on an already-wet surface, because they aren’t important in the big-shape phase. That means you need a technique for removing excess paint before you draw. For large erasures, I take off excess paint with a palette knife. For lines, I use a wipe-out tool. I had a very old one made by Loew-Cornell that I lost this summer. I replaced it with a terrible one I picked up on the road. But Bobbi Heath assures me this is the best one currently available.
Start by getting rid of excess paint.
Getting rid of that schmearof excess paint is an important first step. You can’t draw into soup.
Lay the line in before the surrounding background. With architecture, this often means a line of light-colored paint before its dark surround. Don’t worry that you’ve broken the dark-to-light rule. Lines are usually added toward the middle or end of a painting, so you should be past that point anyway.
In oils, the side of a flat brush always works better than a tiny round for straight lines. Flats are more stable and tends to track in the right direction. Go ahead and use a ruler if you want.
The line going on with a bright.
This line should be made of fairly thin paint, with just enough medium to carry it smoothly. Too much oil and it will blend into its surround.
It’s easier to paint a line with a flat on its side than with a small round.
Next paint the surrounding area, pushing up against the line with the background color. Use enough paint and be bold. It’s best to do this edging in a single stroke, but that takes practice. However, as a general rule, the more you touch the surface, the muddier the edges will get.
Then push the background color right up against the line.
In my examples, I use two different brushes. The fine flat, made by Rosemary & Co., was a gift this summer. It is very precise, but as with all synthetic fibers, it doesn’t carry much paint. The bright is old and clunkier, but it carries enough paint for a good, finished line. It may seem like finer is better, but that’s actually not true. What’s most important is getting enough paint on the canvas, evenly, so that your line doesn’t look anemic. I find that with alla prima painting, hog bristles are almost always better.
After two flags, a chair, and a lot of white trim, I was so cramped up by precision that I had to do this fast surf exercise to wash out my mind (and loosen up my hand).
I enjoyed painting with the Rosemary & Co. flat, but it was no good for surface work. Eventually, I realized I didn’t like my painting at all. I set it aside and did a fast exercise with big brushes that got rid of the stiffness that had crept into my painting from using the wrong brush.