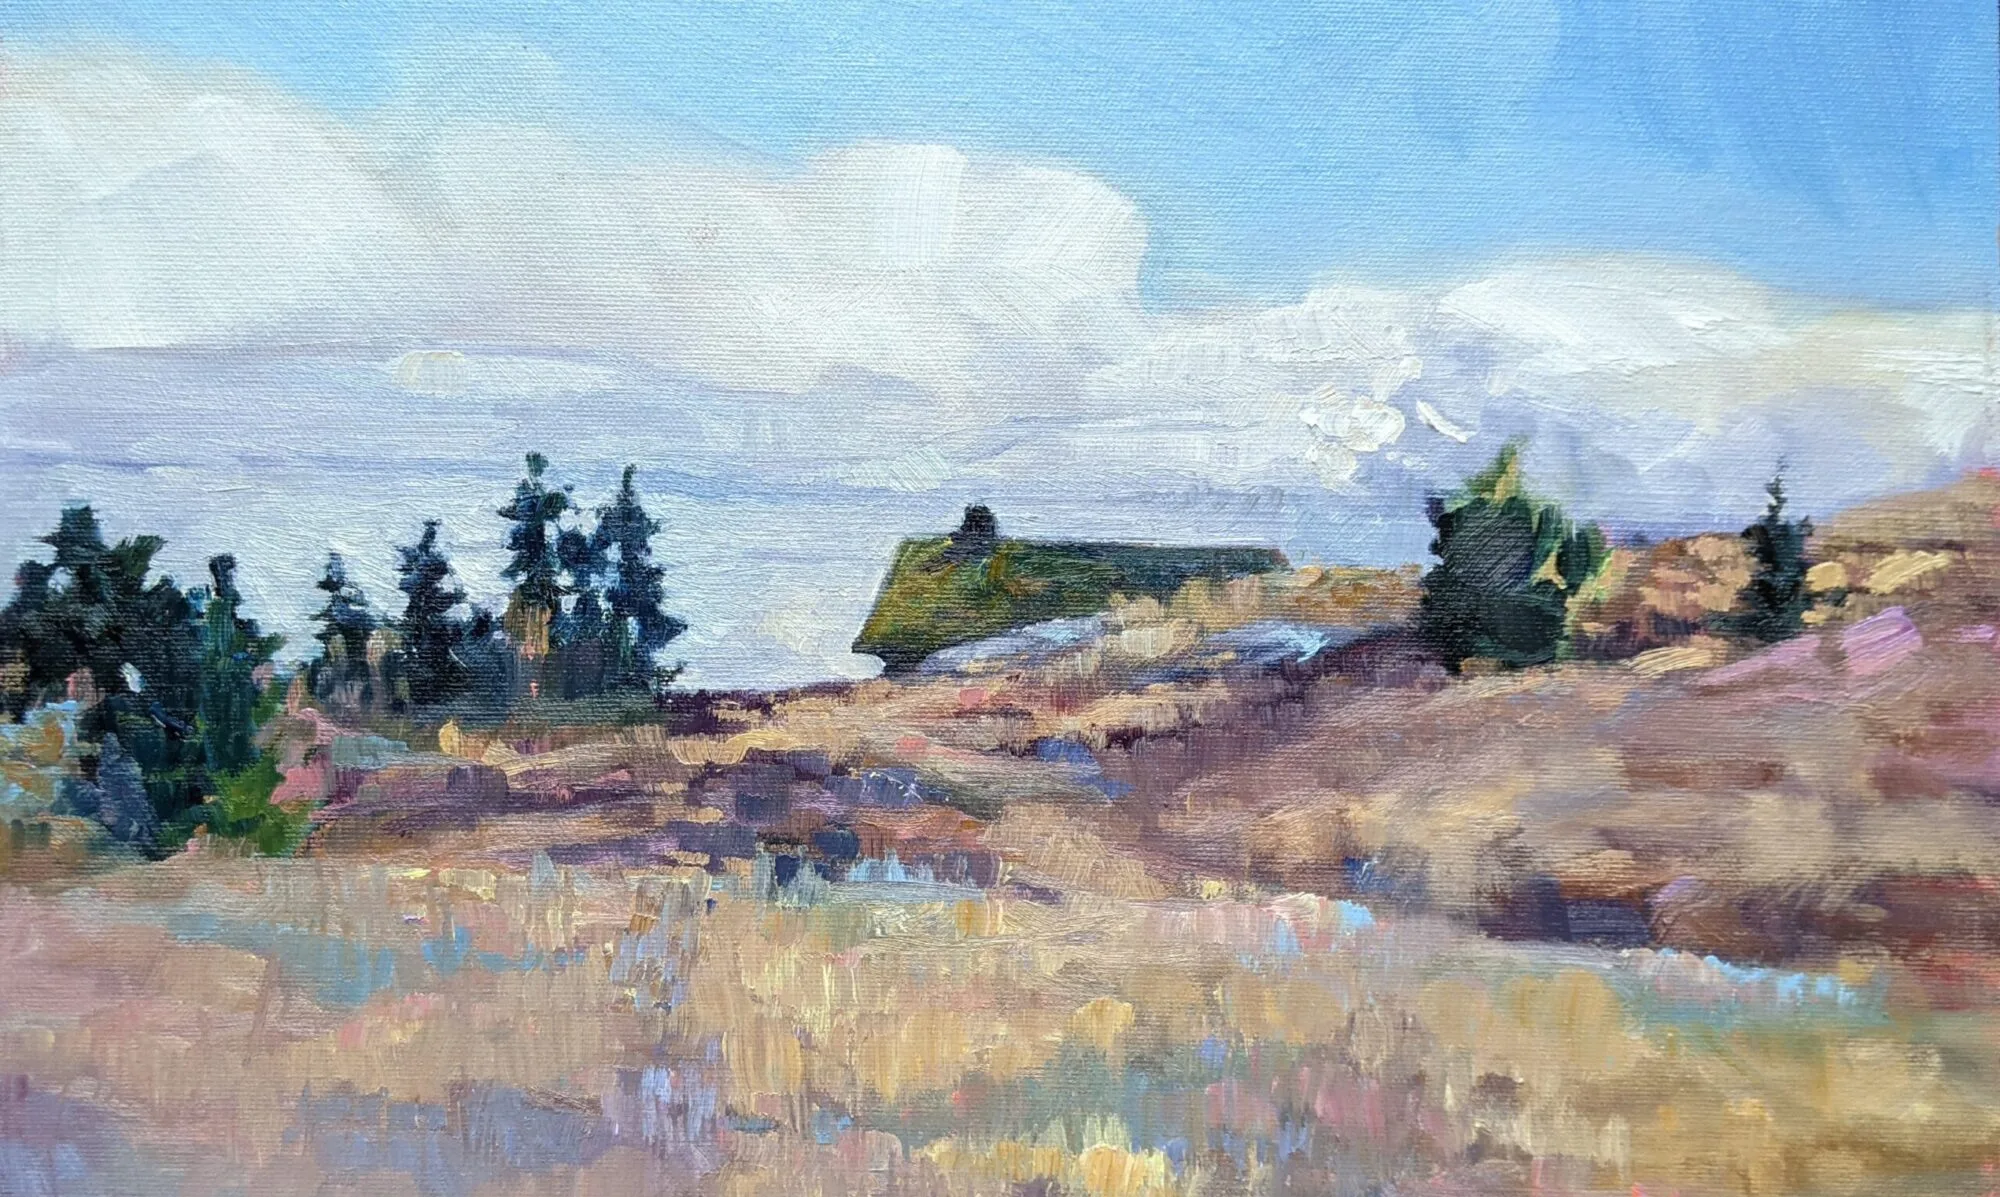
We take a snapshot of a dancing, glowing landscape and what we end up with is a wall of dull green. We need to insinuate that original energy back into our picture.
 |
|
Bracken Fern, 9X12, oil on canvasboard, available, Carol L. Douglas |
Michael Wilcox published a watercolor pigment guide called Blue and Yellow Don’t Make Green. (Don’t buy it unless you can get it for a few dollars; its information is widely available on the internet, including here.)
Of course blue and yellow make green, but there are many routes to the same destination. I ask my students to avoid greens out of the tube, because they’re a sure-fired way of ending up with a monochromatic ‘wall of green’.
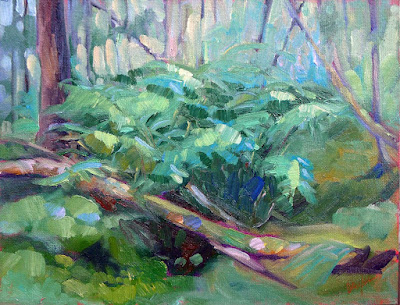
 |
|
Apple Tree with Swing, 16X20, oil on canvasboard, Carol L. Douglas |
Instead, I ask them to mix their greens using a matrix. I’ve written about this many times, so I’m not going to repeat the concept, except to say that it’s critically important to avoid the soul-sucking deadness of greens out of a tube.
Impressionism changed the way we look at and mix color. From the beginning of painting, artists understood that to warm a color up, you add a warmer tone, and to cool a color down, you add a cooler tone. If that neutralizes the color, so be it. That’s in fact what happens in real life with real light.
The Impressionists started to treat color as a wheel. If you wanted a warmer, lighter green, you mixed it not with Naples yellow* but with its cadmium yellow neighbor. If you wanted a cooler, darker green, you mixed it with it not with black but with its Prussian blue neighbor.
Better yet, you didn’t mix them at all, but laid gold next to green to warm it up, and laid blue next to green to cool it down. These tiny, discrete spots of color are averaged by the human eye into a coherent image. A blizzard of brushstrokes and color resolves into a discernable truth.
 |
If you look carefully at human skin, you realize it’s not ‘skin-tone’ but is quite varied. There are areas tinged with blue, yellow, purple, and red. Without that, a person would look dead. The same is true of foliage. There are moments in which the color leans toward khaki, yellow, teal, violet and orange. They are what give life to greens.
Unfortunately, these color shifts are subtle and almost never caught in the snapshots we use as reference photos. We talk about ‘photographic proof’ as if it is an absolute, although by now we all know that photos are terrible liars.
For guiding a painting, photos have their limits. They distort distance and spatial relationships. Modern point-and-shoot cameras (especially cell phones) blow contrast and chroma up, because that’s what buyers like. In exchange, subtle value and hue shifts disappear.
We take a snapshot of a dancing, glowing landscape and what we end up with is a wall of dull green. Does that mean we can’t ever paint from photos? Of course not (although you’ll never really master the intricacies of natural color if you don’t go outside). It means we have to insinuate that energy back into the picture, and the tool we have to do that with is color.
The Impressionists taught us that we can do that by extending the range of color in an object. I can give you many examples of artists who did that, starting with Claude Monet and Vincent van Gogh. Spend a few hours analyzing their paintings in terms of color range.


I made a series of four photoshopped trees, above, to illustrate the concept. The first one is the normal way we might paint trees. With each step, I’ve added color range to the tree, until the final version has every position in the color wheel.
The guiding principle is the color of light. I’ve kept (for the most part) cool colors in the shadows and warm colors in the highlights. When you first try this, it will seem artificial and possibly absurd, but persevere. It’s the key to dynamic greens.
*Today’s Naples yellow is a mix and almost as deadening to a painting as sap green.


