Creating hard and soft edges is largely a matter of practice.
 |
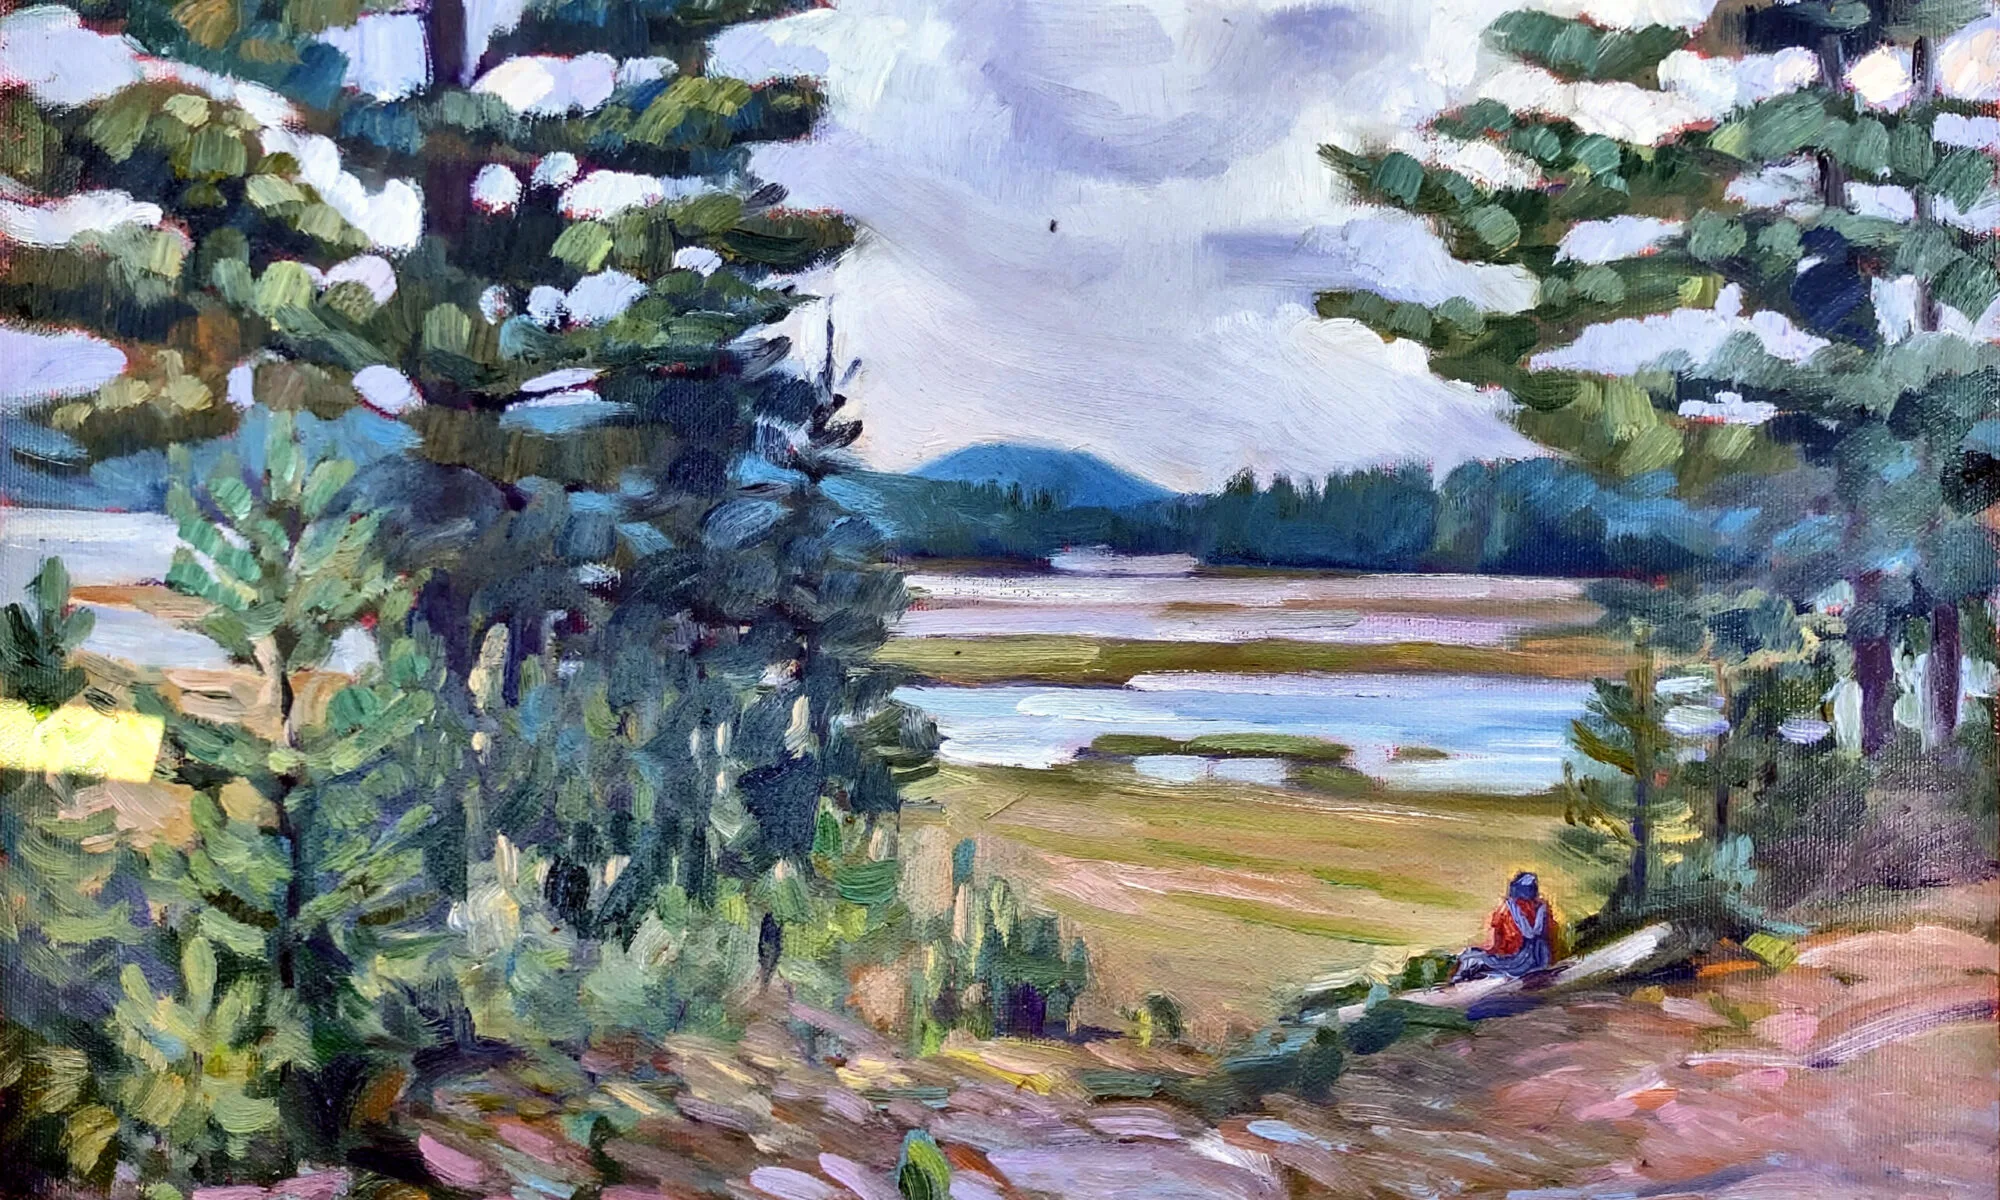
| In Breaking Storm, the soft edges in the clouds were done by overbrushing with a dry brush. The hard edges in the sails and rigging were done with a flat brush on its side. |
The lost-and-found edge is an important design principle, one that every painter should be familiar with. To do it successfully, one must feel confident painting not just shapes but lines. That requires understanding how your brush lays down paint. Edges are one area in which watercolors and oils behave very differently.
A softened edge creates a natural blurring, and it happens often in human perception. We just ignore the edges we’re not interested in. In painting, a soft edge can be achieved by keeping value, hue and saturation close between two shapes, but it’s most often achieved through brushwork.
A hard edge is an area that demands our attention. It should be related to the focal point of a painting. It can be achieved by separating hue, saturation and value, but it’s also a place where effective brushwork is important.
In oil painting, you can lay down a line and fiddle endlessly with its edge, but in watercolor you get only one shot at it (although you can tidy things up a bit after the fact). This is not permission to overpaint endlessly in oils. In either medium, constant tinkering is a sure-fire way to deaden your work.
In either medium, the smaller the brush, the harder the edge. That’s one reason your teachers harp on you to use a bigger brush.
 |
| The angle at which you hold your watercolor brush will determine how broken the line is. |
In watercolor, the hardness of the edge must be considered in advance.
A truly hard edge is made by working an upright brush slowly across the work, allowing the pigment to flow onto the paper. The more slanted the brush and the less pigment and water, the more broken scumbling will result. This is a beautiful effect, worth practicing.
If you want to soften or blend an edge, you can’t wait until later. Your options are to:
- Lay down a line and immediately run clean water along the edge you want to soften;
- Work into a prewetted area, letting the paint bleed down along the edge you want to soften;
- Create the illusion of softness by unifying passages with an underwash.
 |
| Top sample, painted into damp paper with a dry edge at the top. Middle, painted into wet paper with a dry edge at the top. Bottom, edge wetted after painted onto dry paper. |
In the first two techniques, working too slowly will give you bloom (caused by rewetting a partially-dry area) or a hard edge where you don’t want it. A line or shape can have both a hard and a soft edge—just don’t soften the edge on that side of the paper.
 |
| A simple exercise in hard and soft edges in watercolor. Yes, kids, try this at home! |
In alla prima oil painting, edges need to be married. That means making a shape or silhouette, and then pushing the background color against it. Not doing this will result in anemic shapes. After this is done, the edge can be softened by:
Using a dry brush to manually blur edges;
Introducing the background color into the foreground and vice-versa.
 |
| Three Machines, 1963, Wayne Thiebaud, courtesy De Young Museum. Note that he leaves the edges in the background as part of the design. |
At times this will produce a halo around the object. I was taught to eliminate that halo. Recently in class, we were looking at paintings by Wayne Thiebaud, and I noticed how often he left that halo as part of his design. Whether or not you elect to brush the halo out, Thiebaud’s paintings vividly demonstrate how to marry the background to the foreground in oil paints.
The hardest, most precise line in alla prima oil painting can be made by using a flat brush on its side. If you’re painting onto a dry surface, you can get a hard, tight line with a rigger or fine brush as well.