Every landscape painter should understand two-point perspective, but don’t draw those rays in the field.
 |
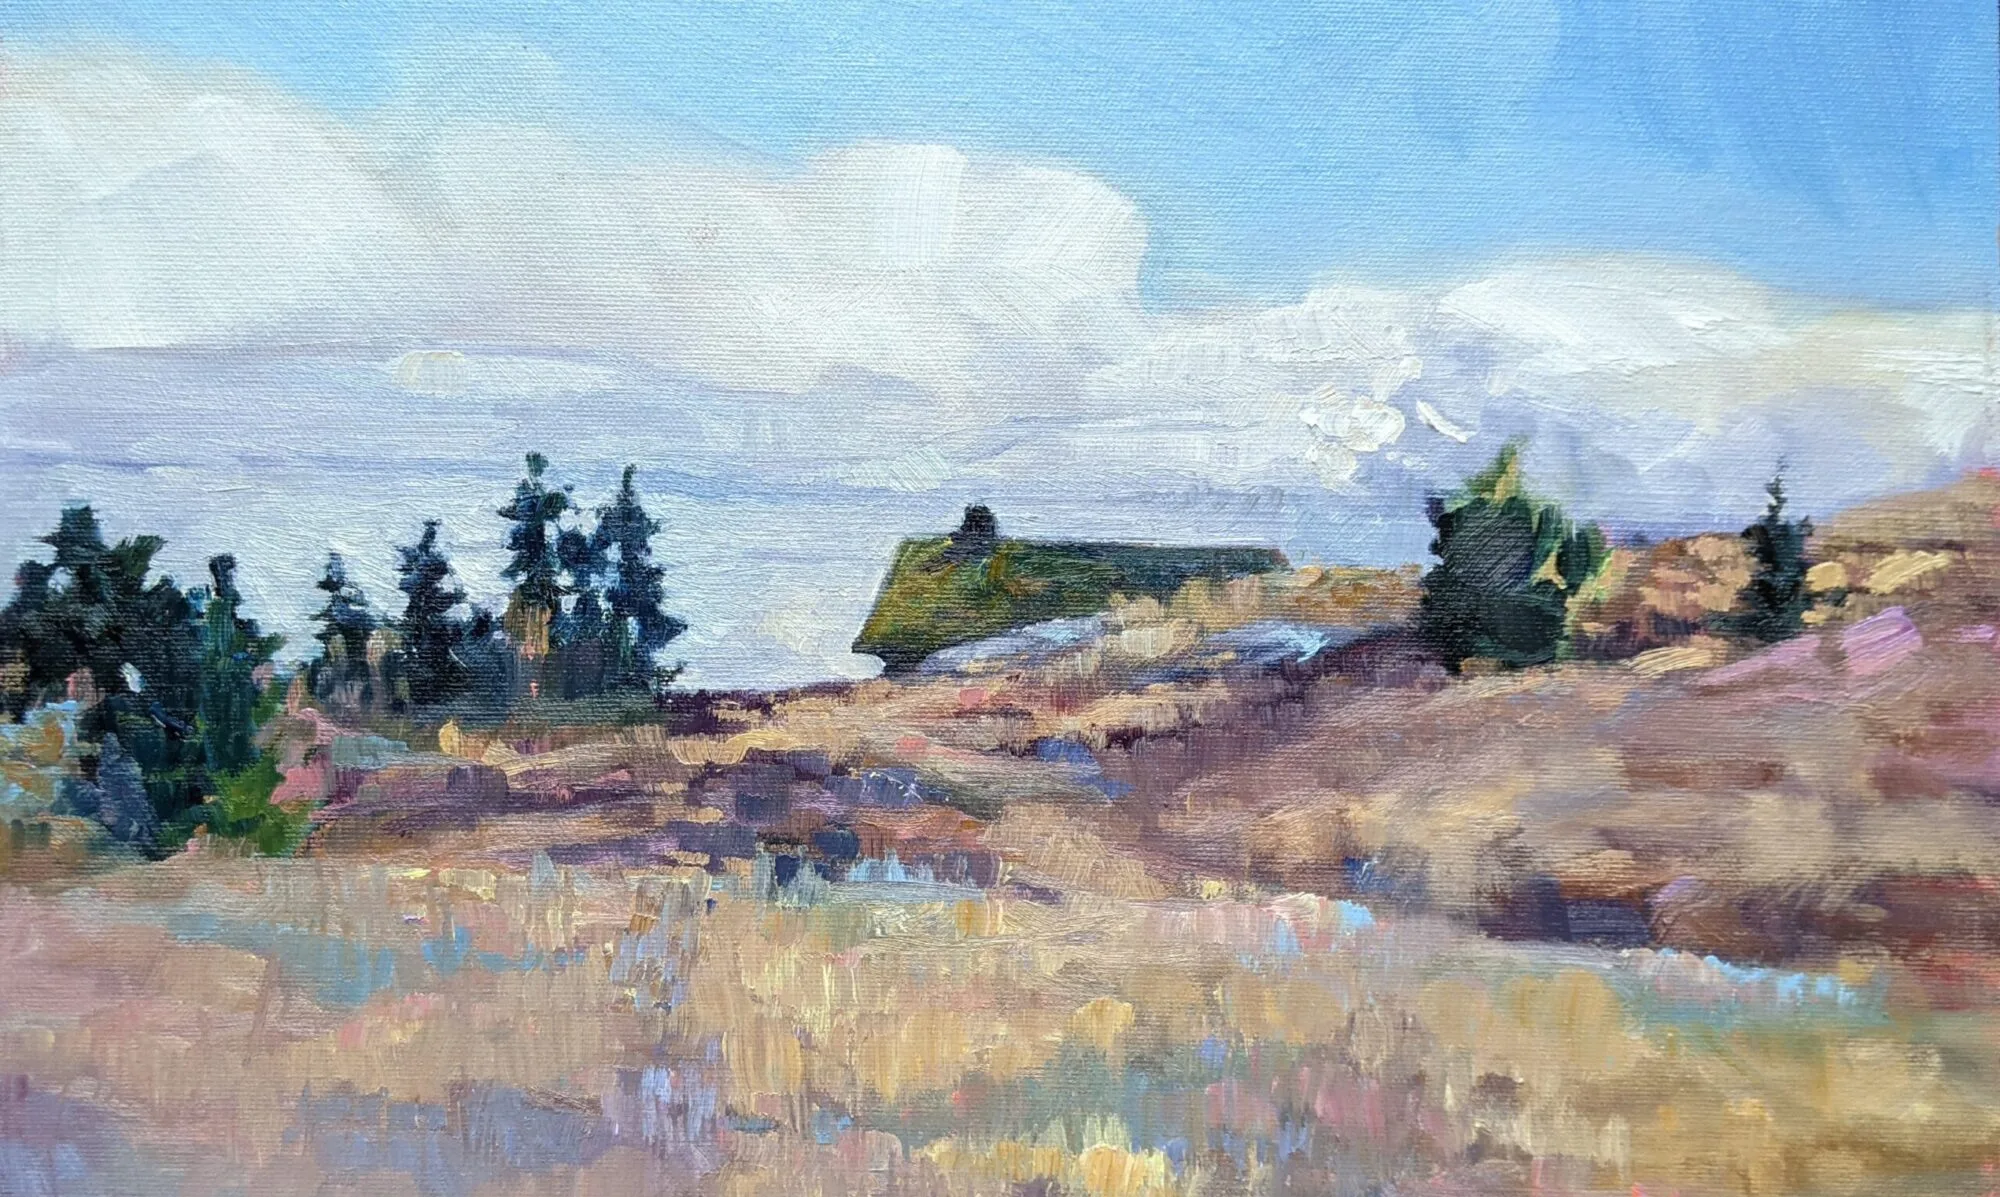
| Midsummer, by Carol L. Douglas. It’s important to understand perspective, but don’t use those vanishing points when drawing in the field. |
A door is commonplace, but it’s also a series of repeating shapes that can teach you a lot about perspective. If you have a choice, use a door with panels like this one. A flat slab door will be so much less fun to draw.
I left mine slightly ajar, but it doesn’t have to be. Seat yourself as far away as you can get from it. The closer you are, the more difficult it is to keep your measurements straight. Position yourself at an angle to it so you can think about perspective.

This is intended to be a fast drawing, taking you no more than 15 or 20 minutes. The same rules apply to a careful drawing, of course; you’d just be more meticulous in your measuring and marking. But you’ll learn just as much going fast.

My first task is to figure out the angles of the top and bottom of the door. (My camera distorts perspective so what’s in the photo won’t match what’s on my drawing.) I do that by holding my pencil along the bottom of the door and figuring out the angle.

I find that setting my pencil down on my paper at the appropriate angle helps me see it better.

Then I do the exact same thing on the top.

Note that the shelf at my eye level is completely horizontal. Any level surface at eye level has to be horizontal; that’s a hard-and-fast rule.
 |
|
Two-point perspective, courtesy Luciano Testoni. All those lines traveling off to the vanishing points on the left and right? Let’s call them rays. |
The picture above is classical two-point perspective with a lot of extra bells and whistles. I don’t want you to get bogged down in it; I included it so you can compare the rays in that drawing to what you see in your room. Notice that when you look at lines high in your room, the ‘rays’ travel downward to the sides, where the so-called ‘vanishing points’ are. When you look at objects near the floor, the rays travel upward to the vanishing points. That’s because the vanishing points are always at the viewer’s eye level.
Every landscape painter should understand two-point perspective, but should never draw those rays in the field. Like every other kind of 3D projection, it’s useful in drafting, but it is a falsehood when it comes to what you’re actually seeing. That’s because the vanishing points would be so far away in the real world as to be rendered useless.
But you can take away some useful information from two-point perspective. The farther away an object is, the less perspective distortion there is. And perspective works the same way above the horizon line as below it, so clouds are arrayed the same way trash cans are.

Next, I do that nifty measuring thing that involves holding my pencil in front of my eye and using it as a ruler. Since the height is already determined by my angled lines, I just need to figure out how wide the door is relative to the height. I figured the door is a little less than half as wide as it was tall. Later, I’ll find out just how off I was.

This shape is called a trapezoid, and there’s an easy way to find its center. Just draw an X from corner to corner as shown. That’s very useful information in perspective drawing, because it helps you place windows, doors, roof peaks, etc. correctly. Make a habit of finding it.

And here’s a quick-and-dirty way to get the perspective right. Divide the two side lines into equal units—thirds, quarters, eighths, or whatever other units you can mark off by eye. Then just draw lines connecting the corresponding sides. The 1/3 point on the left gets attached to the 1/3 point on the right, etc. You’ll have the perspective rays right in one try.

I never get my measurements right on the first try, so I’ve learned to not fuss too much on my initial measurements. The great thing about repeating shapes is that your mistakes are easy to see. I realized the door was slightly too short and wide, so I adjusted them slightly.
I can’t draw a straight line without a ruler, and my initial drawing had a free-hand curl on the right-bottom corner. I took a moment to correct that. Note how useful the center point is in placing the central spine of the door. I know that the moulding around the glass is the same width all around, so this is one of those repeating shapes I can use to check my work. (Of course, it’s going to be ever so slightly wider on the side closer to me, because of perspective.)

My final drawing. You can finish yours to your heart’s content, but the important part is learning how to use your pencil as a marker to see angles and distances.
This post originally appeared on November 17, 2017.