
“Do you have any blog posts on how to hang an art show?” my correspondent asked. “One of my students has her first solo show coming up. I’m looking for articles with guidelines or general best practices.” Here goes.
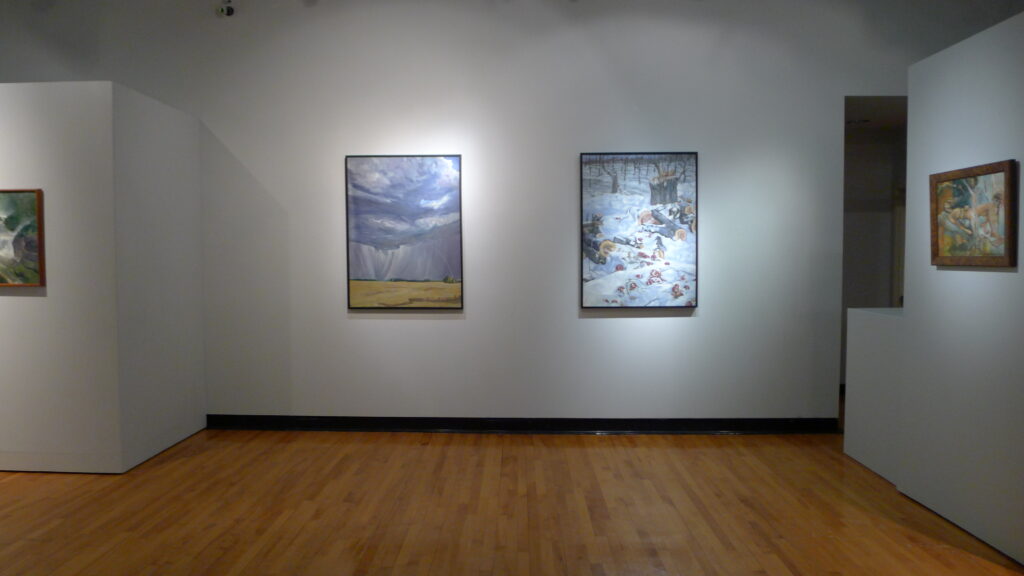
Plan the layout: Before hanging anything, research the exhibition space and plan the layout. That can be as simple as visiting and taking measurements or as complex as drawing a plan. Consider factors like the size and shape of the room, traffic flow, lighting, and any architectural features you must work around. Don’t forget frame sizes when you’re calculating what will fit where!
Consider what you’ll include: Is this a portfolio show? New work? Landscapes? The work doesn’t have to be all alike, but grouping things thematically or visually makes it easier for viewers to engage.
Think in terms of focal point: A particularly striking piece should go in pole position, and other work should be arranged around it to promote a sense of unity. In a larger show, there may be more than one focal point, but just as with your paintings, one should lead.
Pay attention to scale and proportion: Consider the size of the artwork in relation to the exhibition space. Avoid overcrowded walls, and if you’re hanging salon style (where multiple pieces are hung from floor to ceiling), make sure you don’t place important artwork too high or too low. Aim for a balanced distribution of sizes and shapes throughout the space.
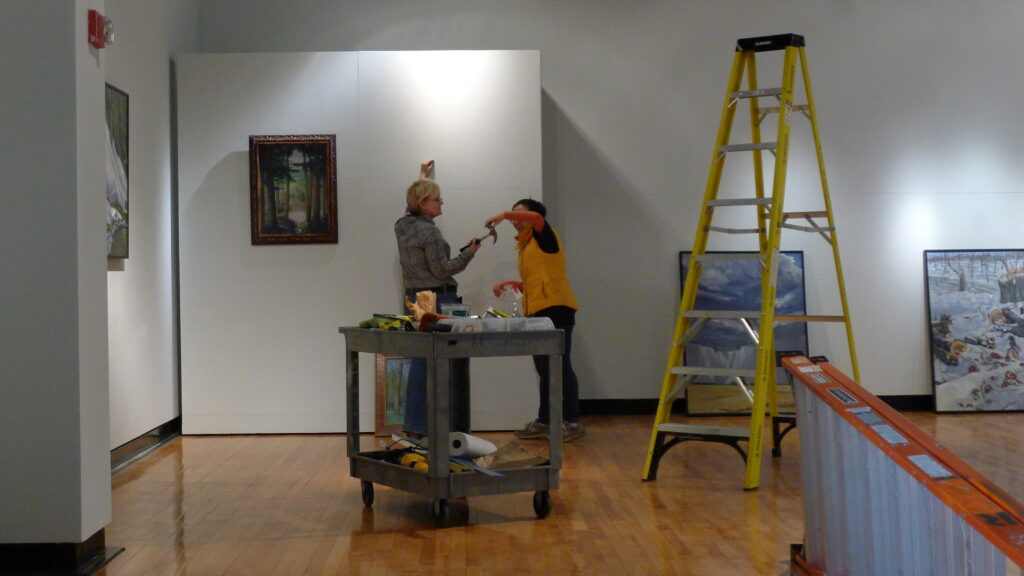
Arrange artwork on the floor first: Laying work out on the floor right in front of the wall where it will be hanging is the easiest way to set the horizontal space divisions, especially if the paintings are not all the same size. I always make some adjustments to my plan at this point.
Use the proper tools: You need a tape measure, a level, a chalk line, and a hammer.
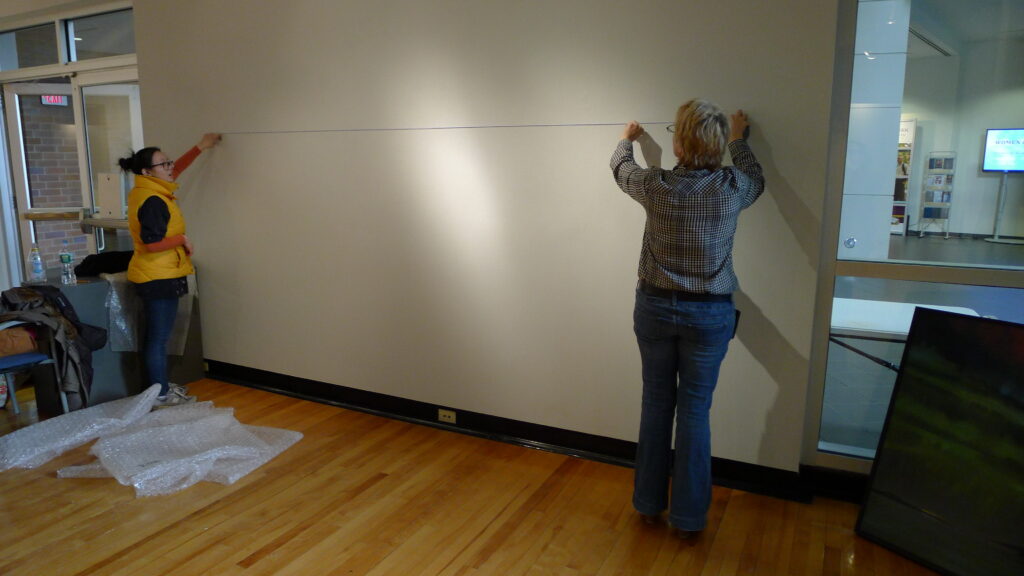
Set the vertical centerline, and adjust accordingly: The middle of your paintings should be eye-height for an average person. (I go with 5’4″.) Mark that height off on both ends of the wall and then snap a chalk line. If the work is 20″ tall in its frame, the center should be at 10″. But you need to measure the distance from the hanging wire (fully extended) to the top edge, and subtract that amount from the 10″.
Don’t worry; I do this wrong a lot, myself. And don’t forget to adjust for hangers if you’re using them instead of nails.
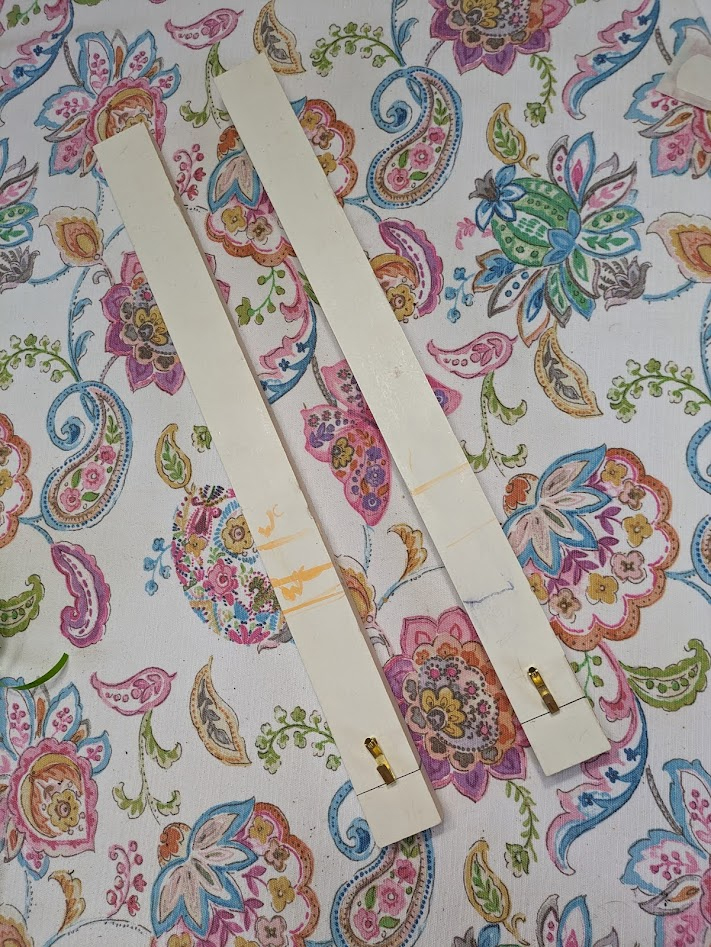
Use proper hanging hardware: Nails work, but picture hangers are more stable and less destructive.
Check the level of hanging pieces: I don’t generally bother until I have everything up, since pounding nails makes paintings dance.
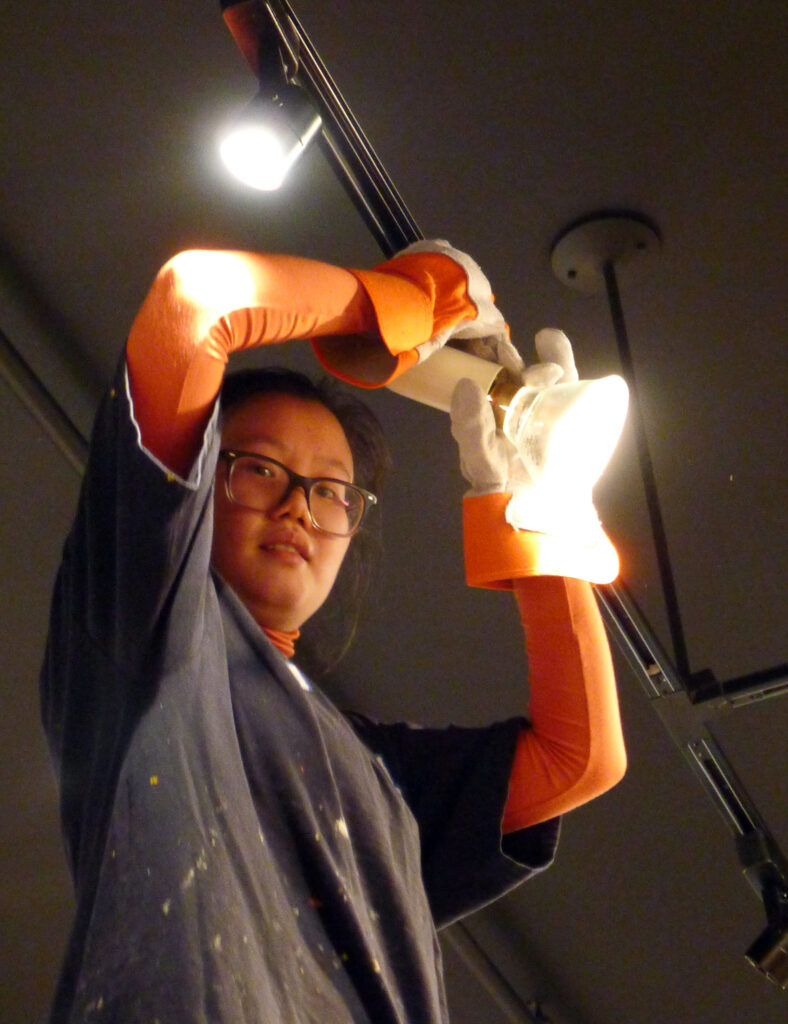
Adjust lighting: Adjust spotlights or track lighting to highlight specific pieces and create visual interest. Avoid lights that are too close and cause glare. You may have to bounce lights across corners or from the other side of the room to avoid this.
Make professional labels: They should include the title, name of the artist, date, and price, and should be typewritten. I print mine using a document merge with Microsoft Excel and Word. Be nice to your host and hang these on the wall with museum adhesive, not tape. Make two copies and tuck the second copy in the back of the frame if it’s a busy venue. Mistakes happen.
Leave a price list and business cards: Most places will ask you for this anyway, but it makes life easier for everyone. And you can use your own copy of the price list as your inventory control sheet.
Promote the heck out of your show: I don’t care if you’re a genius; nobody will notice if you don’t plug your own openings through social media, blogs, local event listings, and emails. And, obviously, show up at your opening and be willing to talk to strangers. If you’re old enough to drink, don’t (at least until your guests go home).
Registration is now open for workshops in 2026! Reserve your spot:
- Advanced Plein Air Painting | Rockport, ME, July 13-17, 2026
- Sea & Sky | Acadia National Park, ME, August 2–7, 2026
- Find your Authentic Voice in Plein Air | Berkshires, MA, August 10-14, 2026
- New! Color Clinic 2026 | Rockport, ME, October 3-4, 2026
- New! Composition Week 2026 | Rockport, ME, October 5-9, 2026
Can’t commit to a full workshop? Work online at your own pace:
Great article – I used to help manage a community center gallery, and was constantly surprised (or, maybe just dismayed) by the number of artists who not only did not know how to hang a show, but did not know how to frame or wire a painting. Pro tip: The white museum putty seems to be a bit less sticky (and so hopefully won’t remove paint) than the blue. And some galleries will have staff handy to assist! 🙂
Then I suppose I’d better do another MMAS on how to frame and wire a painting.
Very interesting! Yes definitely do another on how to frame and wire a painting. Please!
Perfect timing on this, Carol! I’m hanging my first solo show next month. Just bought some museum putty 🙂
My my … great article. I could hardly recognize myself in the pictures with short hair 🙂 I am now teaching my graphic design student how to plan an exhibit for their senior show with elevations. I was really blessed with managing that gallery for a few years and if I may say, your show was a highlight. Great picture documenting the process! I think I will link this article for my Juniors who are starting to develop their exhibition planning and providentially the seniors whose work will go up this Friday! (only the walls in the gallery where they are hanging their work are fabric, so the chalk line will be a “no-no.” Thanks for the trip down memory lane.