Monday Morning Art School: why loose brushwork in painting?

Ravenous Wolves, oil on canvas, 24X30. For more information, click on the image.

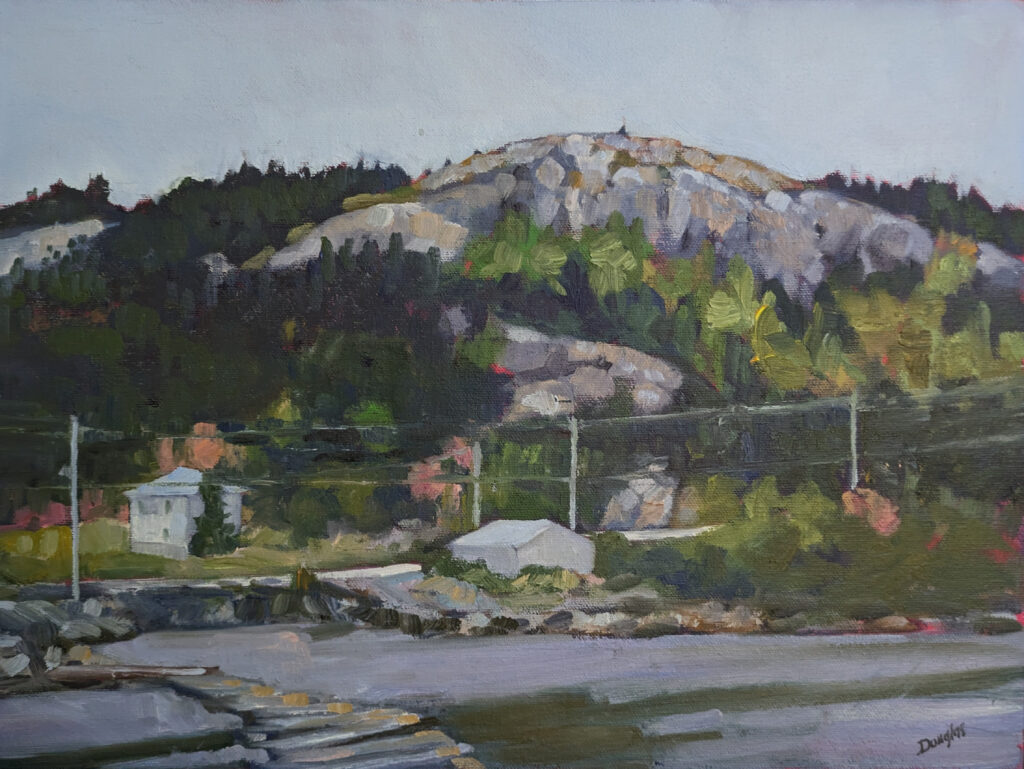
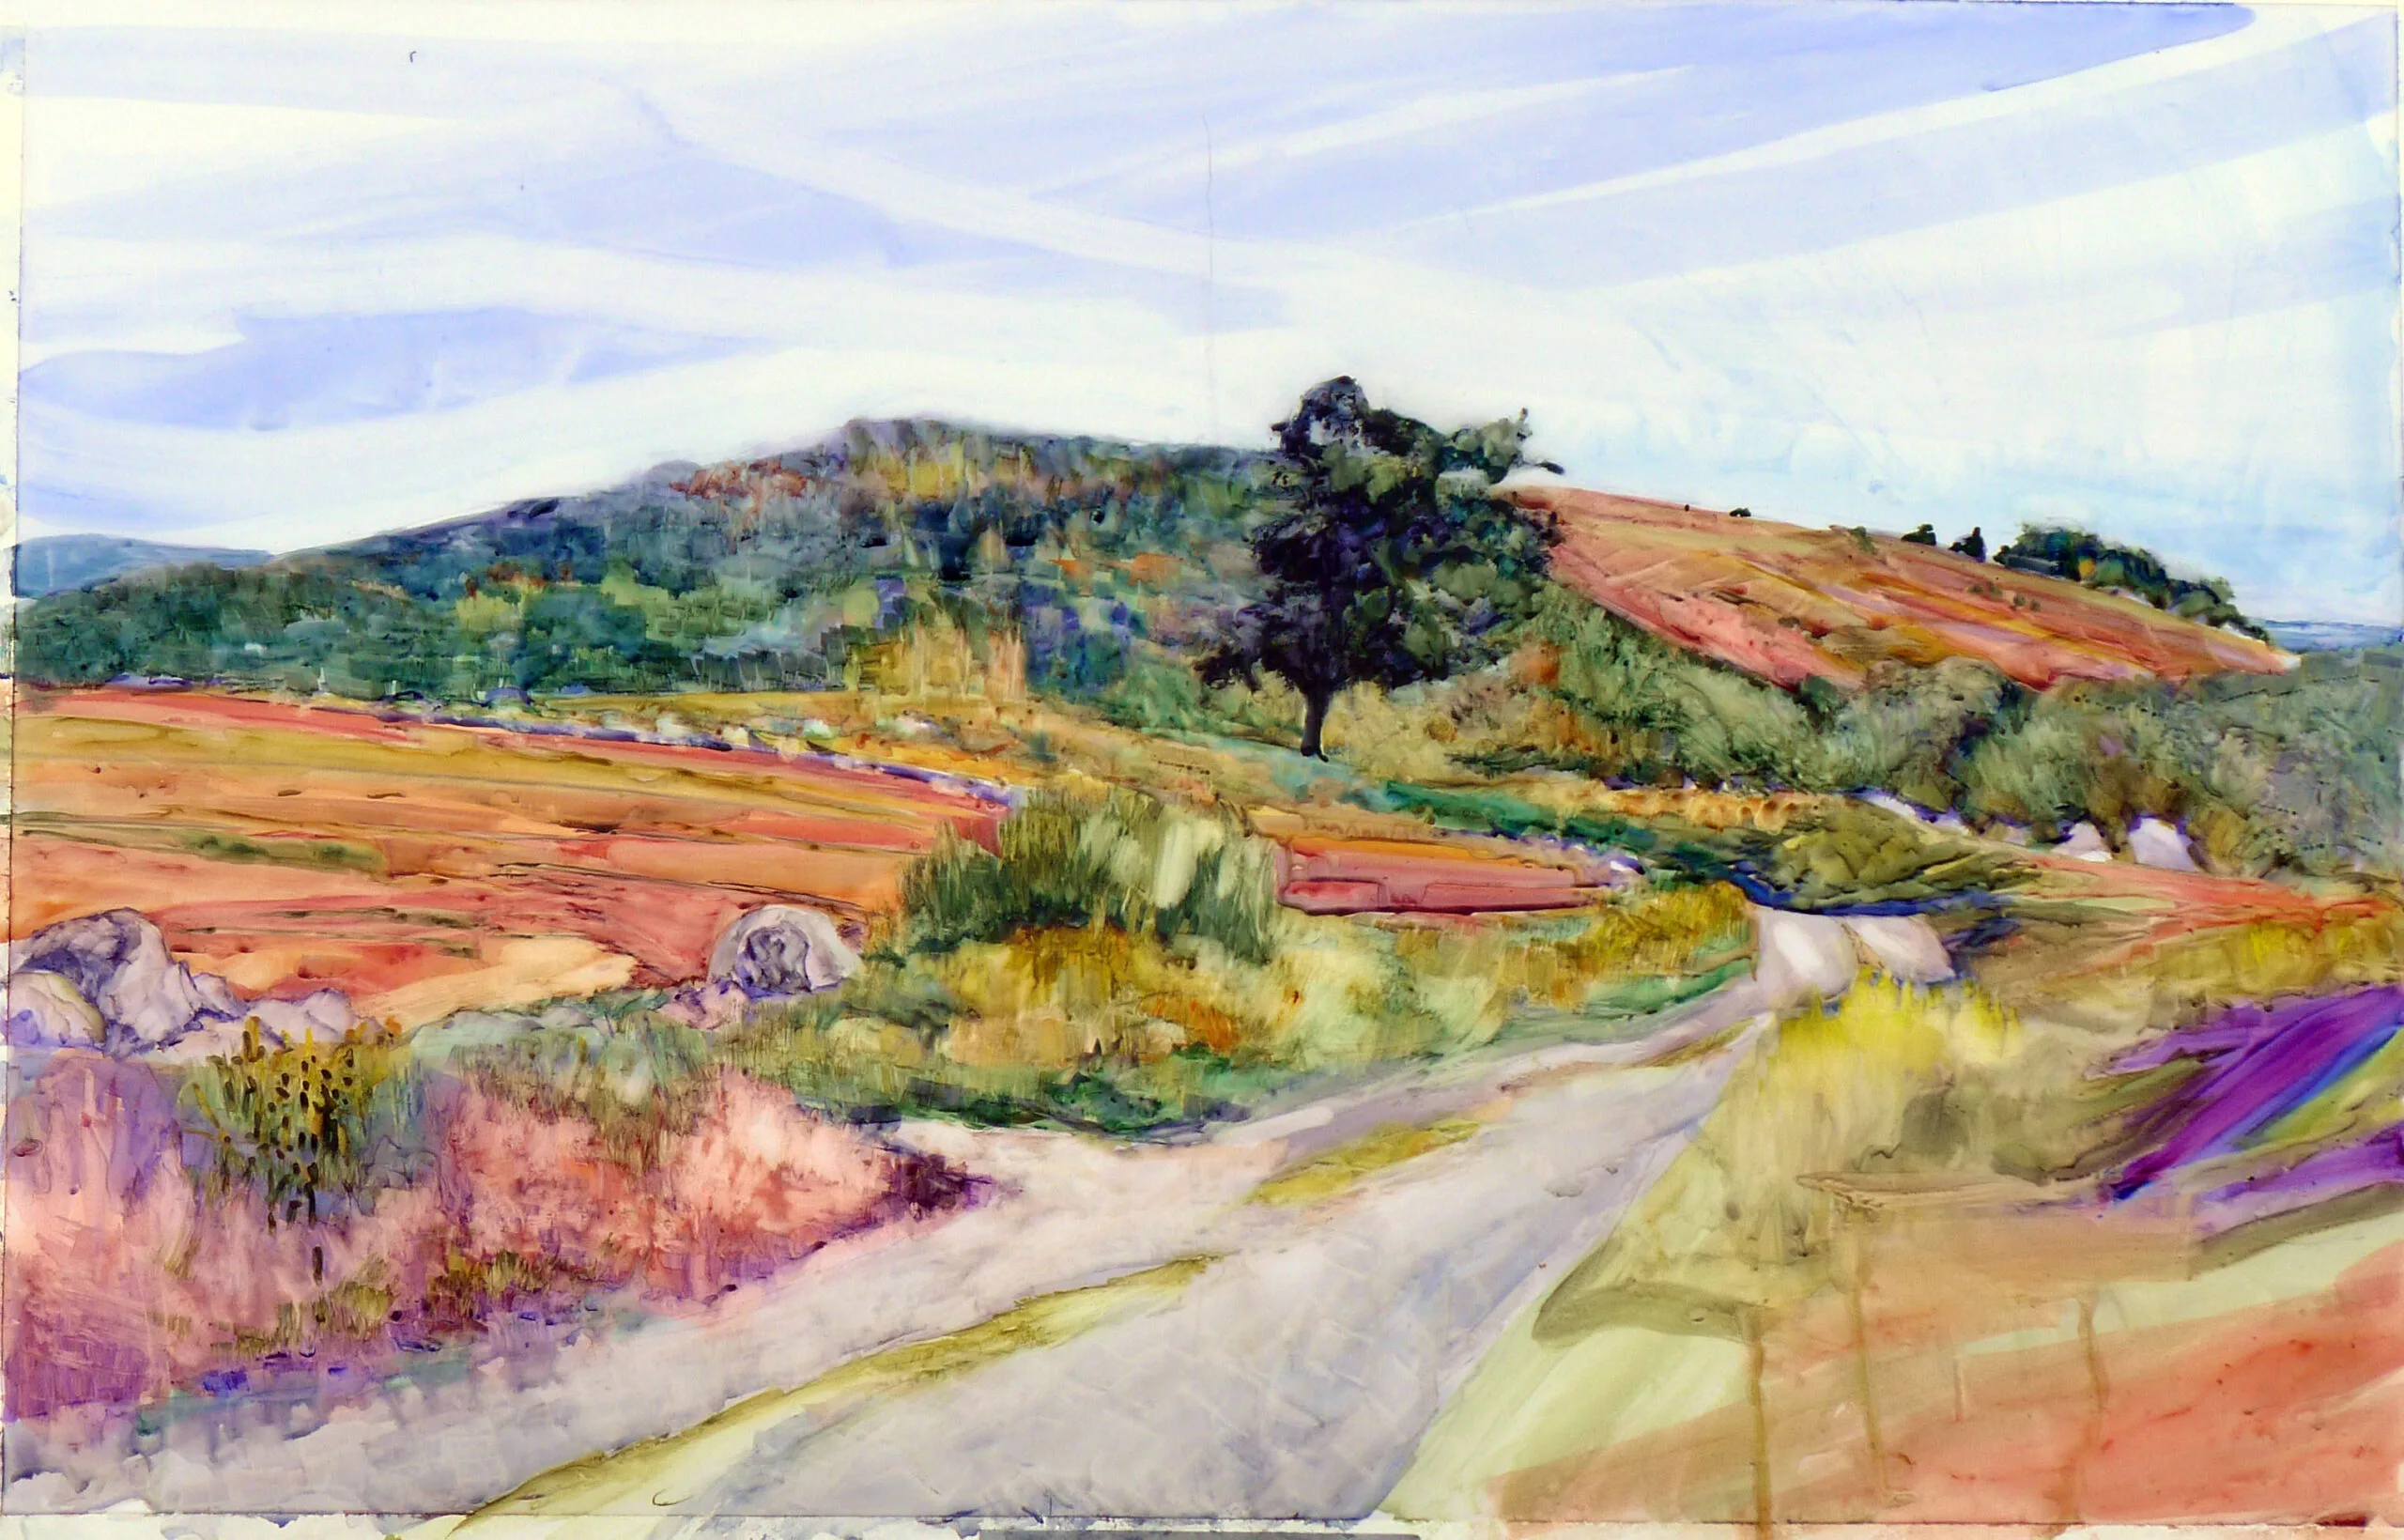
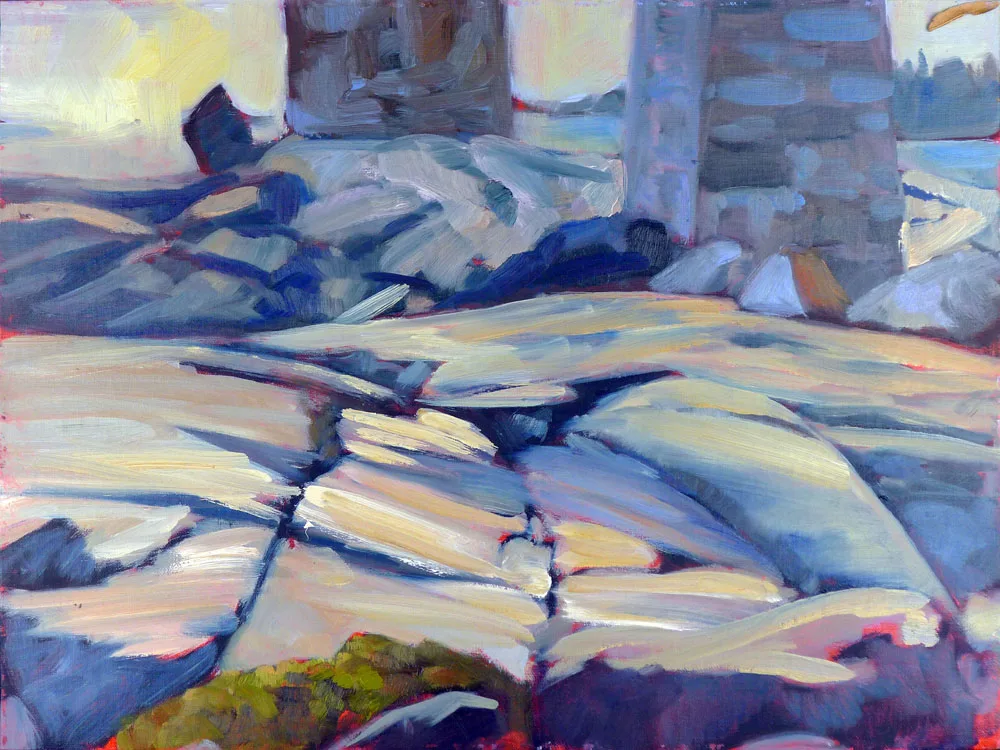
There have always been painters who embraced rough, broken marks. However, at the end of the 18th century, painters like Francisco Goya and J.M.W. Turner began a permanent break from the polish of strict academic painting. Where did loose brushwork in painting come from, and is it still relevant today?

A quick note before we get into it

Claim your spot in Painting Water, Monday evenings or Painting Nocturnes, Tuesday evenings. Both are 6-9 PM, starting the week of August 17, 2026, which is today.

This is my last Zoom session until I get back from Sedona Plein Air at the end of October. That’s because I’m teaching and eventing non-stop until then.

I upload videos of these online classes and you have access to them for as long as there’s YouTube. That means you can review them if you need a refresher or have to cut out early.

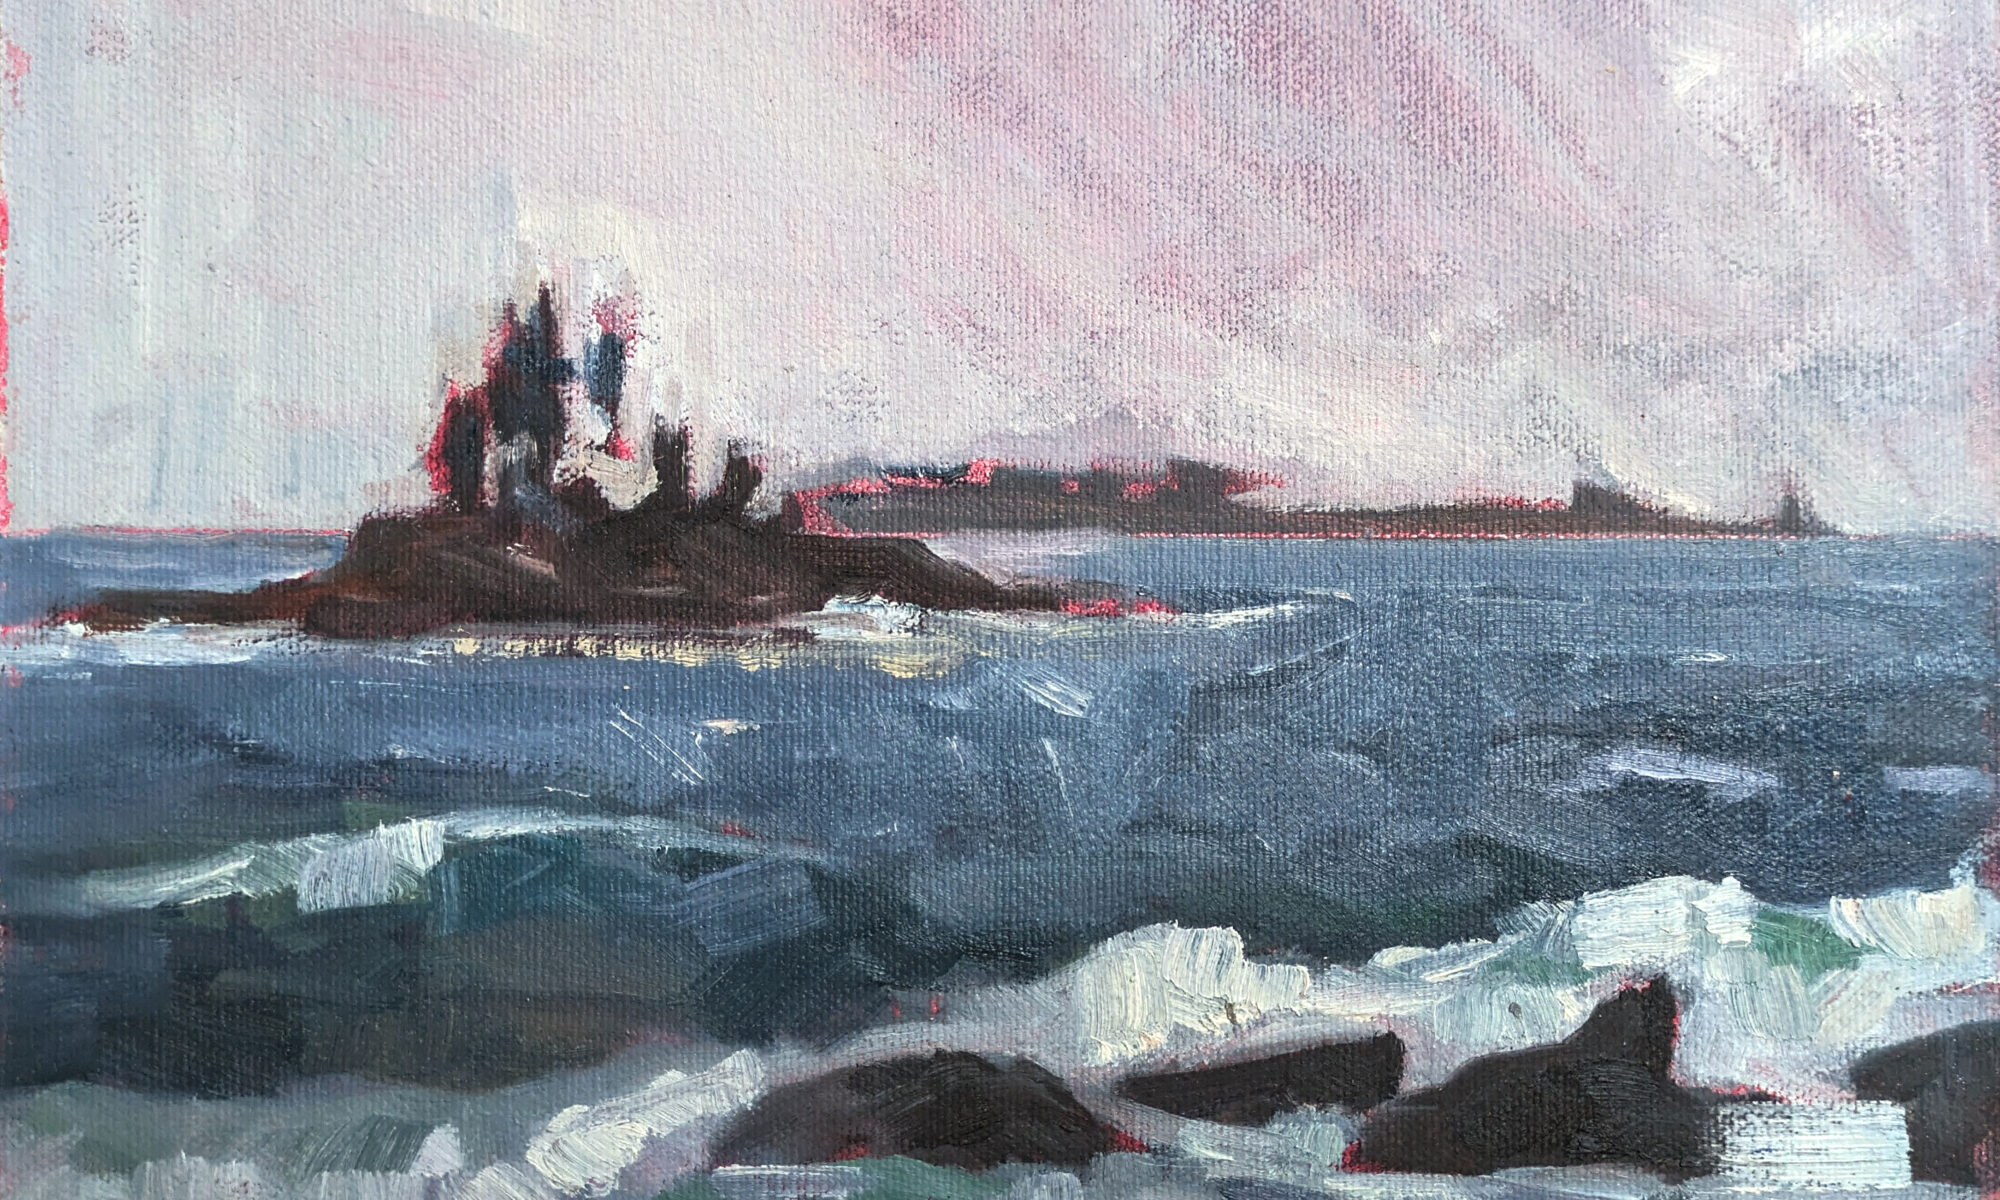
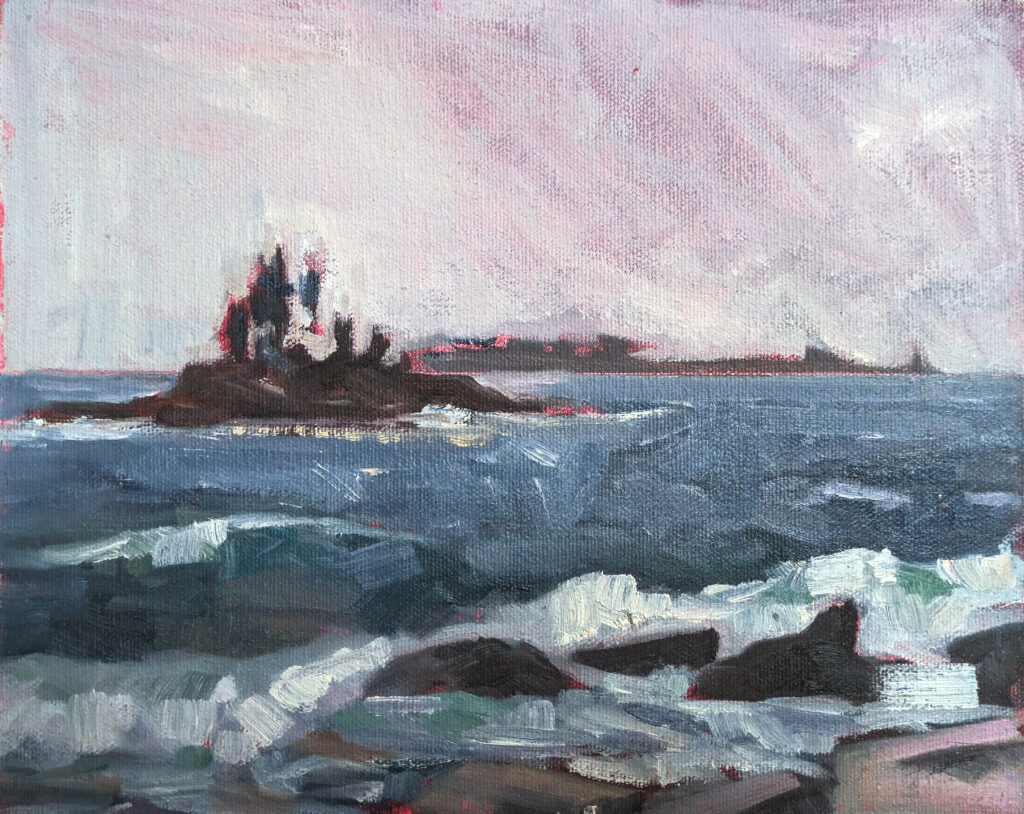
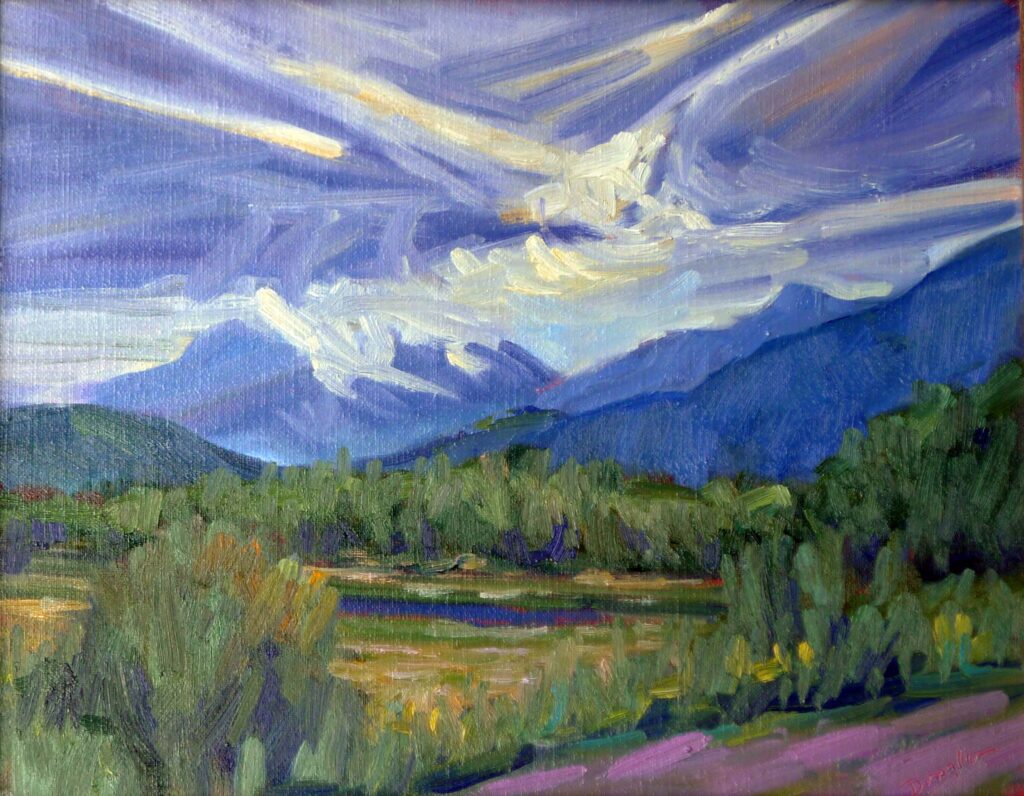
Brooding Skies, 8X10, oil on archival canvasboard, click on image for more information.

The Industrial Revolution

The 18th and early 19th century saw the development of steam power, textile mills, canals and railroads, making muscle much less important. At the end of the 19th century, electricity, petroleum, steel, chemicals, telecommunications and the internal-combustion engine were introduced. That gave us assembly lines, automobiles, electrical grids, telephones, skyscrapers and mass consumer goods.

The second half of the 20th century brought computers, electronics, telecommunications, robotics, satellites and the internet. Now we’re grappling with artificial intelligence, machine learning, cloud computing, sensors, robotics, biotechnology, autonomous vehicles and, of course, the Internet of Things. Rapid change makes us edgy, but it’s important to remember that those prior phases had the same effect on the people who lived through them.

Art responded to each phase of the Industrial Revolution in unique ways. But with each of them we saw more of the artist and less of the subject in artwork. Visible brushstrokes said, “this was made by a human,” in a world which felt increasingly standardized.

In Control (Grace and her Unicorn), 24X30, $3,478 framed, oil on canvas, includes shipping in continental United States.

Impressionism and plein air painting

Plein air painting was an important part of Impressionism . Because conditions outdoors shift so fast, plein air painting rewards economy. Plein air painters learn to ‘set it and foret it.’ That produces fresh, economical marks.

Plein air painting is the biggest and most influential painting movement of my lifetime. Its mark-making isn’t going out of style any time soon.

Modernism

Modernist painters increasingly treated the painting as an object in itself, rather than a reflection of reality. Painters like Paul Cézanne and Vincent van Gogh treated brushwork as emotional and structural language.

Modernism emphasized subjective vision over realistic representation. The disillusionment, fragmentation, and anxiety of 20th century wars meant that this vision was often fragmented, dark and distorted. Often, loose brushwork was the subject.

Photography

Once photographs could record appearances with accuracy, painting lost its practical purpose, to record people, places, ideas and events as they were. Painters were forced to ask, what can I do that a camera can’t?

Loose brushwork was one answer. This helped shift painting from representation into interpretation.

Certificate of authenticity

Your brushwork is as individual as your handwriting. It’s one thing technology can’t (yet) duplicate. And it’s why we value loose brushwork in painting more than ever; the physical act of painting is imbedded in the work.

Brushstrokes record movement, speed, pressure, hesitation and decision, just as handwriting does. It has become a dominant part of modern style; we recognize the person in the mark.

Brushwork signals confidence

Bravura brushwork suggests decisiveness, mastery, speed, physical engagement, risk and freedom. These are things our culture values, so we find loose brushwork in painting far more exciting than carefully-blended marks (although there is room for both in a good painting).

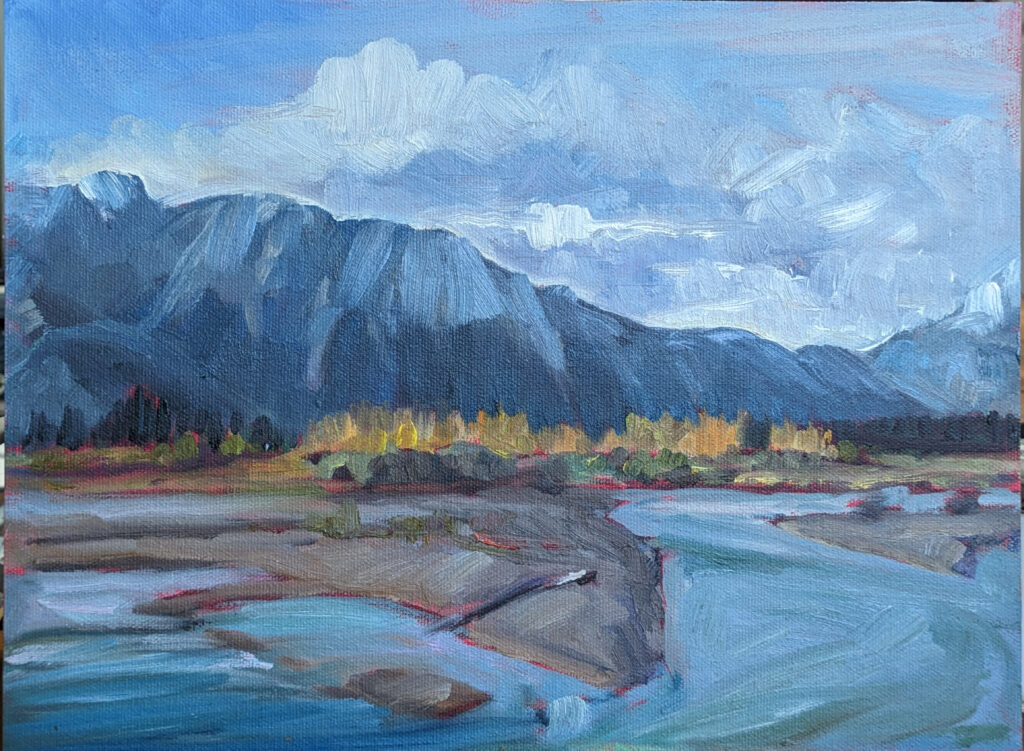
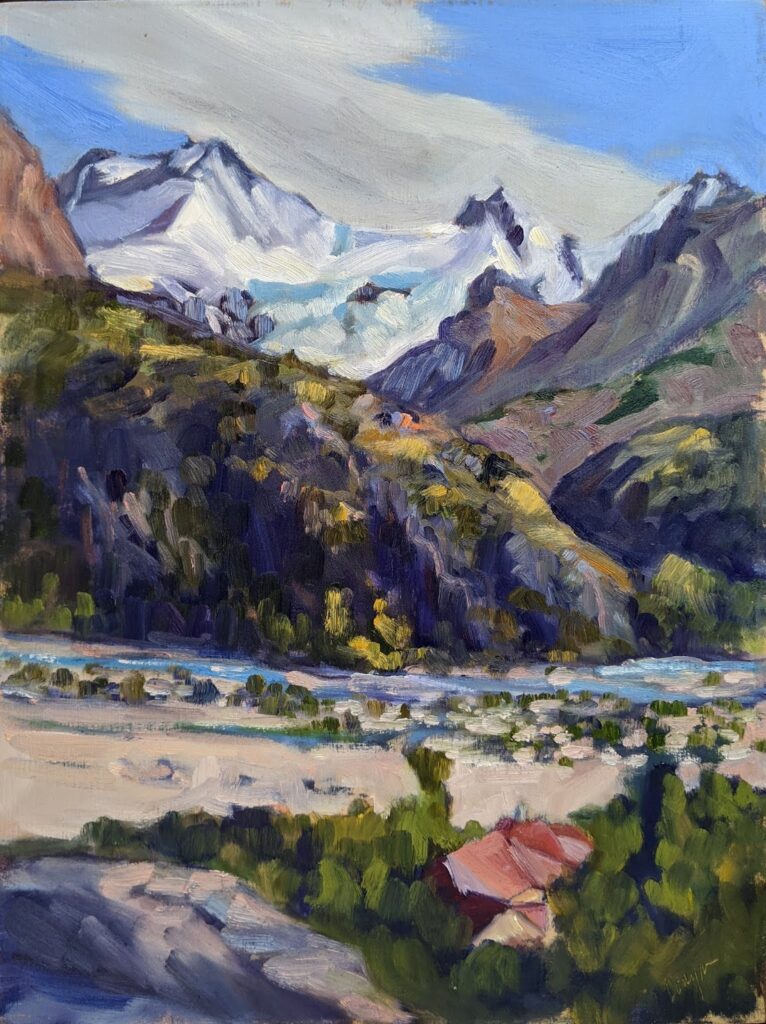
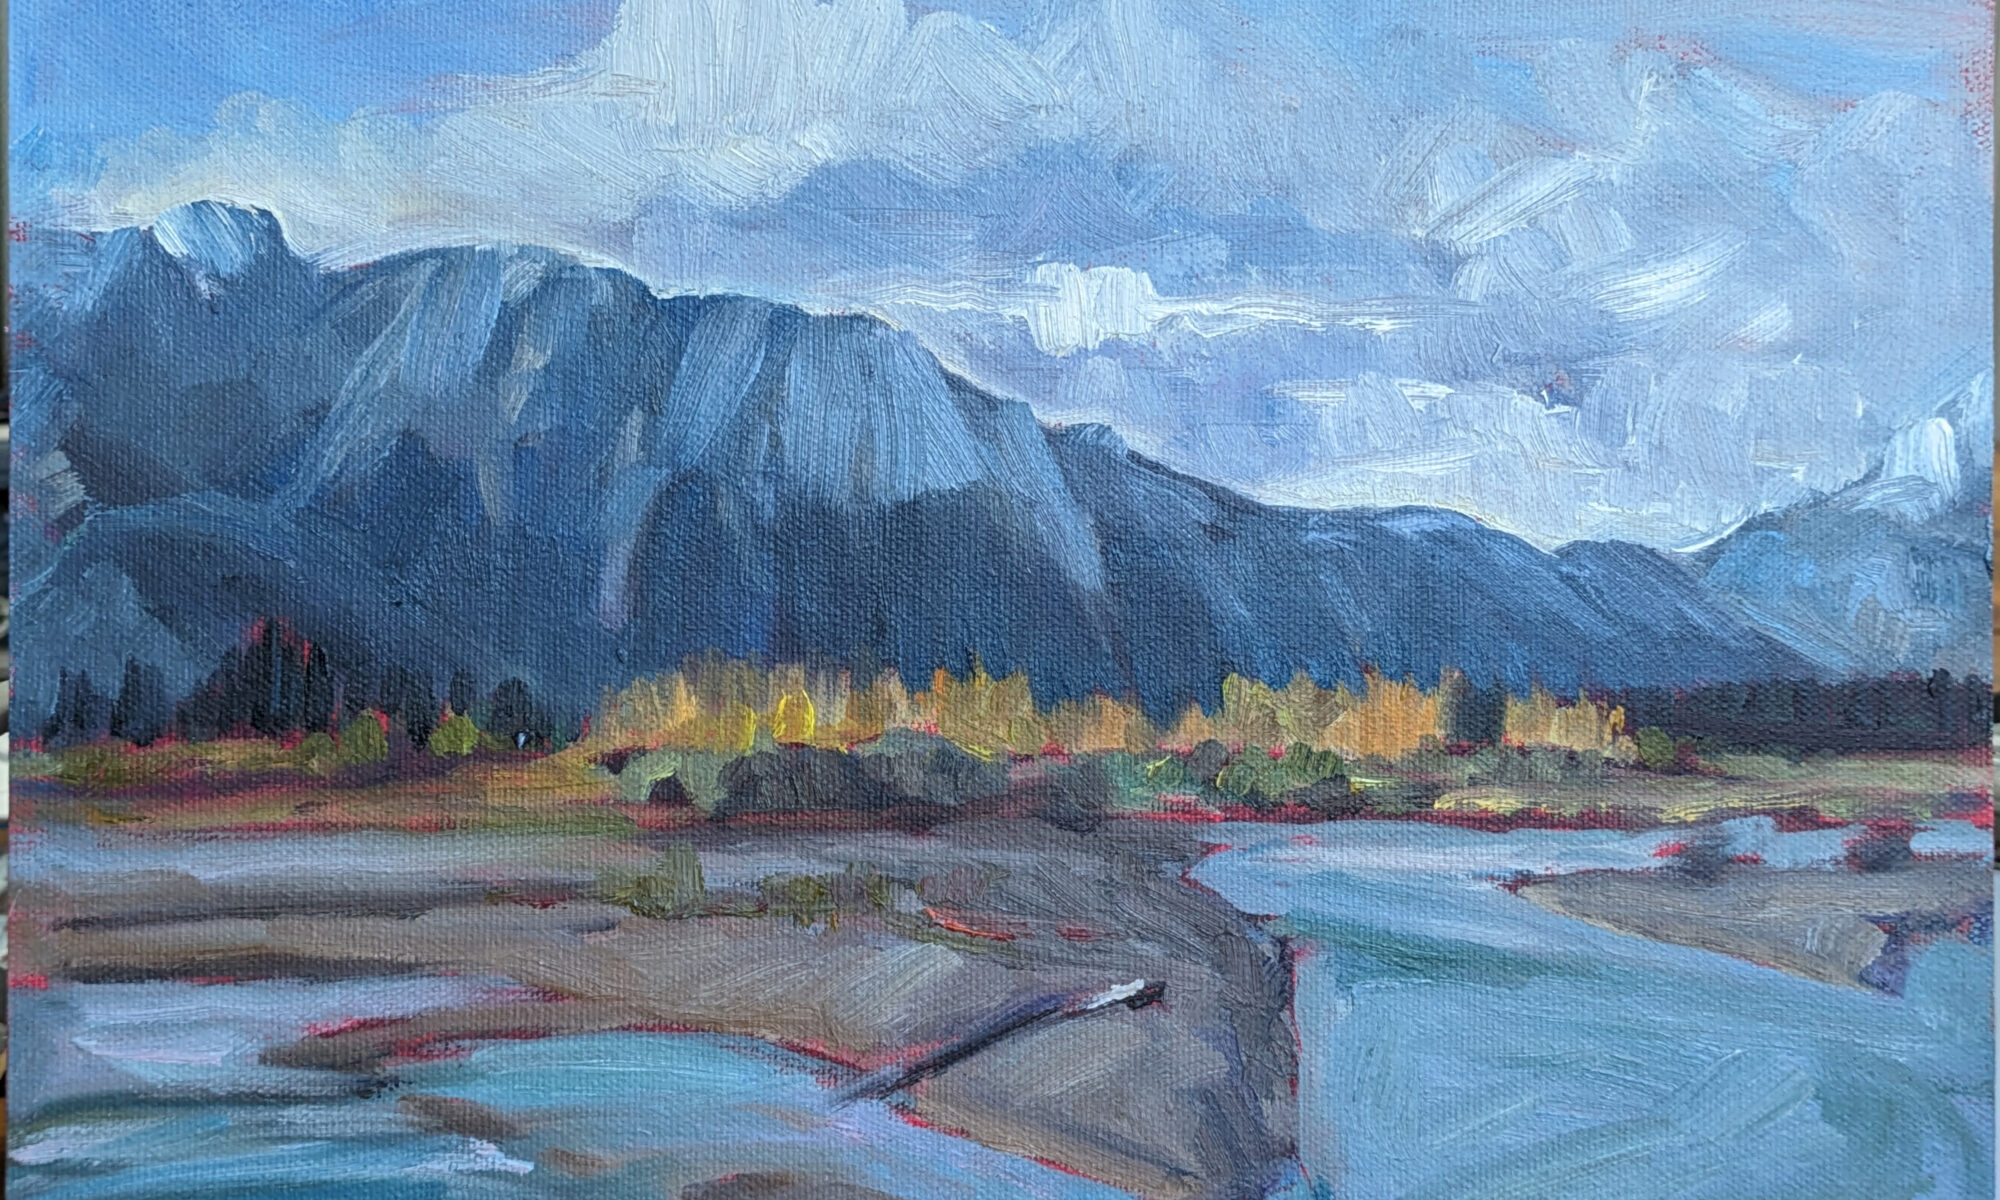
Athabasca River Confluence, 9X12, click on image for more information.

Looseness isn’t the same thing as good painting

Bravura brushwork only works if the painter knows what each stroke is meant to accomplish. Otherwise, it’s mere sloppiness.

Loose brushwork has to sit on a base of careful drawing, good composition and well-considered color. Great painters with flamboyant brushwork have a wealth of technique supporting their apparent spontaneity. They know proportion, value, edges, color relationships, anatomy, perspective and composition well enough that they can hit the right mark on the first strike (which is what alla prima means).

The big question

If looseness is now the language of serious painting, is there still anything rebellious or exploratory in being loose? Does looseness still matter in the 21st century? For me, the answer is yes but I leave you to make that choice yourself.

Registration is now open for workshops in 2026! Reserve your spot:

Can’t commit to a full workshop? Work online at your own pace:

Seven Protocols for Successful Oil Painters

Monday Morning Art School: how cameras undermine painters

Thomaston, ME, 14X18, oil on archival canvasboard. Click on image for more information.

Stand anywhere outdoors and you’re flooded with information. Each leaf catches light differently. Every building has windows, trim, shadows, reflections and textures. Each cloud changes by the minute. You try to capture all this, and you quickly get lost.

You’d think this would be easier when working from photos, but it’s actually worse. That’s because a camera and the human visual system don’t see the world the same way.

A quick note on weekly classes before we get into it

Claim your spot in Painting Nocturnes, Tuesday evenings or Painting Water, Monday evenings. Both are 6-9 PM, starting the week of August 17, 2026.

I upload videos of these online classes and you have access to them for as long as there’s YouTube. That means you can review them if you need a refresher or have to cut out early.

Beach Roses, 10X10 on sealed Baltic birch, for more information, click on image.

How the camera undermines painters

  • In real life (IRL), your eyes are making tiny jumps (saccades) several times a second. Your brain is suppressing unimportant information automatically. A photograph can’t do that. It records everything with equal indifference.
  • Humans have foveal vision. That means we only focus on what’s in the center of our sight. In contrast, photos make everything equally available. IRL, we naturally spend more time looking at the central points than at the edges of the scene. Our perception and memory is organized around those important shapes. In a photo, every square inch is equally accessible, and we tend to paint every square inch with equal attention.
Along Beech Hill Road, 12X16, oil on archival canvasboard, click on image for more information.
  • Cameras don’t have true depth perception. Our binocular and peripheral vision, along with our head movements, give us a true sense of distance. We instinctively group objects into foreground, middle ground, and far away. Photographs compress the three-dimensional experience into a two-dimensional rectangle, taking away our ability to edit spatial relationships in our paintings.
  • Nature moves constantly—leaves shimmer, clouds drift and water laps in tiny waves. Our brains average these changes into impressions. A photo of the surface of gentle water will show a series of long elliptical shapes. But nobody perceives water like that; we see tiny lapping wavelets. Look at a closeup of a leaf; the background is blurry. That’s not how we see it IRL, where our eyes jump focus many times a second.
  • I take pictures of interesting things only to get home and realize that my phone has edited the charm right out of the scene. The camera is as interested in the scrub in the foreground as it is in the sky in the background.
  • Photos are bossy. We trot right along behind them, copying assiduously. Working from life encourages interpretation because the scene is changing too quickly to copy literally. We have to make choices.
American Eagle in Drydock, 12X16, for more information click on image.

That doesn’t mean you can’t paint from photos.

I paint from photos frequently. However, there are ground rules:

  • I sketch the scene IRL so the big decisions are already made, including composition and focal points;
  • I have lots of experience painting en plein air and from life, which helps me understand the camera’s lies;
  • I start from my sketch, and finish by working from memory. Photos only come out when I need to check matters of light, composition, and detail.

Professionals don’t see more detail than beginners; they see more structure. That’s a learned skill. It improves through learning and repetition. One plein air painting will teach you something, but five consecutive days painting plein air will teach you a lot.

You’ll begin recognizing recurring patterns. You’ll notice that every successful landscape starts with clear value organization before color enters the conversation. You’ll discover that simplifying actually creates stronger, more believable paintings—not emptier ones. Most importantly, you’ll learn to trust your first impression instead of second-guessing every brushstroke.

That’s why I teach five-day workshops, and why I hope you’ll join me for one.

Registration is now open for workshops in 2026! Reserve your spot:

Can’t commit to a full workshop? Work online at your own pace:

Seven Protocols for Successful Oil Painters

Monday Morning Art School: nocturnes and water

Christmas Eve 2, oil on canvasboard, private collection.

I’d like to pretend that I am very systematic about my painting classes, but the truth is that I sometimes go haring off after rabbits. This one was set off by a student who loves nocturnes. I’m focusing on them myself right now, so it seemed like a perfect fit.

Since my classes end up oversubscribed on the first go-round, it makes sense to repeat Painting Water so those people who were shut out last time get a chance.

The bald facts:

Amazing Grace, 12X16, oil on archival canvasboard, private collection

Painting Nocturnes
Tuesday evenings, 6-9 PM
August 18, 25, September 1

In this focused, three-week session, we’re going to demystify the night scene. If you’ve ever found yourself mesmerized by the night sky, this class is for you. Learn more.

“Surf at Marshall Point,” oil on canvasboard, private collection.

Zoom Class: Painting Water

Monday evenings, 6-9 PM
August 17, 24, 31

Light, surface, and movement are the three important elements in painting water. Class size is limited, claim your spot now! Learn more.

I upload videos of these online classes and you have access to them forever (or for as long as there’s YouTube.) That means you can review them if you feel you need a refresher or have to cut out early for some reason.

Why these subjects matter

Water and nocturnes are both subjects that are just a little mysterious. They’re also two of the most rewarding subjects to learn to paint because they teach lessons that carry over into every landscape you create.

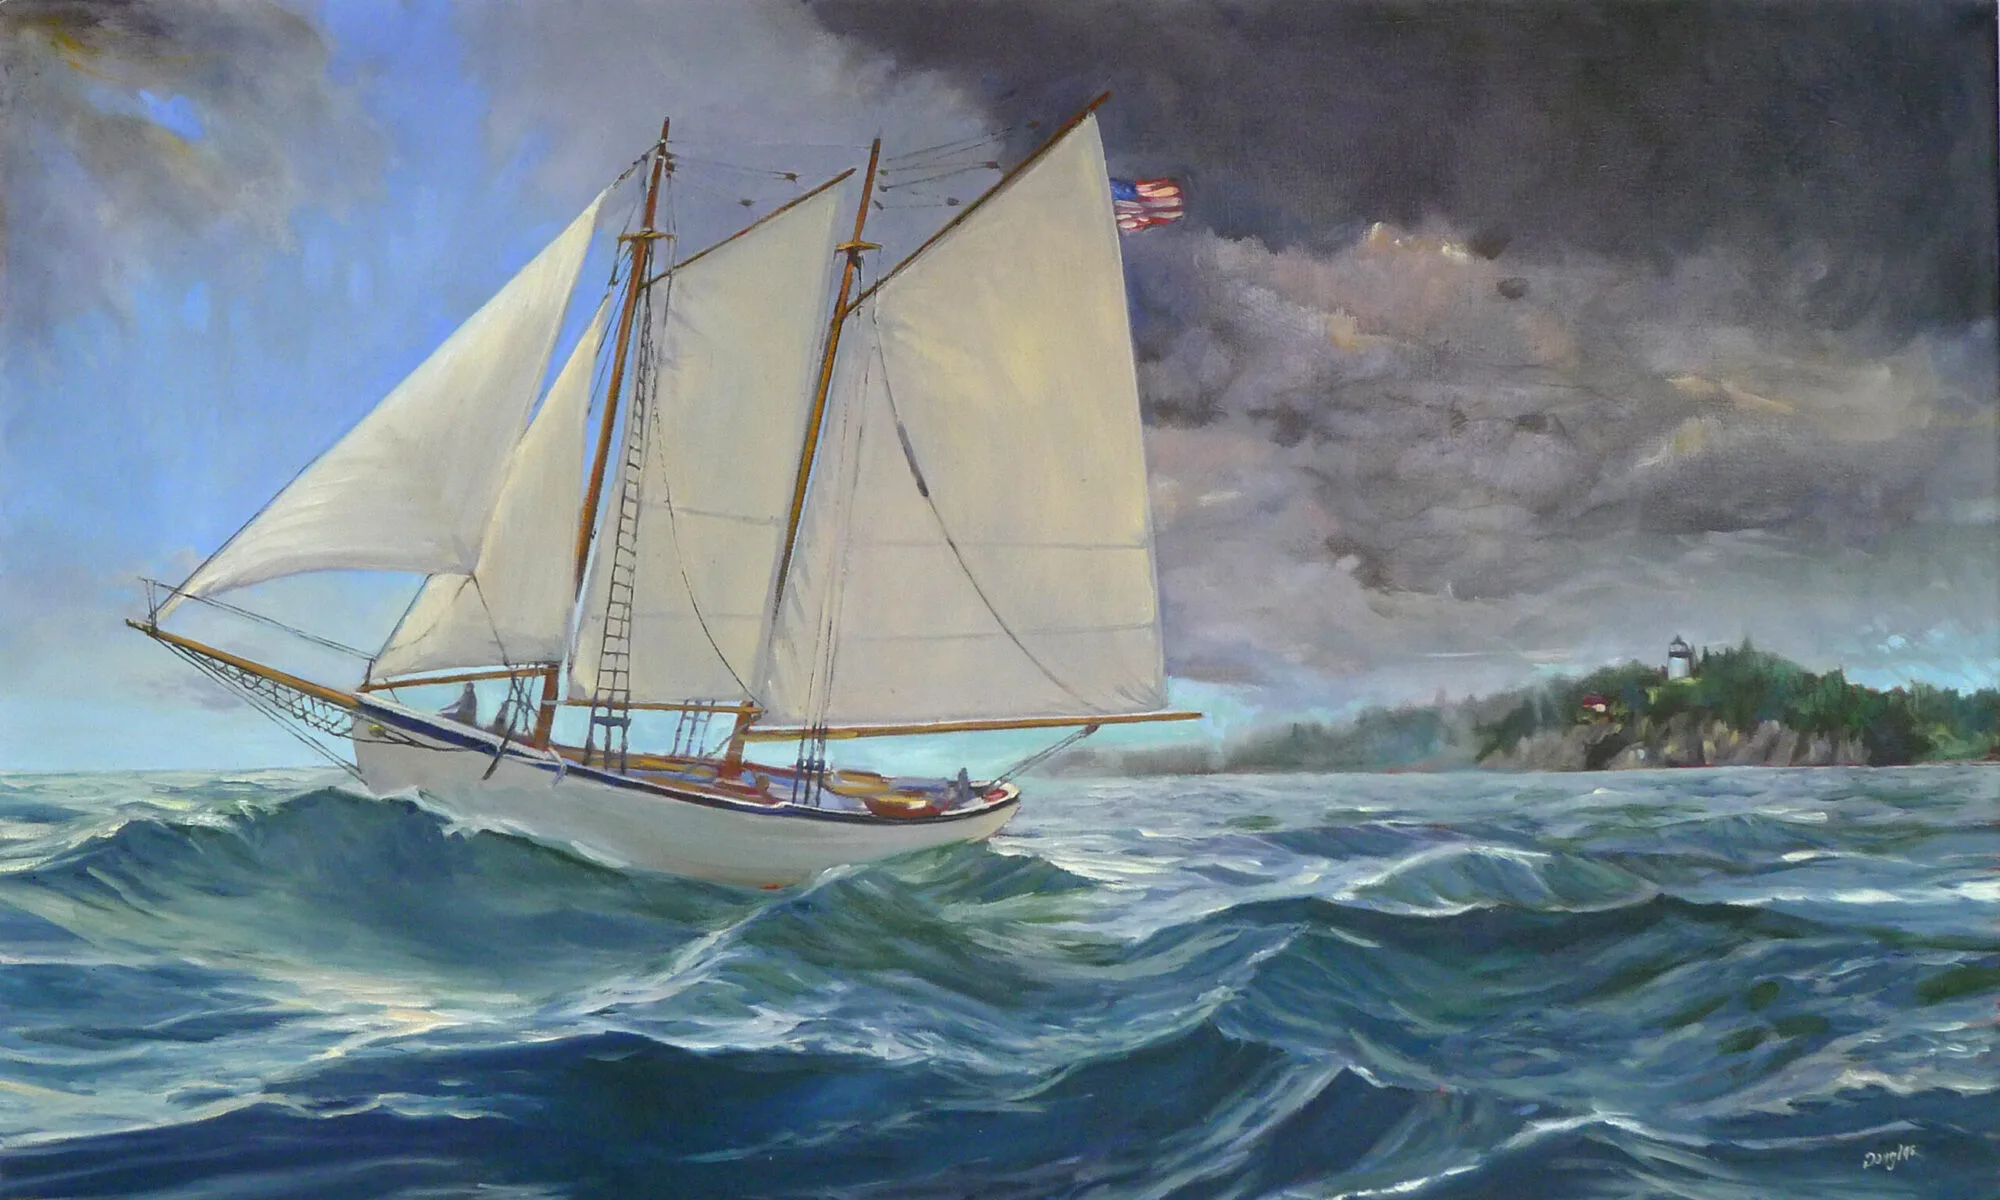
Heavy Weather (Ketch Angelique), 24X36, oil on canvas, for more details, click on image.

Water

Water is often the most mesmerizing part of a landscape, which is why I paint it so much. It catches the light, reflects the sky, and adds movement and atmosphere to what might be an otherwise static scene. Yet many painters struggle because they try to paint every ripple. Instead, there’s an underlying structure, based on the physics of light. Once you figure it out, you’ll struggle no more.

In this class, you’ll learn how light, surface, and movement work together to create believable water. That’s true whether you’re painting a quiet pond, a bustling harbor or surf breaking on a rocky Maine shore. Once you understand the principles, you’ll never look at water the same way again.

Nocturnes

There’s something magical about painting after dark. I’m better at it before dawn than after dusk, although most people see it otherwise. Either way, the world is quieter, colors are subtler and every light source suddenly matters.

In this focused three-week session, we’ll demystify the nocturne. You’ll learn how to organize values and use color to suggest darkness rather than relying on blackness. You’ll create paintings filled with atmosphere and mood. If you’ve ever been captivated by moonlight, glowing windows or the last light lingering in the western sky, this class will give you the tools to paint them with confidence.

Both classes are taught live on Zoom and include explanations, discussion, critique and plenty of time for questions. They’re designed for painters who want practical, repeatable techniques they can apply immediately to their own work. As always, class sizes are intentionally small so everyone has an opportunity to participate.

I hope you’ll join me for one—or both—of these classes. They’re two of my favorite subjects to teach, and I think you’ll come away seeing the world with fresh eyes.

Registration is now open for workshops in 2026! Reserve your spot:

Can’t commit to a full workshop? Work online at your own pace:

Seven Protocols for Successful Oil Painters

Monday Morning Art School: oil or acrylic gesso?

If we’re gonna talk about sinking, let’s start with The Wreck of the SS Ethie, oil on canvas, 18X24. It’s the only shipwreck I’ve ever painted. For more information, click on image.

“Could you talk about the differences between acrylic and oil gessoes, primers and grounds and whether/how they might contribute to issues such as sinking in?” Beth Barger asked in response to Choosing the right surface for oil painting. She was referring specifically to oil painting.

The preparation of the surface affects both its archival durability and how it handles paint. However, the substrate itself is also a critical player, because of its texture, stability and durability.

Oil paint doesn’t dry; it oxidizes. That means the oil in the paint absorbs oxygen from the air. These oxygen molecules create a chemical bridge between the oil molecules, locking them together into a hard, firm bond. If something happens to deplete the oil between the pigment particles, you get color sinking.

The layers of your painting surface

Sizing is the first layer applied to a substrate when using oil gesso. In my youth, it was rabbit-skin glue. It stunk but did a good job separating the ground from the linen or cotton substrate and tightening the raw fabric to its frame. Today, it’s been replaced by acrylic sizing. I can’t get the tautness from acrylic sizing that was possible from animal glue, so I use acrylic gesso instead.

Primer seals metal or wooden surfaces and provides a stable foundation for subsequent layers. It’s slick, so gesso is often applied above it for tooth. When I paint on Baltic birch, I use three layers of Golden GAC 100 followed by Winsor & Newton clear gesso.

A ground is the actual painting surface—the layer your brush encounters. It determines the tooth, absorbency and texture of the support. The word gesso is often used interchangeably with ground, but that’s not always true.

Oil gesso is made with chalk or marble dust bound in siccative (drying) oil. It cures slowly but produces a non-absorbent surface that allows oil paint to remain open longer. Brushstrokes glide across it beautifully, and thin layers of color stay rich because less oil is pulled from the paint.

Oil gesso must be kept separate from the backing. Siccative oils create free fatty acids when curing. These create the beautiful, tough bond of oil paint, but they also rot fabric, paper or wood if allowed to touch them.

Acrylic gesso is acrylic polymer containing titanium white and mineral fillers. It dries quickly, is flexible, and works well on canvas, panels and paper. It doesn’t require sizing, it’s easy to use and remarkably durable.

While you can paint with oils directly over an acrylic ground, never paint in acrylics over an oil ground. The paint will delaminate.

Solvent evaporates, which leaves microscopic gaps between the pigment particles where oil should be. Whether those gaps happen because the fat-over-lean rule was broken or because the ground absorbed too much oil, the result is the same—a flat, dusty surface with dull color.

Sinking

Sinking happens when the ground absorbs some of the oil binder from fresh paint. The pigment remains, but without enough oil surrounding it, dark passages become dull and matte. It isn’t that the color has changed; the leaking away of the oil has left a microscopically-pitted surface that scatters light differently than oil in a tough bond.

That also happens (more commonly, in fact) when you’ve ignored the fat-over-lean rule and used too much solvent in the upper layers.

Acrylic grounds are absorbent and thus prone to sinking. Inexpensive pre-primed canvases with thin factory coatings suffer from this, and sometimes don’t have enough gesso to stop oil from leaching through to the backing.

That doesn’t mean acrylic gesso is bad. I use it. Be sure there’s enough gesso for a solid barrier with the background. Toning the canvas or adding a very thin coat of oil ground after the acrylic has fully cured can dramatically change how paint handles.

If running a rag with solvent over your (dry) painting causes the color to come back, your painting has sunk. You can bring it back with varnish; however, it’s best to avoid the problem in the first place.

To some degree, the ideal ground depends on your working method. When I did illustration, the highly-absorbent surface of Ampersand Clayboard was great for fast, detailed work. Today, I paint on toned boards or canvases, sketch in color masses with thinned paint and then build impasto. I like the slightly-absorbent grip of acrylic gesso. If you prefer the smooth slide of wet-on-wet paint, you might prefer oil primer.

As with almost everything in oil painting, there isn’t one perfect choice for a ground. There is only the surface that best supports your process.

Registration is now open for workshops in 2026! Reserve your spot:

Can’t commit to a full workshop? Work online at your own pace:

Seven Protocols for Successful Oil Painters

Monday Morning Art School: the right support for your painting

https://www.watch-me-paint.com/product/brooding-skies/Brooding Skies, 8X10, oil on archival canvasboard. Click on image for more information.

“What kind of paper/canvas should I buy” is among the first questions I’m asked by new workshop students. While I can’t recommend museum-grade panels to beginners, it’s disheartening to watch students struggle with cheap painting supports.

The painting support you choose affects how your paint behaves, how your marks read and whether your work lasts.

A quick note before we get into it

It’s time to claim your spot in Advanced Plein Air Painting, July 13-17 in Rockport, ME. If you have any questions about whether you fit into an advanced class, just ask!

Let’s discuss medium first

Watercolor depends on controlled absorbency. The paint sits in the surface, not on top of it. That’s why the quality of watercolor paper matters so much. 100% cotton papers hold water evenly, allow controlled washes, allow for scrubbing out changes and resist breakdown over time. Cheaper wood-pulp papers buckle, blotch, and lose clarity.

The best support for gouache is heavy-weight paper (at least 140 lb.) that can handle water without warping. Because texture isn’t as important as for watercolor, hot-pressed paper—also known as Bristol—is ideal. Other options include illustration board, watercolor journals, and heavy mixed-media paper. Gouache can be painted on gessoed board, but it’s not necessary.

Lake of the Woods, 12X16, oil on archival canvasboard. Click on image for more information.

Acrylics will stick to almost anything, but a properly gessoed surface controls absorbency and prevents paint from sinking in unevenly. Cheap surfaces can feel draggy or dead.

Oils absolutely require a sealed, primed ground. Oil paint binders are acidic, which reacts with and destroys the support over time. If painting on paper or a wood board, prime with either clear or regular gesso.

Maynard Dixon Clouds, 11X14, oil on archival canvas board. Click on image for more information.

Rigid versus paper supports

Paper is immediate and responsive. It’s ideal for watercolor and gouache, and perfectly good for acrylic studies. But quality varies wildly. Good paper has proper sizing (which controls absorbency) and consistent texture; poor paper acts like a blotter or warps under even modest moisture. Paper must be properly prepared for oil and acrylic painting.

There are many good paper watercolor boards on the market. They’re more convenient and less prone to buckling than watercolor paper, but they cost more.

For oils or acrylics, I use archival canvas-boards for all smaller paintings. They’re easier to frame and carry, and I don’t have to worry about light coming through the back of the canvas. However, larger boards can be prone to warping.

When I travel, I sometimes bring loose canvas and tape it to a board. That gives me less bulk when flying, but floppy wet sheets of canvas can also be difficult to transport.

Stretched canvas and linen are the traditional choices for oils and acrylics, and I use them for all larger work. It can sometimes be hard to determine the quality of packaged canvas, so research before you buy. Cheap canvas can sag or distort, and insufficient gesso allows paint to bleed through to the backing.

In practice student-grade panels and canvases are fine for students but can have inconsistent tooth and weaker priming.

No Northern Lights Tonight, 6X8, oil on archival canvasboard. Click on image for more information.

Size matters

I tell students to prepare to paint two 9X12 paintings a day during a workshop. In practice, some will paint more, some less. Some students produce small jewels on 4”X5” canvases; others love working big. This is personal preference.

When preparing for an event, I usually bring canvases and frames in all sizes. I never know how a scene will inspire me.

What separates good from mediocre?

  • Absorbency control–good surfaces absorb just enough paint or water without sinking color or bleeding through.
  • Surface consistency—cheap painting supports have inconsistent surfaces. Good ones behave predictably.
  • Longevity—archival materials including cotton paper, proper sizing and rigid supports, keep your work intact over time.

The right painting support isn’t magic, but it will improve your painting.

Want to learn more?

I have three upcoming Zoom classes. In From Field Sketch to Final Studio Work (six weeks on Tuesday evenings) we talk about how your initial decisions carry through to a fully-realized studio painting. In Painting Clouds (a three-week Monday session), you’ll learn practical ways to paint these all-important natural phenomena.

Registration is now open for workshops in 2026! Reserve your spot:

Can’t commit to a full workshop? Work online at your own pace:

Seven Protocols for Successful Oil Painters

Monday Morning Art School: glazing vs. scumbling

A very old painting by me, using indirect painting technique.

Being the World’s Oldest Living Person, I learned to paint from my old friend Rembrandt van Rijn. That meant I learned to paint indirectly, through glazes. When I went to the Art Students League, I jumped forward a few centuries and learned to paint directly, or alla prima.

A quick note before we get into it

It’s time to claim your spot in Advanced Plein Air Painting, July 13-17 in Rockport, ME. If you have any questions about whether you fit into an advanced class, just ask!

Alla Prima

Alla prima painting is done in a continuous pass, or as close as you can get within the limitations of size and time. You mix colors and put them down in their final form. It’s characterized by immediacy and loose brushwork.

Indirect painting is built in stages, layer over layer, with drying time in between. Each layer modifies but doesn’t obscure the one beneath it. Indirect painting trades immediacy for control.

Most painters end up using a hybrid approach, especially when working large. Scumbling and glazing are opposite in method and effect, but can appear in the same painting (see Rembrandt’s self-portraits, for example). However, it’s hard to glaze over impasto, as the glaze sits in the valleys of existing paint.

Glazing is very useful in making revisions on a dry painting, provided there is little texture.

What is glazing?

Glazing is transparent. You take a thin, translucent layer of paint and lay it over a dry underpainting. In oils and acrylics, that paint is thinned with medium, not solvent. In watercolor, it’s thinned with water. In gouache, it doesn’t work.

If the layer underneath isn’t completely set, you’re not glazing, you’re just mixing. You’ll end up with mud. A proper glaze allows light to pass through the new layer, bounce off the layers below, and return to the viewer’s eye. That’s what creates depth and luminosity.

White, yellow ochre and other opaque pigments have no place in glazing. Only transparent and semi-transparent pigments work. How do you know which is which? Good paint manufacturers put it right on the tube.

Glazing can build rich shadows, unify color passages, and create atmospheric distance. A cool glaze over a warm passage can push it back in space. Done well, glazing doesn’t sit on the surface; it seems to glow.

Glazing is slow. It requires more patience, planning, and restraint than I’m currently capable of. I can’t brute-force my way through an entire indirect painting, but I do use glazing to make editorial changes.

You can’t scumble if the paint is too wet.

What is scumbling?

Scumbling, on the other hand, starts with heftier paint. In watercolor, that means less water; in oils and acrylics it means opacity. (All pigments can be made opaque with a drop of white or yellow ochre.)

Drag a lighter, drier layer of paint across the surface so that it skips over the high points of the texture, allowing bits of the underlayer to show through. Scumbling is broken, irregular, and tactile. It’s a very lively texture.

Scumbling can suggest the roughness of stone, the sparkle of light on water, or the haze of distant atmosphere. It’s especially effective over a darker, dry layer, where the broken application creates a vibrating edge between colors. Unlike glazing, which deepens and unifies, scumbling disrupts and enlivens.

The drier the paint and the more horizontal the brush, the more the painted line will break.

It’s all technique

For glazing, use a soft brush, plenty of medium and a light touch. The paint film should be thin and even. Don’t scrub; if you break the surface of the lower layer, you’ll make mud.

For scumbling, use a stiffer brush and reduce the water or medium. Physically drag the paint, keeping the brush at a low angle to the surface. The brush should skip. If it’s laying down a smooth, continuous stroke, you’re not scumbling.

Either can be overused

Too many glazes, and everything turns murky. The transparency that once created depth becomes mud. Too much scumbling, and your painting can look overworked, with no clear hierarchy of edges or forms.

These are advanced topics, and if you want to learn more, you’re a candidate for Advanced Plein Air Painting in Rockport, ME, July 13-17, 2026. This is for experienced painters ready to level up: work side‑by‑side with experienced painters to deepen skill and spark new ideas.

Registration is now open for workshops in 2026! Reserve your spot:

Can’t commit to a full workshop? Work online at your own pace:

Seven Protocols for Successful Oil Painters

Monday Morning Art School: cast versus form shadows

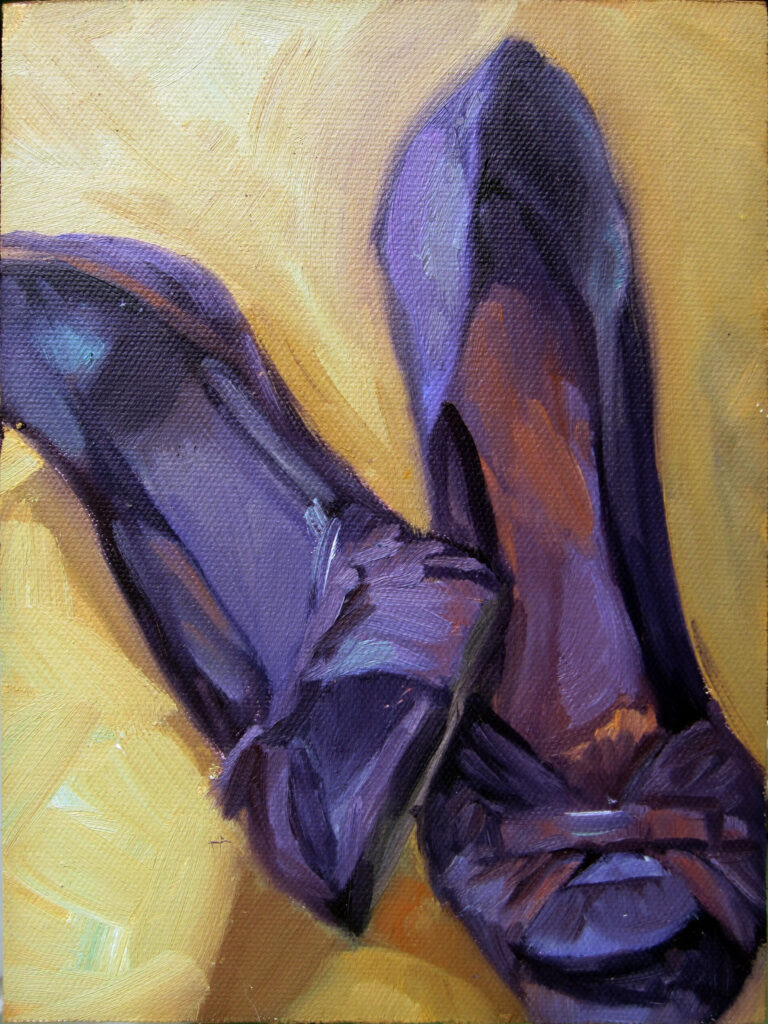
Prom Shoes 2, oil on archival canvasboard, click on image for more information. One of the great benefits of painting still life is that it teaches you to manage form vs. cast shadows.

We tend to lump shadows together into one vague, dark idea, kind of like Halloween. Despite the dangers of noun-thinking in painting I’m going to throw two more labels at you: cast shadows and form shadows. When you understand the difference, your paintings will sit solidly in space.

Form shadow on a sphere.

Form shadows belong to the object itself. They describe the turning of a surface away from the light. Above, I’ve illustrated a sphere: one side faces the light, the other gradually rolls into darkness. That transition—from light into halftone into shadow—is a form shadow. It’s soft, gradual, and tied directly to the geometry of the object. Form shadows are what give volume. They’re how a circle becomes a ball.

Cast shadows, on the other hand, are thrown by one object onto another surface. A tree casts a shadow on the ground. A nose casts a shadow across a cheek. These shadows are graphic and shape-driven. Their edges depend on the sharpness of the light source. They primarily describe the interruption of light rather than the turning of form.

Cast shadows are opposite the light source.

Not all shadows behave the same way

Form shadows will have softer edges when they are created by gradual changes in light across a curved surface. The more matte the surface, the softer the shadow. Even in strong light, the transitions of a form shadow are rarely abrupt. A hard edge in a form shadow will flatten the object. When we paint with form shadows, we’re doing what’s called ‘modeling’.

Cast shadows, especially close to their source, tend to have firmer edges. They can soften as they move away from the object, and the softer the light source, the softer the shadow. But cast shadows are usually crisp near the object that’s casting them. If you paint cast shadows with mushy edges, your painting loses definition. Everything feels vague and unanchored.

Form shadows are part of the object’s local color family, darker and often cooler. Cast shadows, however, can drop dramatically in value; they represent areas where light is blocked entirely. That said, they’re rarely as dark as beginners make them. There is almost always reflected light bouncing into them, especially outdoors.

Where cast and form shadows meet

There may be almost no differentiation where cast and form shadows meet; they can sometimes run into each other as an unbroken dark. A great example is Johannes Vermeer’s Girl with a Red Hat, which is a delightful exercise in lost and found edges.

Color temperature

Form shadows will generally shift cooler relative to the light, particularly in natural light. Cast shadows also follow this general rule. However, depending on the environment, they can pick up surprising color such as warm, reflected light.

In either case, shadows can have reflected color in them. For example, the insides of daffodils—despite being in shadow—will be a clear, deep yellow. They’re reflecting the yellow back on themselves.

Baby spruce on the shoreline at Corea, 8X10, private collection.

This is a good place to ban black

Shadows may, in certain situations, appear black. If, for design purposes, that works for you, make yourself a chromatic black from ultramarine blue and burnt sienna or a blue-magenta-yellow combination if you’re working in severely-limited palette. Tube black is useful for making greens, for making tones and shades, or for painting your grand piano. But it has no place in your shadows.

But in any case, most shadows are simply more charming if they have color in them, or many colors in them.

Your practical takeaway

One of the great virtues of painting still life is learning to manage cast and form shadows differently. When you see a shadow, ask yourself what it’s doing. Is it describing the turning of a form, or is it being cast onto a surface? That will help you handle its edge crispness, its value and its color.

Registration is now open for workshops in 2026! Reserve your spot:

Can’t commit to a full workshop? Work online at your own pace:

Seven Protocols for Successful Oil Painters

Monday Morning Art School: what is hardest to paint?

Surf’s Up is 12X16, on a prepared birch surface. Click on image for more details.

(The answer, of course, is ‘yes.’)                                         

Students ask me how to paint water, portraits, clouds, trees, rocks, animals and many other things. That’s thinking in nouns, not visually. Getting hung up on a subject (for example, “I can’t paint people”) is just psyching yourself out.

Every subject is equally difficult, or easy. While there are things to learn about the properties of these subjects, the overall process is universal:

  1. Observe carefully through drawing;
  2. Create a compositionally-strong value sketch;
  3. Organize color harmony;
  4. Commit to canvas or paper in the most-economical brushwork possible.
High surf, 12X16, oil on prepared Baltic birch surface. Click on image for more information.

Strong paintings are built on a foundation of strong shapes. The world doesn’t compose for you. Even the desert offers abundant visual imagery rather than austere elegance. Your job is to edit that down.

Think in terms of masses, not objects

Children paint in those aforementioned nouns—car, sun, tree, house, rainbow. When we paint what we know instead of what we see, we’re falling back into that childhood habit. But painting works better when you think in shapes and values.

When you shift from object-thinking to shape-thinking, drawing gets easier and composition starts to organize itself. “Every good picture is fundamentally an arrangement of three or four large masses – a design of masses or large blocks of color – light, dark and half dark or half light,” wrote John F. Carlson. If those shapes are clear and well-arranged, the painting will hold together, even without detail.

Sunset over Cadillac Mountain, oil on archival canvasboard. Click on image for more information.

Painting by design

A perfectly copied scene will still feel flat or confusing if the shapes aren’t well-organized. Feel free to move things around. Adjust the size of a shadow. Merge shapes. Eliminate distracting elements. Strengthen a silhouette.

Ask yourself:

  • Does this shape help or hinder the design?
  • Is there a clearer, more attractive way to group these elements?
  • Where do I want the viewer to look first? Second? Third? How am I encouraging that?

Simplification is about emphasis. When everything is important, nothing is.

Use edges and contrast to reinforce your shapes

Once you’ve established strong shapes, protect them. Avoid breaking them apart with unnecessary edges or fussy detail. Keep your major masses intact. You can always add complexity later, but it should sit on top of a clear structure.

Focal point is established by line and by contrast in value, hue and chroma. No intricate detail can draw the viewer’s eye as effectively as a sharp edge between two radically-different color masses.

Blueberry barrens, Clary Hill, oil on canvas, 24X36. Click on image for more information.

The value of value sketches

Practice doing quick, simplified sketches that map out value relationships. That means no color, no details, and just a few value levels. This trains your eye to see what matters.

Ultimately, painting is about seeing those relationships, and once you can do that, you can paint any subject with equal confidence.

These are skills I stress in my workshops (below) and online classes. Turning a complex subject into a paintable scene is not a talent questions. It’s a decision-making process you can learn, practice and refine.

Registration is now open for workshops in 2026! Reserve your spot:

Can’t commit to a full workshop? Work online at your own pace:

Seven Protocols for Successful Oil Painters

Monday Morning Art School: why most beginner paintings fail

Inlet, 9X12, oil on archival canvasboard, click on image for details.

Most beginner paintings don’t fail because of lack of hard work. In fact, the problem is often the opposite: too much effort in the wrong places. Careful rendering and earnest attention can’t fix a fundamentally-flawed painting.

Detail is seductive

I’ve only known one painter who could start from a single detail and work outward; even he doesn’t always succeed. Most artists end up floundering when they do that. Of course, when you’re new to painting, detail is seductive; it’s just so much fun to focus on the apple rather than the branch. But when you do that, you’re overwhelmingly likely to put that apple in the wrong spot or use the wrong values. And then, you’ll either get to repaint the whole thing or admit defeat.

There have been times when I’ve been tempted to ignore this rule, for example when storm clouds are rolling in. I have learned from sad experience that this never works.
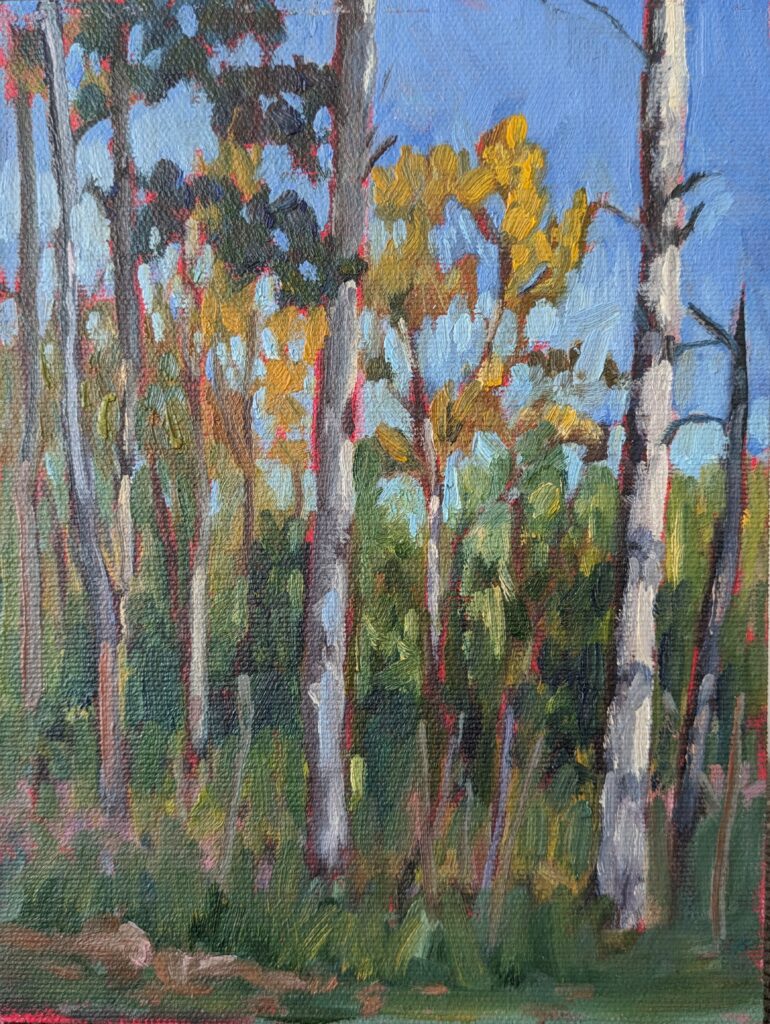
Eastern Manitoba River, 6X8, oil on archival canvasboard, click on image for details.

Good paintings are built from big shapes, not tiny parts. If the underlying structure isn’t solid, no amount of detail will fix it. And painting any one area to completion without considering its relationship to the whole is a recipe for failure.

Learn the art of aggressive simplification. Use a big brush and don’t pick up its smaller cousin until all your shapes are blocked in. Take your glasses off while looking at your subject, or, if you’re cursed with perfect vision, squint.

Value is king

Color has three facets:

  • Value—how light or dark something is;
  • Hue—the position on the color wheel (i.e., red, blue, yellow, etc.);
  • Chroma—the intensity of the color.
Île d’Orléans waterfront farm, 8X10, oil on archival canvasboard, click on image for details.

You can play fast and loose with hue, but if you don’t have a good value structure, your painting will collapse. Value is the bones of all 2-D art.  

Beginner paintings often suffer from compressing the value range into a narrow band of midtones. The result is flat, muddy, and lifeless. That’s first an observational question, but it’s also an issue of design. The painter hasn’t considered whether there is an interesting pattern of lights and darks.

Start with a sketch limited to just four values. Make sure it’s attractive and interesting before you move on to paint. Then, establish your value range early and stick to it. Work the whole canvas at once, comparing constantly. Ask yourself: should this shape be lighter or darker than the one next to it? That simple question can transform your painting.

Step back frequently. If you can’t do that, use your cellphone to take a picture of your work in progress; that can sometimes give you the necessary distance. If you’re really in doubt, convert that photo to greyscale and see what it tells you.

Grand Canyon at sunset, oil on canvasboard, 9X12, click on image for more details.

You can’t fix a weak painting by adding more paint

No amount of detail or bravura brushwork can salvage a weak composition. Instead, stop and figure out what’s wrong. If you can train yourself to see big shapes first and organize your values with intention, your paintings will immediately improve.

Registration is now open for workshops in 2026! Reserve your spot:

Can’t commit to a full workshop? Work online at your own pace:
Seven Protocols for Successful Oil Painters

Monday Morning Art School: how to start a painting

Île d’Orléans waterfront farm, 8X10, oil on archival canvasboard, click on image for more details.

Everyone is Polish on Dyngus Day

As all good Buffalonians (even those of us in exile) know, today is Dyngus Day. It has been called the Polish Sadie Hawkins Day, a celebration of the Baptism of Poland or the first real post-Lenten party. To me, it’s the first true sign of spring, and the perfect metaphor for beginning a painting: energetic, a little chaotic, and full of possibility.

Set the energy

If you’re as bleary as I feel, start with loud, perky music. May I recommend polkas?

Starting a painting can feel like looking at the far horizon. It’s exciting, but overwhelming. The way to keep from getting lost is to start simple, think big and be patient. Every successful painting begins not with detail, but with confident, broad moves that establish the foundation.

Marshes along the Ottawa River, Plaisance, 8X10, oil on archival canvasboard, click on image for more details.

Start by drawing

To start a painting successfully, start with drawing. No time spent with pencil or paper is ever wasted. You can do twenty loose, inventive, exploratory sketches in the time it takes to struggle through one flawed underpainting. These quick studies build confidence, sharpen observation and clarify your composition before you ever touch the canvas.

Toning (oils, acrylics and gouache only)

A warm or neutral wash knocks down the glaring white of gesso. (You’re not sealing the canvas; gesso is formulated to take paint.) Tone helps your eye judge values more accurately. From there, I draw my sketch in with paint; others use vine charcoal. I try to keep this loose and responsive while still honoring my drawing.

Cape Spear, Newfoundland, 8X10, oil on archival canvasboard, click on image for more details.

Less flailing, more looking

In a comment on Friday’s blog post, student Bonnie Daley noted that careful observation would also help in fishing. What if we committed to spending time looking before we cast our lines, metaphorically as well as physically? Careful observation is one of the most important painting techniques for beginners and professionals alike.

Study your subject until the complexity simplifies into two or three major value shapes. These large shapes form the structure of your painting. If they’re correct, everything else will fall into place.

The beauty of a more limited palette

A common trap for beginners is buying too many paints. Instead, use a limited palette of paired primaries with a few earth tones. This approach simplifies decision-making and creates natural harmony.

Think of color in terms of value and temperature rather than exact hue. That apple doesn’t need to be the perfect red; it needs to relate correctly to the colors around it. In painting, color is relational.

Athabasca River Confluence, 9X12, $696 includes shipping and handling in continental US.

Simple block-in, solid foundation

Once your drawing and big shapes are in place, block in shapes with broad color masses. If you keep the edges soft at first, you can tighten as you move along. Note how values and edges interact.

If you’re tempted to add detail now, put down your brush and dance another polka. Student Beth Carr reminded me of just how much Euan Uglow could say with almost no detail at all. Solid block-in reads beautifully without detail, but it’s important no matter how much refinement you want to do. What you place here determines how later layers will work. Once the big relationships work, you can enjoy laying in details and flourishes, if that’s your bag.

An unbiased eye

If you’re ready to sharpen your eye and start seeing your paintings with more clarity, I invite you to join my Fresh Eyes Critique Zoom class on Tuesday evenings, 6-9 PM on April 14, 21 and 28. After that, you’re on your own for a few weeks, because I’ll be in the Cotswolds.

Registration is now open for workshops in 2026! Reserve your spot:

Can’t commit to a full workshop? Work online at your own pace:
Seven Protocols for Successful Oil Painters