
As I ask you this series of Big Questions About Art (starting here), I’m trying to answer them myself. This one is hard, because for too long, my main goal has been to finish today’s work and get a start on tomorrow’s. I’m a kinesthetic thinker, meaning I figure things out by doing them. The more physical that is, the happier I am. That’s not bad for a painter, since our work is essentially tactile. However, it doesn’t always lend itself to advance planning.
My artistic goals (as of right now)
- To develop a broader range of surface-scribing skills. By that I mean more varied brushwork, with the ability to float between ambiguity and detail without overworking the surface. That includes scumbling, impasto and fine line work.
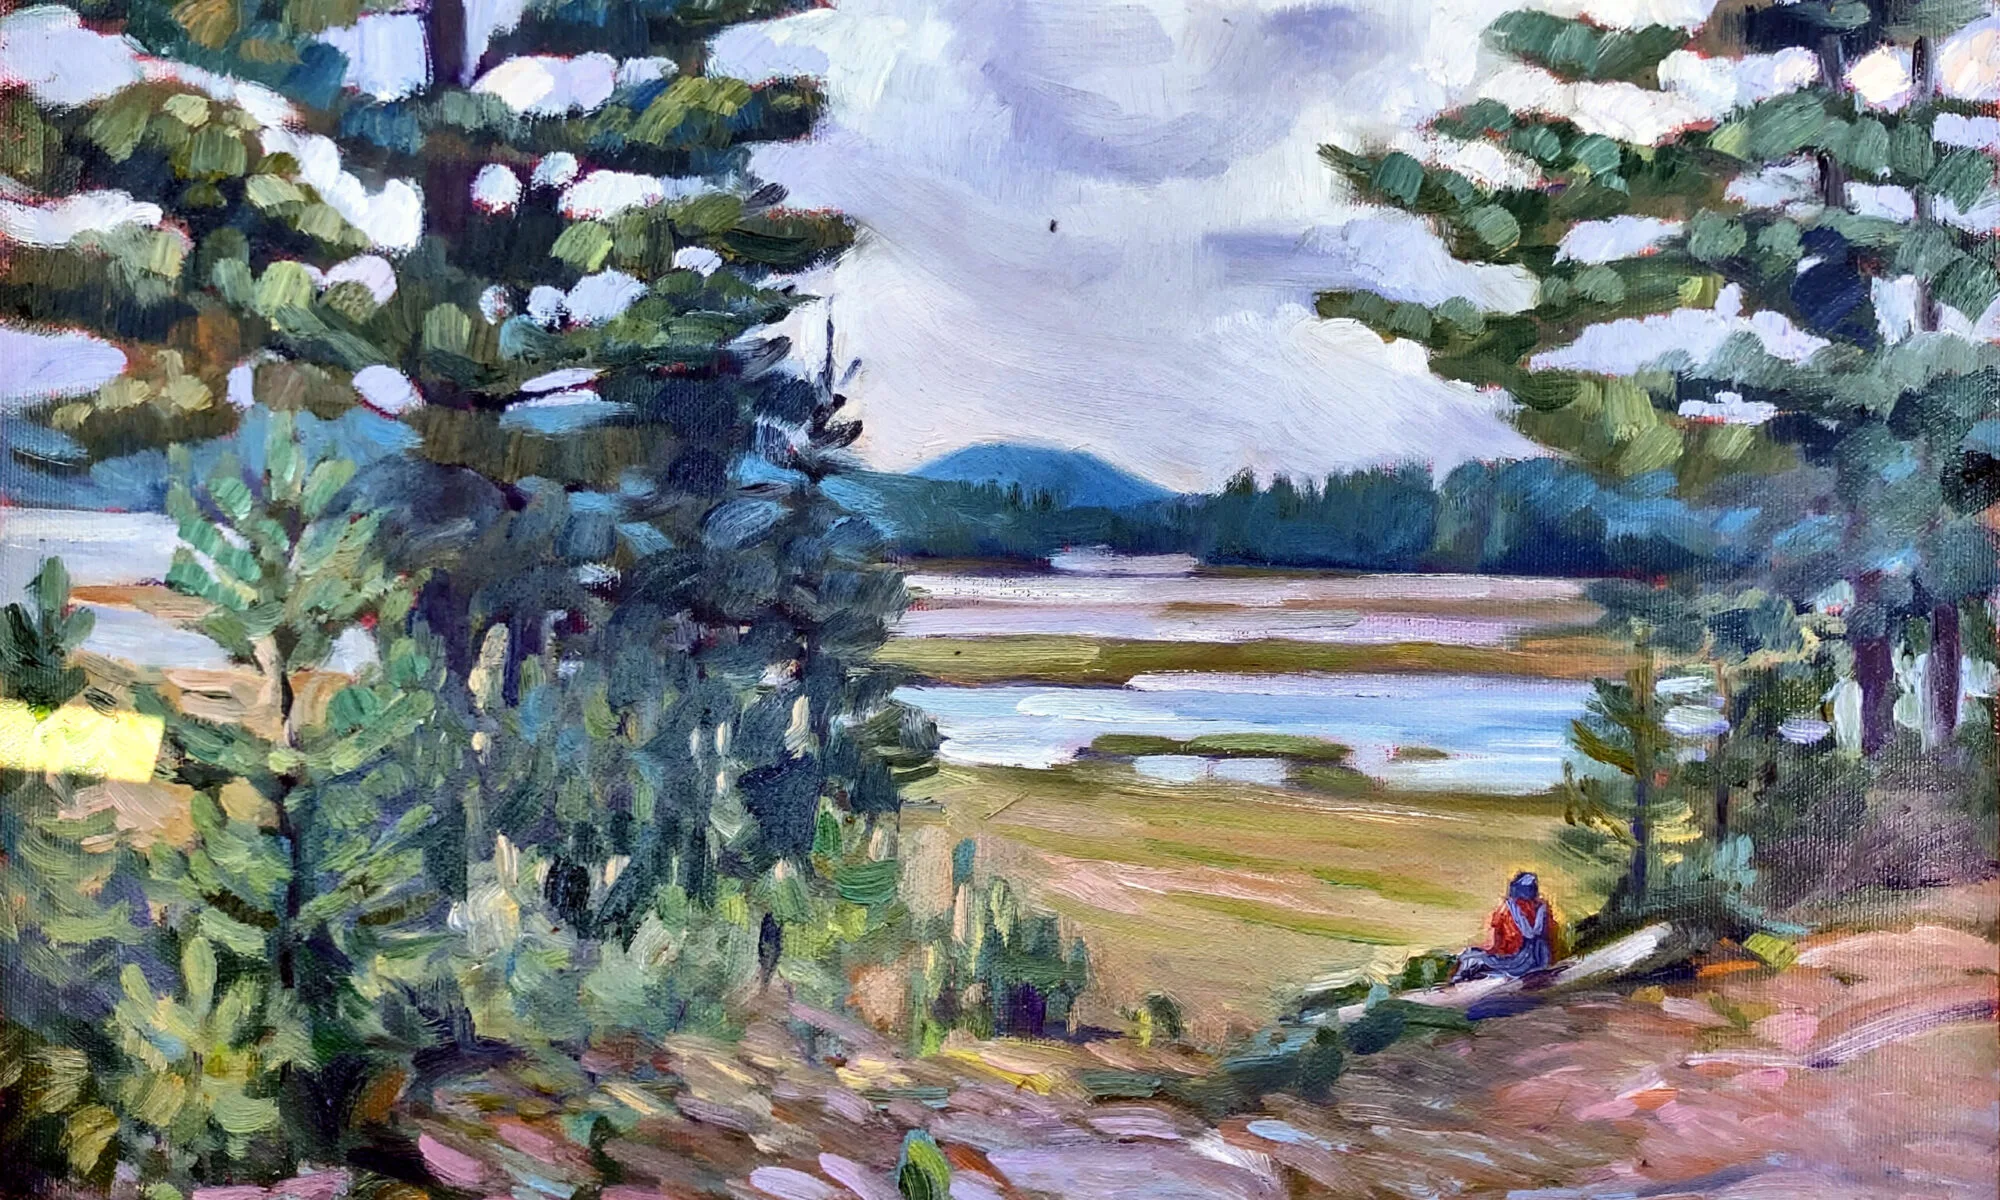
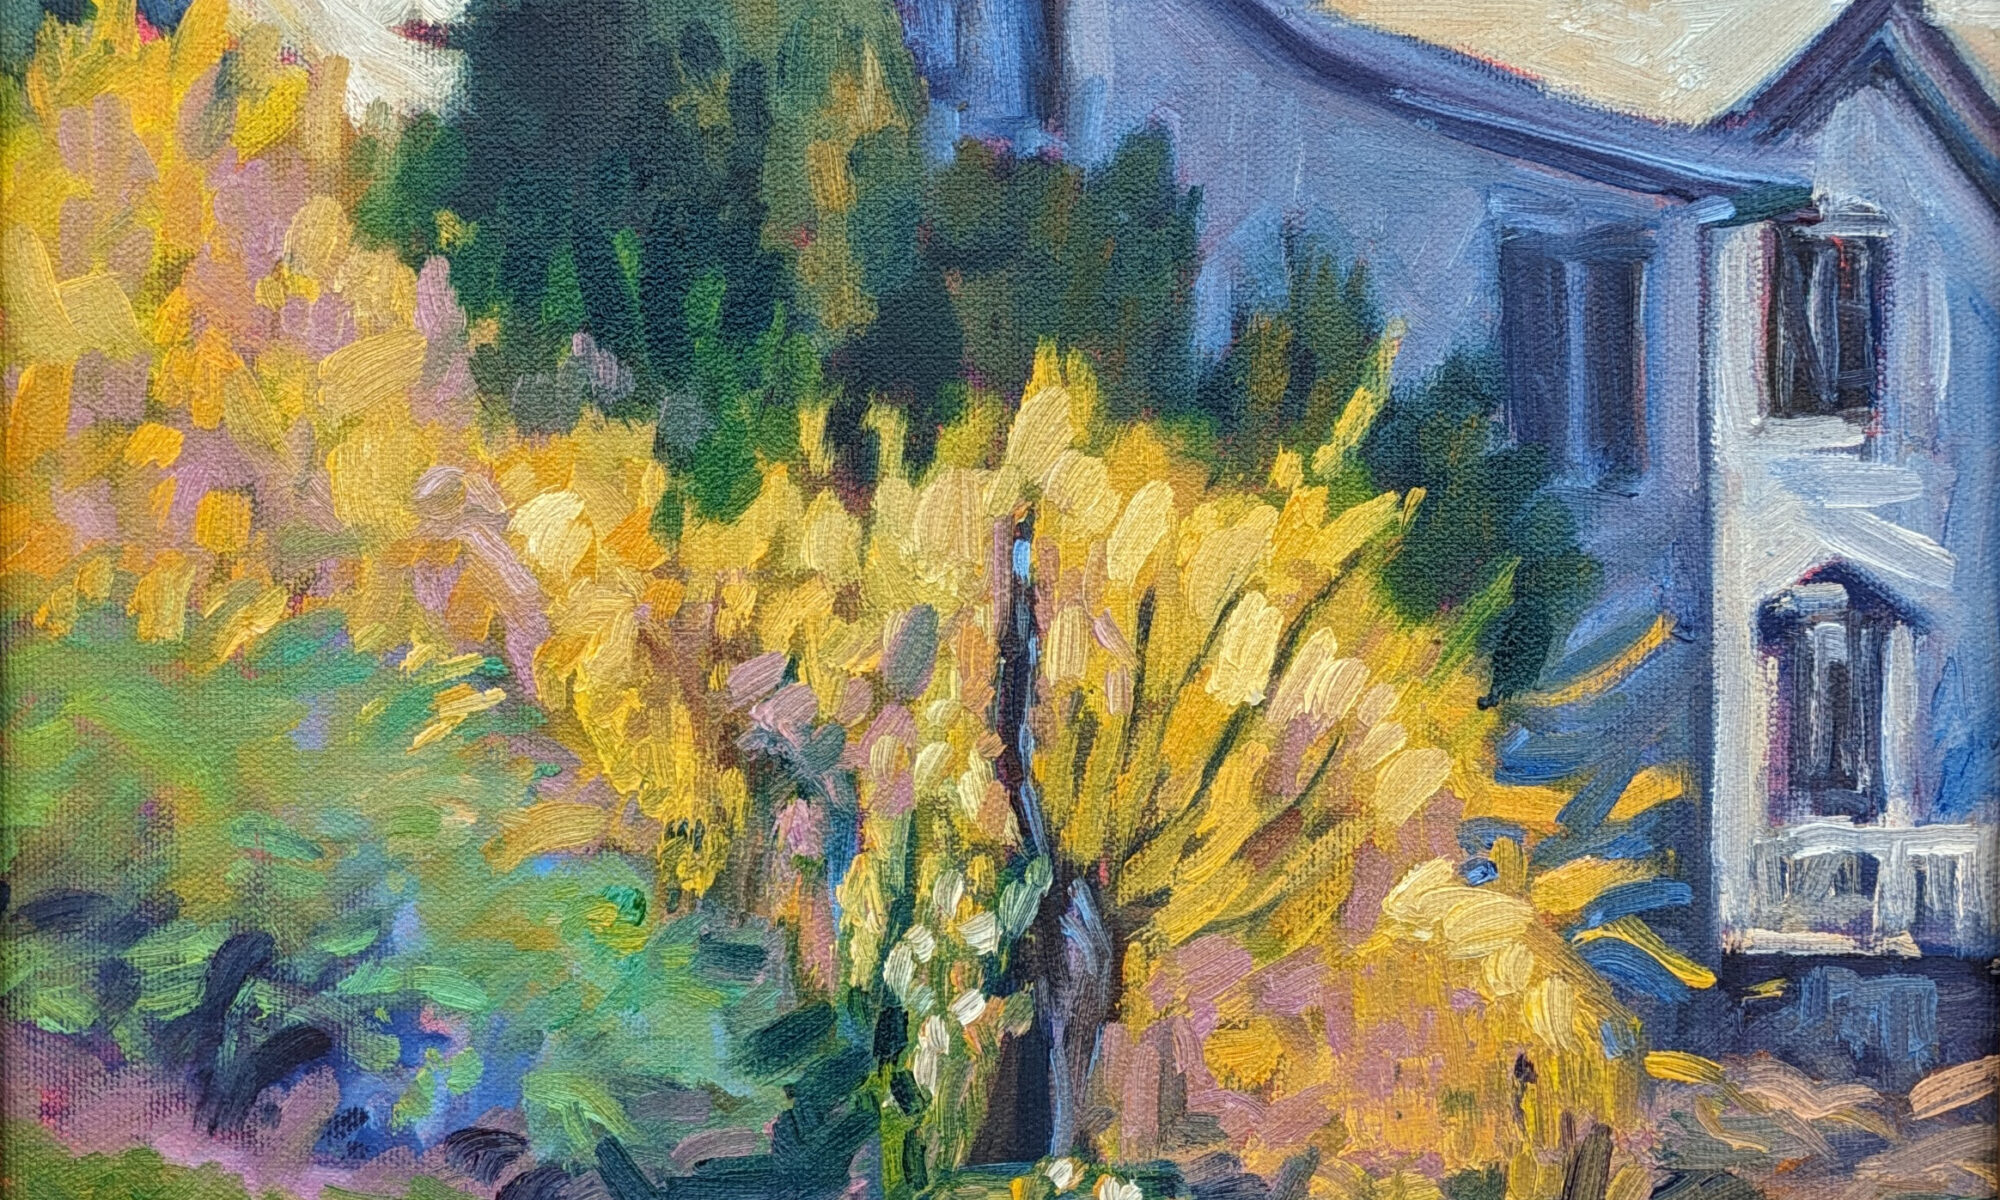
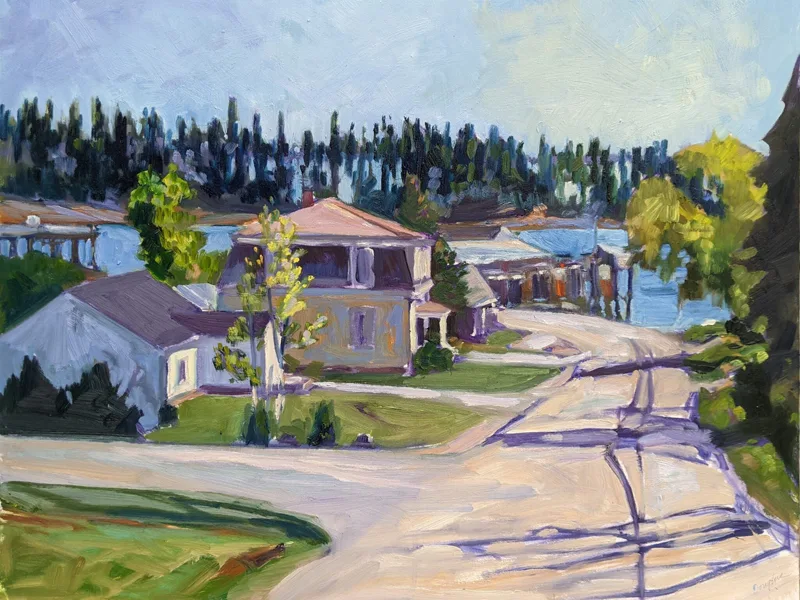
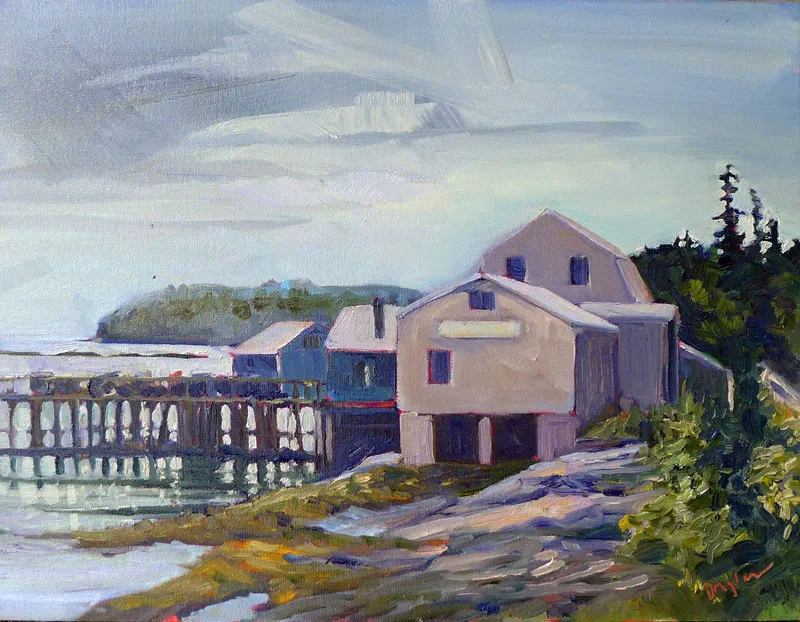
- Add more figure and contemporary structures into my landscape paintings. One of the things I most admire about Childe Hassam, George Bellows and other 19th century painters is that they didn’t shy away from their own times. I’m drawn to old things but not everything old is beautiful, and not everything beautiful is old.
- I want more time to paint. I love teaching, and I learn a great deal from it, but I need more time with my own brushes.
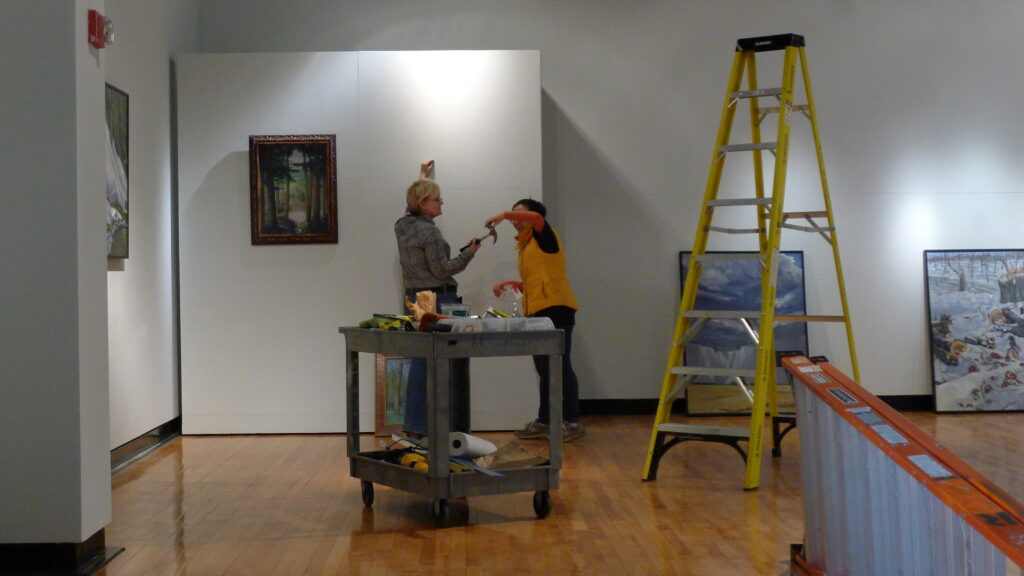
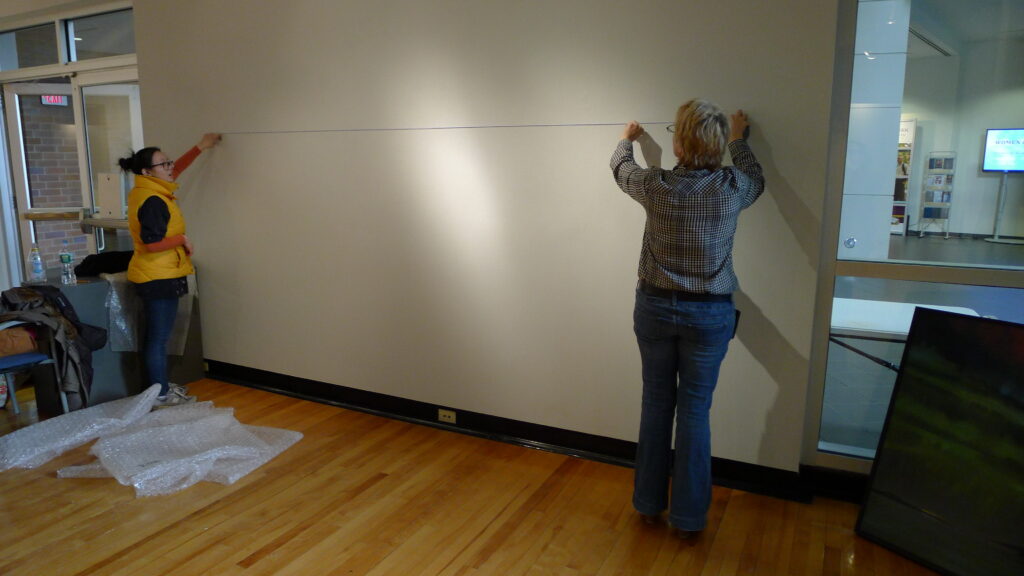
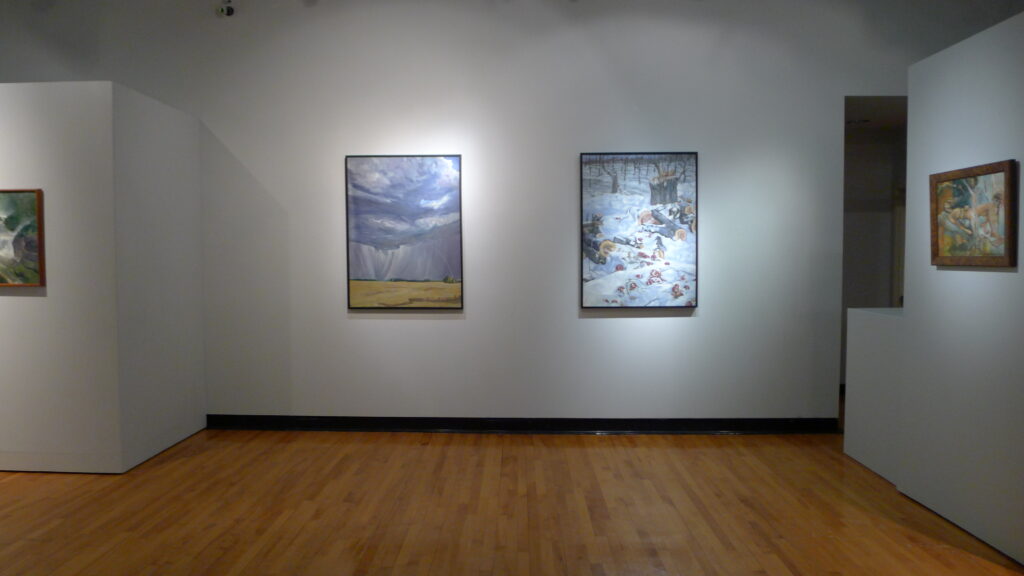
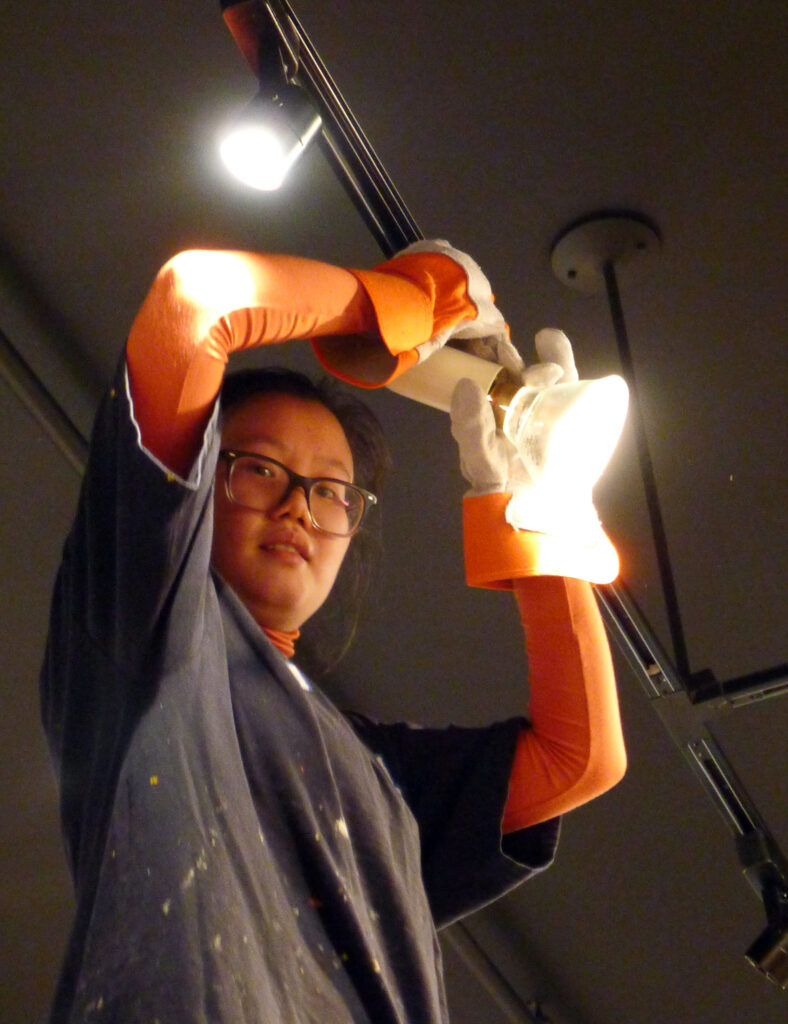
- I must finish building out my new gallery space. I’d hoped to get this done by Memorial Day, but it won’t happen until I get back from Britain in June. What does carpentry have to do with painting? Just about everything.
- It’s summer; can I have some time to recharge? I can’t blame this on anyone else; I’m my own worst taskmaster.
How would you like to develop your artistic goals?
Here are some ideas:
- Continuously improve your technical abilities. That could be paint handling, drawing, or composition, to name just a few possibilities.
- Push the boundaries of your creativity by experimenting with new ideas, techniques, or mediums. (See last Wednesday’s post.)
- Focus on expressing your own values, ideals and emotions instead of producing merely-pleasant art.
- Spend some time in museums looking at art that moves you.
- Read about art and artists.
- Build a coherent portfolio: The best way to mount a cohesive body of work is to do a lot of it, and then look at it as a unit. Objective critique from trusted peers or a teacher sometimes points out themes you’ve never noticed in your own work.
- Show your work: Displaying your work in public not only gives you the potential for exposure, it pushes you to work very hard. This doesn’t have to be in a gallery; it could be a coffee shop, library, or a show in your own home.
- Take classes—iron sharpens iron.
- Enter competitive shows. I hate doing this too, especially when the entry fees are high. But set the goal of applying for a few each year. You might be pleasantly surprised!
- Fail gloriously. You aren’t really pushing your boundaries unless you occasionally muck up. Embrace that. Failure is a sign of growth; you were willing to take risks and try new things.

These goals are just suggestions; none of us can do them all, at least not right away. What can you take from my brainstorming, and how can you make these ideas your own artistic goals for the coming year?
My 2024 workshops:
- Sea & Sky at Schoodic, August 4-9, 2024.
- Find your authentic voice in plein air: Berkshires, August 12-16, 2024.
- Art and Adventure at Sea: Paint Aboard Schooner American Eagle, September 15-19, 2024.
- Immersive In-Person Workshop: Rockport, ME, October 7-11, 2024.


